What makes a dessert truly show-stopping? For me, it’s all about the combination of moist red velvet cake, creamy frosting, and a quick and easy baking method. These homemade cake pops are made with buttermilk and cocoa powder for an intense flavor. Save this idea for your next family favorite treat.
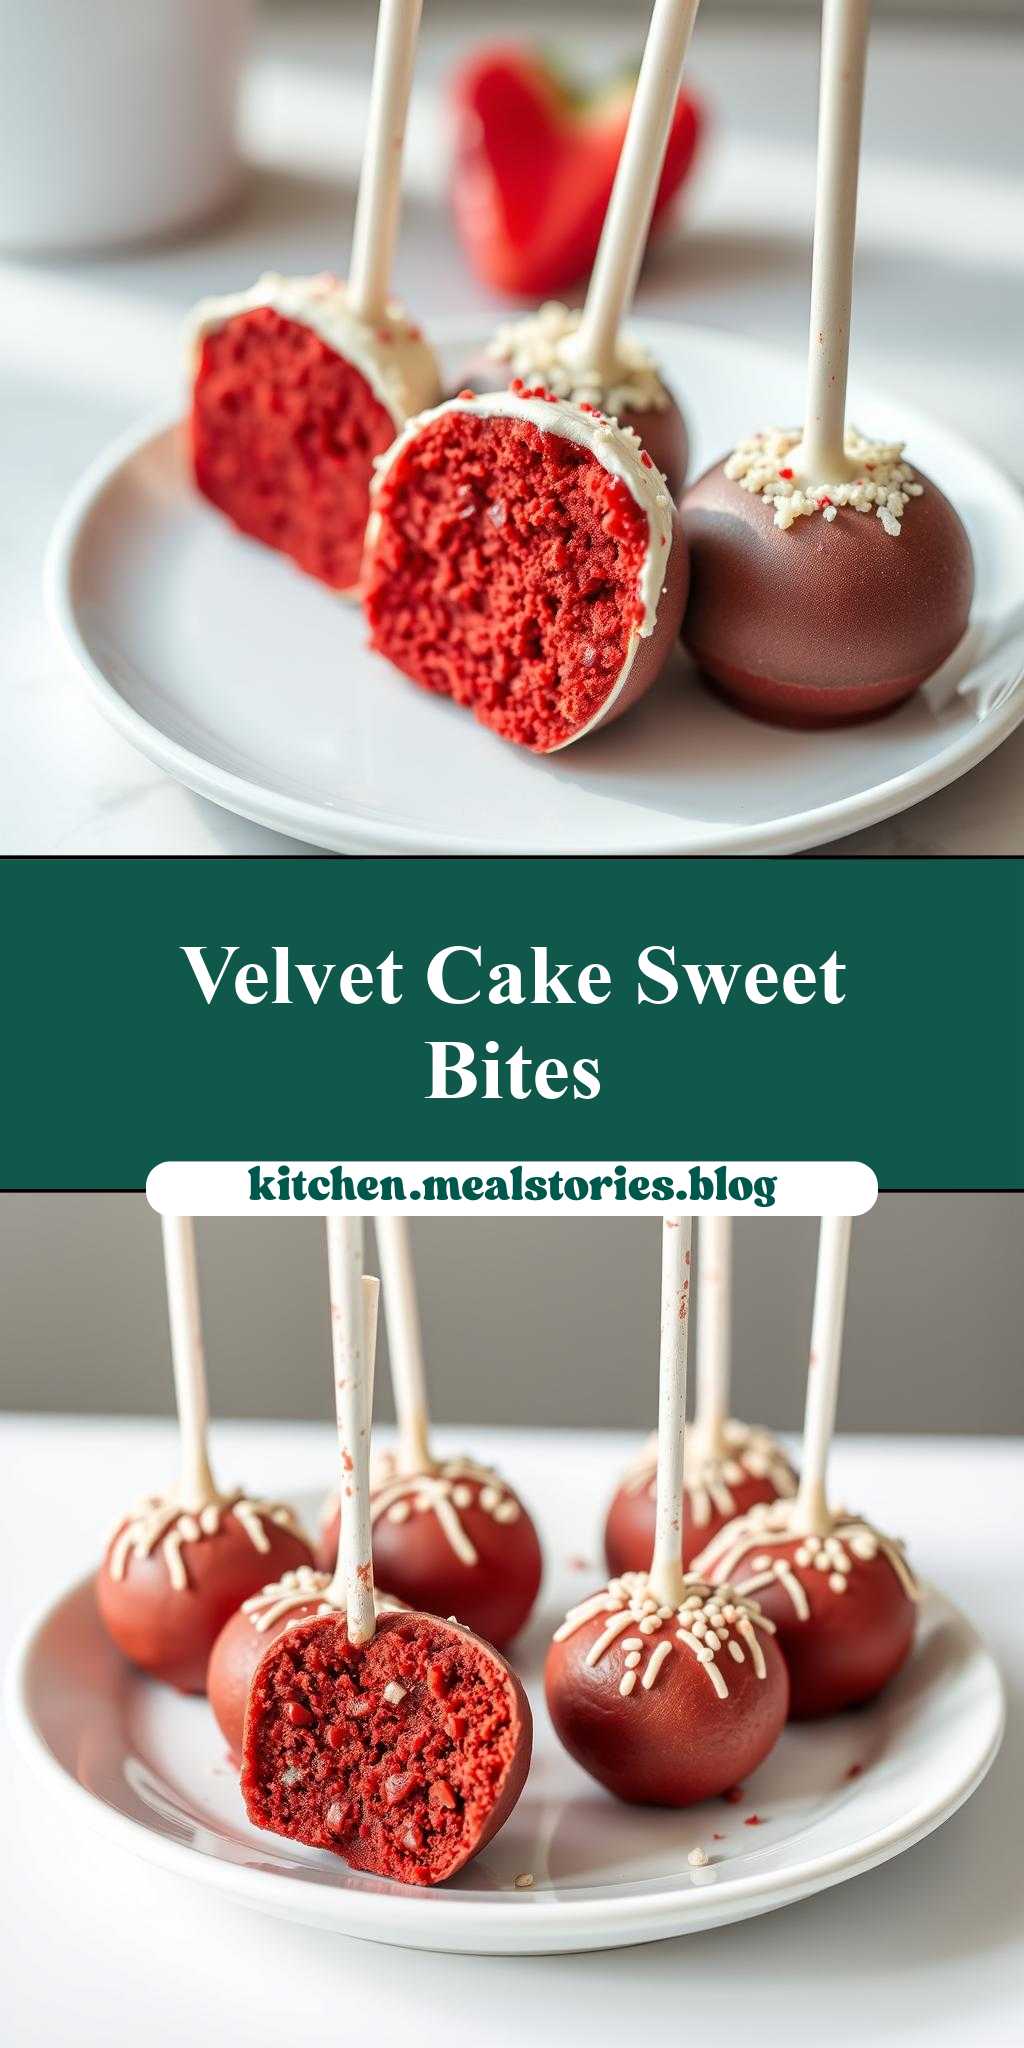
red velvet cake pops on a white plate
Introduction
Imagine the delight of biting into a moist, flavorful red velvet cake, but in a bite-sized, adorable package. Red velvet cake pops are a creative twist on traditional cake, perfect for parties, gifts, or simply satisfying your sweet tooth. What makes them truly special is how easily they come together using everyday ingredients, requiring minimal effort for a maximum “wow” factor. The combination of rich, velvety cake, creamy frosting, and a crunch of chocolate coating creates a flavor and texture experience that’s hard to resist. Whether you’re a seasoned baker or a beginner in the kitchen, these cake pops are an excellent choice to showcase your creativity and skill.
Why This Works
- Flavor balance and ingredient accessibility: The recipe strikes a perfect balance between the deep, slightly tangy flavor of red velvet cake and the sweetness of the chocolate coating, all made possible with easily accessible ingredients.
- Ease of preparation: Despite their elegant appearance, red velvet cake pops are surprisingly easy to make. The process involves simple mixing, baking, and assembling, making it a fun project for any skill level.
- Impressive results with minimal effort: One of the most appealing aspects of cake pops is the impressive presentation they offer with relatively minimal effort. They’re perfect for special occasions or as a unique dessert for everyday enjoyment.
Key Ingredients
To make red velvet cake pops, you’ll need a few key ingredients. For the cake, you’ll require all-purpose flour, granulated sugar, unsweetened cocoa powder, baking powder, salt, buttermilk, large eggs, red food coloring, and vanilla extract. For the frosting, cream cheese and butter are essential, mixed with powdered sugar and vanilla extract. Finally, for coating, you’ll need melting chocolate (white, milk, or dark) and decorations like sprinkles or edible glitter. Practical substitutions can be made, such as using milk instead of buttermilk or choosing a different type of chocolate for coating, allowing you to customize the recipe to your taste preferences and dietary needs.
Instructions
- Step 1: Begin by preheating your oven to 350°F (180°C). Prepare a 9-inch round cake pan by greasing it and lining the bottom with parchment paper. In a medium bowl, whisk together flour, sugar, cocoa powder, baking powder, and salt. In a large bowl, whisk together buttermilk, eggs, red food coloring, and vanilla extract. Add the dry ingredients to the wet ingredients and mix until just combined.
- Step 2: Pour the batter into the prepared pan and bake for about 30-35 minutes, or until a toothpick inserted into the center comes out clean. Let the cake cool completely in the pan.
- Step 3: Once the cake is cool, crumble it into a large bowl. Prepare the frosting by beating the cream cheese and butter until smooth, then gradually adding the powdered sugar and vanilla extract. Mix the frosting into the crumbled cake until the mixture is well combined and can be formed into balls.
- Step 4: Shape the cake mixture into small balls, about 1.5 inches in diameter. Melt the chocolate in a double boiler or in the microwave in 30-second increments, stirring between each interval until smooth. Dip the end of a lollipop stick into the melted chocolate and then into each cake ball, using the stick to dip the cake ball into the chocolate to coat. Decorate immediately with sprinkles or edible glitter before the chocolate hardens.
Handy Tips
- Make sure to not overmix the cake batter or the frosting, as this can lead to a dense cake or too-stiff frosting. Also, chilling the formed cake balls in the refrigerator for about 10 minutes before dipping them in chocolate can help the chocolate adhere better and prevent the Balls from falling apart.
Heat Control
For the cake, it’s crucial to maintain the oven at a consistent 350°F (180°C) to ensure even baking. The cake is done when a toothpick inserted into the center comes out clean. For melting chocolate, low heat is recommended to prevent burning. If using a microwave, short intervals with frequent stirring are key to achieving smooth, melted chocolate without overheating it.
Crunch Factor
The crunch factor in red velvet cake pops comes from the chocolate coating. To achieve a nice crunch, it’s essential to not overheat the chocolate, which can make it too thin and prone to blooming (developing a white, chalky appearance). Allowing the chocolate to set at room temperature or speeding up the process by placing the dipped cake pops in the refrigerator for a few minutes will help maintain the crunch and texture of the coating.
Pro Kitchen Tricks
- Using high-quality chocolate for coating can make a significant difference in the taste and appearance of the cake pops. Additionally, experimenting with different flavors, such as adding a teaspoon of espresso powder to the cake batter or using different extracts (like almond or coconut) in the frosting, can elevate the cake pops to a new level of sophistication.
Storage Tips
- Red velvet cake pops are best stored in an airtight container in the refrigerator for up to 5 days. They can also be frozen for up to 2 months. When freezing, it’s a good idea to place the cake pops in a single layer in a freezer-safe bag or container to prevent them from sticking together. To serve, simply thaw at room temperature or refrigerate overnight.
Gift Packaging Ideas
Red velvet cake pops make excellent gifts due to their visually appealing nature and delicious taste. Consider packaging them in decorative jars, gift boxes, or bags tied with ribbons. For a more personalized touch, you can add a gift tag or a handwritten note. If you’re gifting them in a jar, you can fill any empty spaces with decorative paper shreds or small candies to make the presentation even more appealing.
Flavor Variations
- Different spices: Adding a pinch of cinnamon, nutmeg, or cardamom to the cake batter can introduce interesting and complementary flavors to the traditional red velvet taste.
- Creative toppings: Instead of using sprinkles or edible glitter, consider coating the cake pops with chopped nuts, shredded coconut, or even candy pieces for a varied texture and appearance.
- Ingredient swaps: For those looking for gluten-free options, substituting the all-purpose flour with a gluten-free flour blend can be a good alternative. Similarly, using vegan chocolate and non-dairy milk can make the cake pops suitable for those with dietary restrictions.
Troubleshooting
- Texture problems: If the cake is too dense, it might be due to overmixing the batter. If the chocolate coating is too thin, it could be because the chocolate was overheated.
- Ingredient replacements: Always consider the function of the ingredient you’re replacing. For example, buttermilk adds moisture and a tangy flavor, so replacing it with regular milk might require adding a splash of vinegar or lemon juice to mimic the acidity.
- Over/undercooking signs: The cake is undercooked if a toothpick inserted into the center comes out with wet batter. It’s overcooked if it starts to dry out or the edges begin to pull away from the pan excessively.
FAQs
- Can I freeze it? Yes, you can freeze the cake pops for up to 2 months. It’s best to freeze them before coating with chocolate for the best results.
- Is it gluten-free? The traditional recipe includes gluten due to the all-purpose flour. However, you can make a gluten-free version by substituting the flour with a gluten-free flour blend.
- Can I double the recipe? Yes, you can easily double or triple the recipe if you’re making cake pops for a larger crowd. Just ensure you have enough chocolate for coating and sticks for each cake pop.
Conclusion
Making red velvet cake pops is a fun and rewarding baking project that combines the classic flavors of red velvet cake with the whimsy of bite-sized treats. With these simple steps and handy tips, you’re well on your way to creating delicious and visually stunning cake pops perfect for any occasion. Don’t be afraid to experiment with different flavors and decorations to make the recipe your own, and enjoy the process of sharing your creations with friends and family. Happy baking!