What makes red velvet cookies truly unforgettable? It’s the combination of moist homemade cookie goodness and a tangy cream cheese frosting. With simple ingredients like butter and cream cheese, these easy treats are perfect for a weeknight dessert. Save this idea for a family favorite recipe to enjoy anytime. Try it soon and indulge in the rich flavor of red velvet. Pin for later and get baking
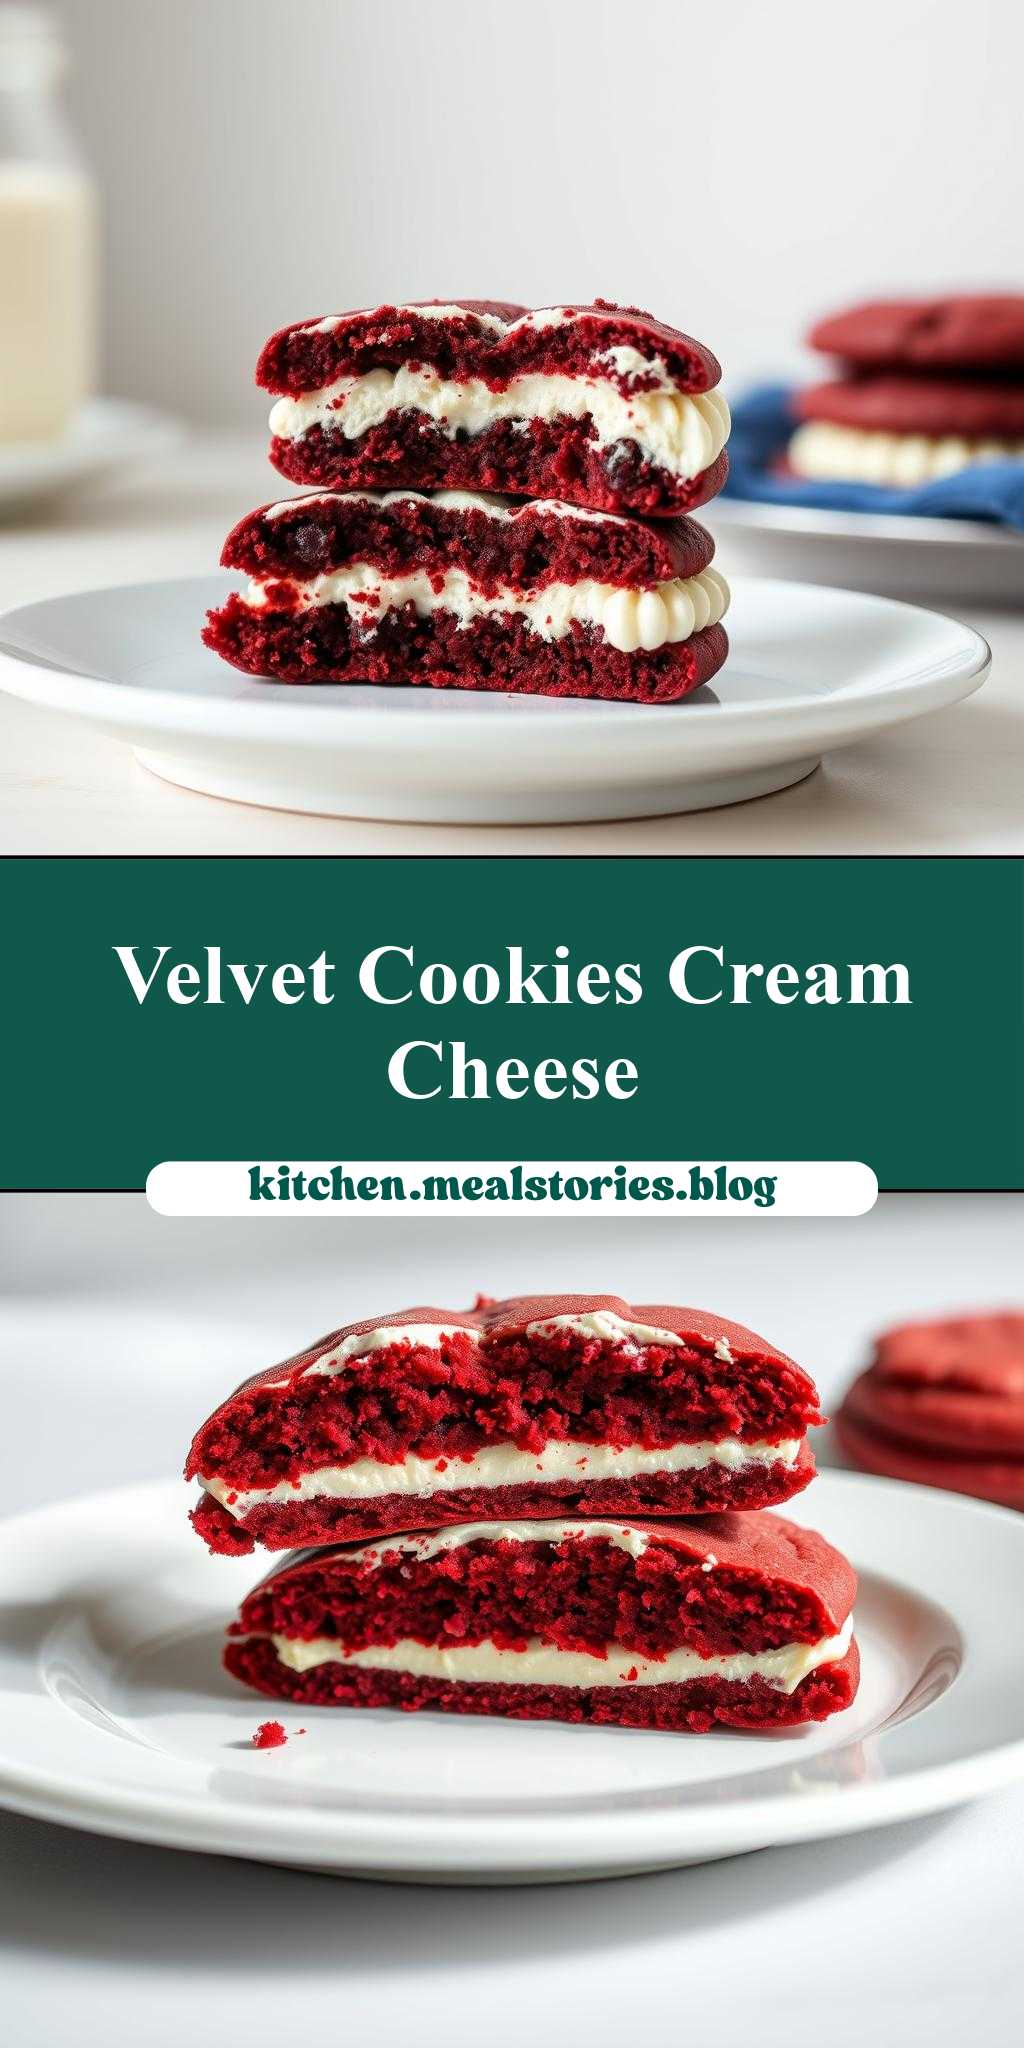
red velvet cookies with cream cheese frosting cut in half and stacked on a plate
Introduction
Imagine sinking your teeth into a tender, moist red velvet cookie, feeling the crunch of the edges and the softness of the center, all while being enveloped by the rich, creamy embrace of cream cheese frosting. This delightful treat is not only a feast for the taste buds but also a visually stunning dessert that can elevate any gathering or special occasion. The best part? It’s incredibly easy to make, using everyday ingredients that you might already have in your pantry. With a little creativity and some simple steps, you can create a dessert that looks like it was plucked straight from a bakery window. In this article, we’ll guide you through the process of making red velvet cookies with cream cheese frosting, cut in half and stacked on a plate, a presentation that’s sure to impress your friends and family.
Why This Works
- Flavor balance and ingredient accessibility: The combination of red velvet cookies and cream cheese frosting offers a perfect balance of flavors, with the tanginess of the cream cheese complementing the subtle cocoa flavor in the cookies. Moreover, the ingredients are readily available, making this a practical choice for any baker.
- Ease of preparation: Despite the impressive presentation, these cookies and their frosting are surprisingly easy to prepare. The dough comes together quickly, and the frosting requires just a few ingredients mixed to the right consistency.
- Impressive results with minimal effort: The act of cutting the cookies in half and stacking them with a dollop of cream cheese frosting in between transforms a simple cookie into a sophisticated dessert. This presentation is perfect for special occasions or as a unique treat for everyday enjoyment.
Key Ingredients
To make these red velvet cookies with cream cheese frosting, you’ll need a few key ingredients. For the cookies, you’ll require all-purpose flour, granulated sugar, brown sugar, cocoa powder to give them that distinctive red velvet color and flavor, baking soda, salt, butter, eggs, red food coloring, and vanilla extract. For the cream cheese frosting, you’ll need cream cheese, butter, vanilla extract, and powdered sugar. Practical substitutions can be made, such as using different types of sugar or flavor extracts, but these core ingredients provide the foundation for the cookies’ texture and the frosting’s tanginess.
Instructions
- Step 1: Begin by preheating your oven to 375°F (190°C). Prepare your baking sheets with parchment paper or a silicone mat. In a medium bowl, whisk together flour, cocoa powder, baking soda, and salt. Set aside. In a large bowl, use an electric mixer to cream together butter and sugars until light and fluffy. Beat in eggs one at a time, followed by the red food coloring and vanilla extract.
- Step 2: Gradually mix in the dry ingredients until a dough forms. Wrap the dough in plastic wrap and refrigerate for at least 30 minutes to allow the flavors to meld and the dough to firm up. Once chilled, scoop the dough into balls, about 1 tablespoon each, and place them onto the prepared baking sheets, leaving about 2 inches of space between each cookie to allow for spreading.
- Step 3: Bake the cookies for 10-12 minutes or until they are set around the edges and slightly soft in the center. Allow the cookies to cool on the baking sheet for 5 minutes before transferring them to a wire rack to cool completely. While the cookies are cooling, prepare the cream cheese frosting by beating the cream cheese and butter until smooth, then gradually adding powdered sugar and vanilla extract until the desired consistency and sweetness are achieved.
- Step 4: Once the cookies are completely cool, you can assemble your dessert. Cut each cookie in half horizontally using a serrated knife. Place a dollop of cream cheese frosting on the bottom half of a cookie, then top with the other half to create a sandwich. Repeat with the remaining cookies and frosting. Stack the cookie sandwiches on a plate or serving dish to create a visually appealing presentation.
Handy Tips
- To ensure your cookies retain their red velvet color, avoid overmixing the dough, as this can lead to a dense cookie. Also, make sure to not overbake, as this can cause the cookies to dry out and lose their vibrant color.
- For the cream cheese frosting, make sure the cream cheese is at room temperature to ensure it mixes smoothly with the butter and powdered sugar. If the frosting becomes too thin, you can refrigerate it for about 10 minutes to firm it up before using.
Heat Control
Heat control is crucial when baking the cookies. The ideal temperature is 375°F (190°C), and the cookies should be baked for 10-12 minutes. Signs of doneness include the edges being set and the centers being slightly soft. It’s essential to keep an eye on the cookies during the baking time, as oven temperatures can vary, and you want to avoid overcooking.
Crunch Factor
The crunch factor in these cookies comes from the edges, which should be lightly crisped from baking. To achieve this, ensure you’re not overbaking the cookies. The centers should remain slightly soft, providing a nice contrast in texture to the crunchy edges. If you prefer a crunchier cookie, you can bake them for an additional minute or two, keeping a close eye to prevent overcooking.
Pro Kitchen Tricks
- One expert tip for achieving perfectly rounded cookies is to chill the dough balls in the refrigerator for about 10 minutes before baking. This helps the cookies retain their shape and bake up with a more uniform appearance.
Storage Tips
- For storing leftover cookies, it’s best to keep them in an airtight container at room temperature for up to 3 days. If you don’t plan to consume them within this timeframe, you can freeze the cookies for up to 2 months. Simply place the cookies in a single layer in a freezer-safe bag or container and thaw at room temperature when you’re ready to enjoy them.
- For the cream cheese frosting, it’s best to store it in the refrigerator and use within a week. Allow the frosting to come to room temperature before using, as this will make it easier to spread and assemble the cookie sandwiches.
Gift Packaging Ideas
If you’re considering gifting these red velvet cookies with cream cheese frosting, there are several creative ways to package them. One idea is to stack the cookie sandwiches in a decorative tin or jar, separated by layers of parchment paper. You could also wrap each cookie sandwich individually in plastic wrap or aluminum foil and place them in a gift bag or box. Adding a ribbon or a gift tag with a personal message can make the gift even more special and thoughtful.
Flavor Variations
- Different spices: Consider adding a pinch of cinnamon or nutmeg to the cookie dough for an extra depth of flavor.
- Creative toppings: Instead of traditional cream cheese frosting, you could top your cookies with a dollop of whipped cream, a sprinkle of powdered sugar, or even a piece of chocolate.
- Ingredient swaps: For a gluten-free version, you could substitute the all-purpose flour with a gluten-free flour blend. Additionally, using different types of sugar or flavor extracts can give your cookies a unique twist.
Troubleshooting
- Texture problems: If your cookies turn out too dense, it might be due to overmixing the dough. Try to mix the ingredients just until they come together, then stop mixing. If your cookies are too crispy, they might have been overbaked. Keep a closer eye on the baking time in the future.
- Ingredient replacements: If you’re missing an ingredient, there are often substitutions you can make. For example, if you don’t have buttermilk, you can make a substitute by mixing milk with white vinegar or lemon juice and letting it sit for a few minutes.
- Over/undercooking signs: Overcooked cookies will be hard and dry, while undercooked cookies will be soft and possibly raw in the center. Adjust your baking time as needed to achieve the perfect texture.
FAQs
- Can I freeze it? Yes, both the cookies and the cream cheese frosting can be frozen. Freeze the cookies in a single layer in a freezer-safe bag or container for up to 2 months, and the frosting can be frozen in an airtight container for up to 3 months. Thaw at room temperature when you’re ready to use.
- Is it gluten-free? The traditional recipe includes all-purpose flour, which contains gluten. However, you can make a gluten-free version by substituting the flour with a gluten-free flour blend.
- Can I double the recipe? Yes, you can easily double the recipe to make more cookies and frosting. Just keep in mind that you might need to adjust the baking time slightly if you’re baking more cookies at once.
Conclusion
Making red velvet cookies with cream cheese frosting, cut in half and stacked on a plate, is a fun and rewarding baking project that’s perfect for special occasions or everyday treats. With its balanced flavors, ease of preparation, and impressive presentation, this dessert is sure to become a favorite. Feel free to experiment with different flavors and ingredients to make the recipe your own, and don’t hesitate to reach out if you have any questions or need further guidance. Happy baking, and enjoy the delightful combination of crunch, softness, and creamy richness that these cookies have to offer!