What makes the perfect comfort food bowl? Hearty homemade chili loaded with corn and crunchy tortilla chips is my go-to quick weeknight dinner solution. Save this idea for a deliciously easy family favorite meal to try soon
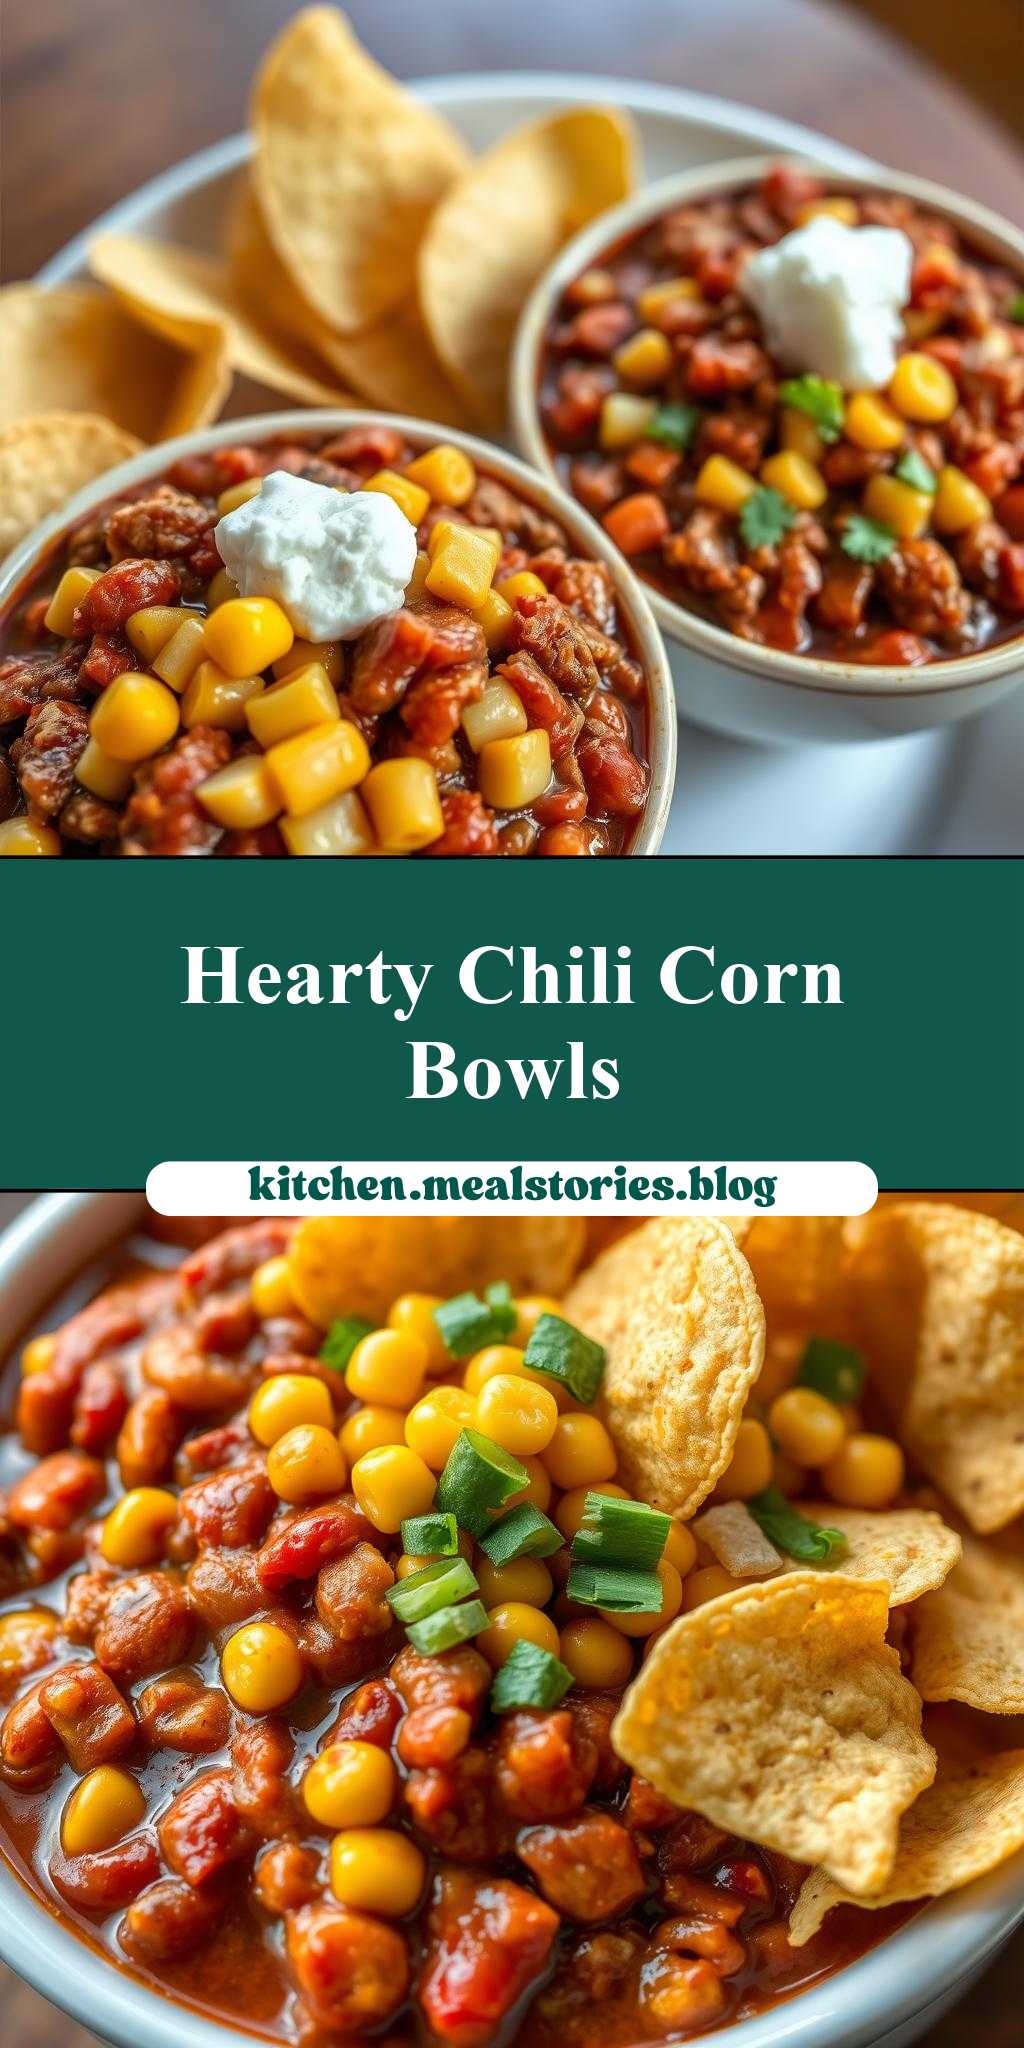
two bowls filled with chili, corn and tortilla chips
Introduction
Imagine a dish that is as easy to make as it is delicious, combining the warmth of chili, the sweetness of corn, and the crunch of tortilla chips. This recipe for two bowls filled with chili, corn, and tortilla chips is a masterclass in simplicity and flavor, perfect for a quick dinner or a casual gathering. The beauty of this dish lies in its use of everyday ingredients, elevated by a few simple steps that transform them into a culinary delight. Whether you’re a seasoned cook or just starting out, this recipe is sure to become a favorite, offering endless possibilities for creativity and personalization.
Why This Works
- Flavor balance and ingredient accessibility: The combination of chili, corn, and tortilla chips provides a perfect balance of flavors and textures, while using ingredients that are easily found in most supermarkets.
- Ease of preparation: This dish requires minimal preparation time, making it ideal for busy evenings or spontaneous gatherings.
- Impressive results with minimal effort: Despite its simplicity, the presentation and taste of this dish are sure to impress, making it a great option for hosting events or meal prepping.
Key Ingredients
The main ingredients in this recipe include chili (which can be homemade or store-bought), corn (fresh or canned), tortilla chips, shredded cheese (such as cheddar or Monterey Jack), sour cream, and any desired toppings (like diced onions, jalapeños, or cilantro). For a vegan version, you can substitute the cheese with a vegan alternative and use a plant-based sour cream. The versatility of these ingredients allows for numerous substitutions and additions, making the dish adaptable to various dietary preferences and restrictions.
Instructions
- Step 1: Begin by preparing your ingredients. If using fresh corn, boil or grill it until tender. If your chili needs to be heated, warm it up according to its instructions. Meanwhile, arrange tortilla chips at the bottom of two bowls.
- Step 2: Spoon the warmed chili over the tortilla chips, leaving a small border around the edges of the bowls to prevent the chips from getting soggy.
- Step 3: Add the corn on top of the chili. If using canned corn, drain the liquid before adding it. Sprinkle shredded cheese over the corn.
- Step 4: Finish with a dollop of sour cream and any desired toppings. This could be diced onions for a punch of flavor, jalapeños for an extra kick of heat, or cilantro for freshness. Serve immediately and enjoy!
Handy Tips
- For an extra crunchy texture, consider baking the tortilla chips in the oven for a few minutes before assembling the bowls. Keep an eye on them to avoid burning.
- If you’re using homemade chili, consider making it a day in advance to allow the flavors to meld together.
- Experiment with different types of cheese or chili for varying flavor profiles. For example, a spicy chili can be balanced by a milder cheese, while a milder chili can be elevated by a sharper cheese.
Heat Control
If you’re heating your chili or warming tortilla chips, be mindful of the temperature and timing. For chili, a simmer is often ideal, as it allows the flavors to combine without burning or sticking to the bottom of the pan. For tortilla chips, a few minutes in a preheated oven at 350°F (175°C) can add crunch without making them too brittle.
Crunch Factor
The crunch in this dish comes primarily from the tortilla chips and any crunchy toppings you might choose, like diced onions or fresh cilantro. To maintain this crunch, it’s essential to assemble the bowls just before serving. If you’re preparing the components ahead of time, store the tortilla chips in an airtight container to keep them fresh.
Pro Kitchen Tricks
- Use a variety of chili peppers or spices to customize the heat level of your chili to your liking.
- For an added layer of flavor, sprinkle a bit of lime juice over the top of the dish before serving.
- Consider setting up a topping bar with additional items like diced tomatoes, avocado, or salsa, allowing each person to customize their bowl to their taste.
Storage Tips
- Leftover chili can be stored in the refrigerator for up to 3 days or frozen for up to 3 months. Reheat it gently over low heat, stirring occasionally.
- Tortilla chips are best stored in an airtight container to maintain freshness. If they become stale, you can revive them by baking them in the oven for a few minutes.
- Corn, especially if fresh, should be consumed within a day or two of purchase for the best flavor and texture.
Gift Packaging Ideas
If you’re considering gifting this dish, it’s best to package the components separately to ensure freshness and crunch. Fill decorative jars with chili, place tortilla chips in airtight bags, and include a small container of sour cream and any desired toppings. Add a personal touch with a handwritten recipe card or a few fresh herbs tied with a ribbon.
Flavor Variations
- Different spices: Experiment with cumin, chili powder, or smoked paprika to give your chili a unique flavor profile.
- Creative toppings: In addition to the classics, consider adding diced bacon, a sprinkle of queso fresco, or a dollop of Greek yogurt for extra richness and flavor.
- Ingredient swaps: For a vegetarian version, substitute the ground beef with roasted vegetables or beans. For a vegan version, use plant-based alternatives for the cheese and sour cream.
Troubleshooting
- Texture problems: If your chili becomes too thick, add a bit of water. If it’s too thin, simmer it for a few minutes to reduce the liquid.
- Ingredient replacements: If you don’t have tortilla chips, consider using crushed crackers or crispy bread as a substitute.
- Over/undercooking signs: Ensure your chili is heated through but not boiling, and your tortilla chips are crispy but not burnt.
FAQs
- Can I freeze it? Yes, the chili can be frozen, but it’s best to assemble the bowls just before serving to maintain the crunch of the tortilla chips.
- Is it gluten-free? Depending on the ingredients used in the chili and the type of tortilla chips, this dish can be gluten-free. Always check the labels of your ingredients.
- Can I double the recipe? Absolutely, this recipe scales well. Just ensure you have enough bowls and ingredients for each person you’re serving.
Conclusion
This recipe for two bowls filled with chili, corn, and tortilla chips is a testament to the magic that happens when simple, everyday ingredients come together in perfect harmony. It’s a dish that invites creativity and experimentation, from the type of chili you use to the array of toppings you choose. Whether you’re feeding a crowd or enjoying a quiet night in, this dish is sure to delight. So go ahead, get creative, and savor the joy of cooking and sharing a delicious meal with others.