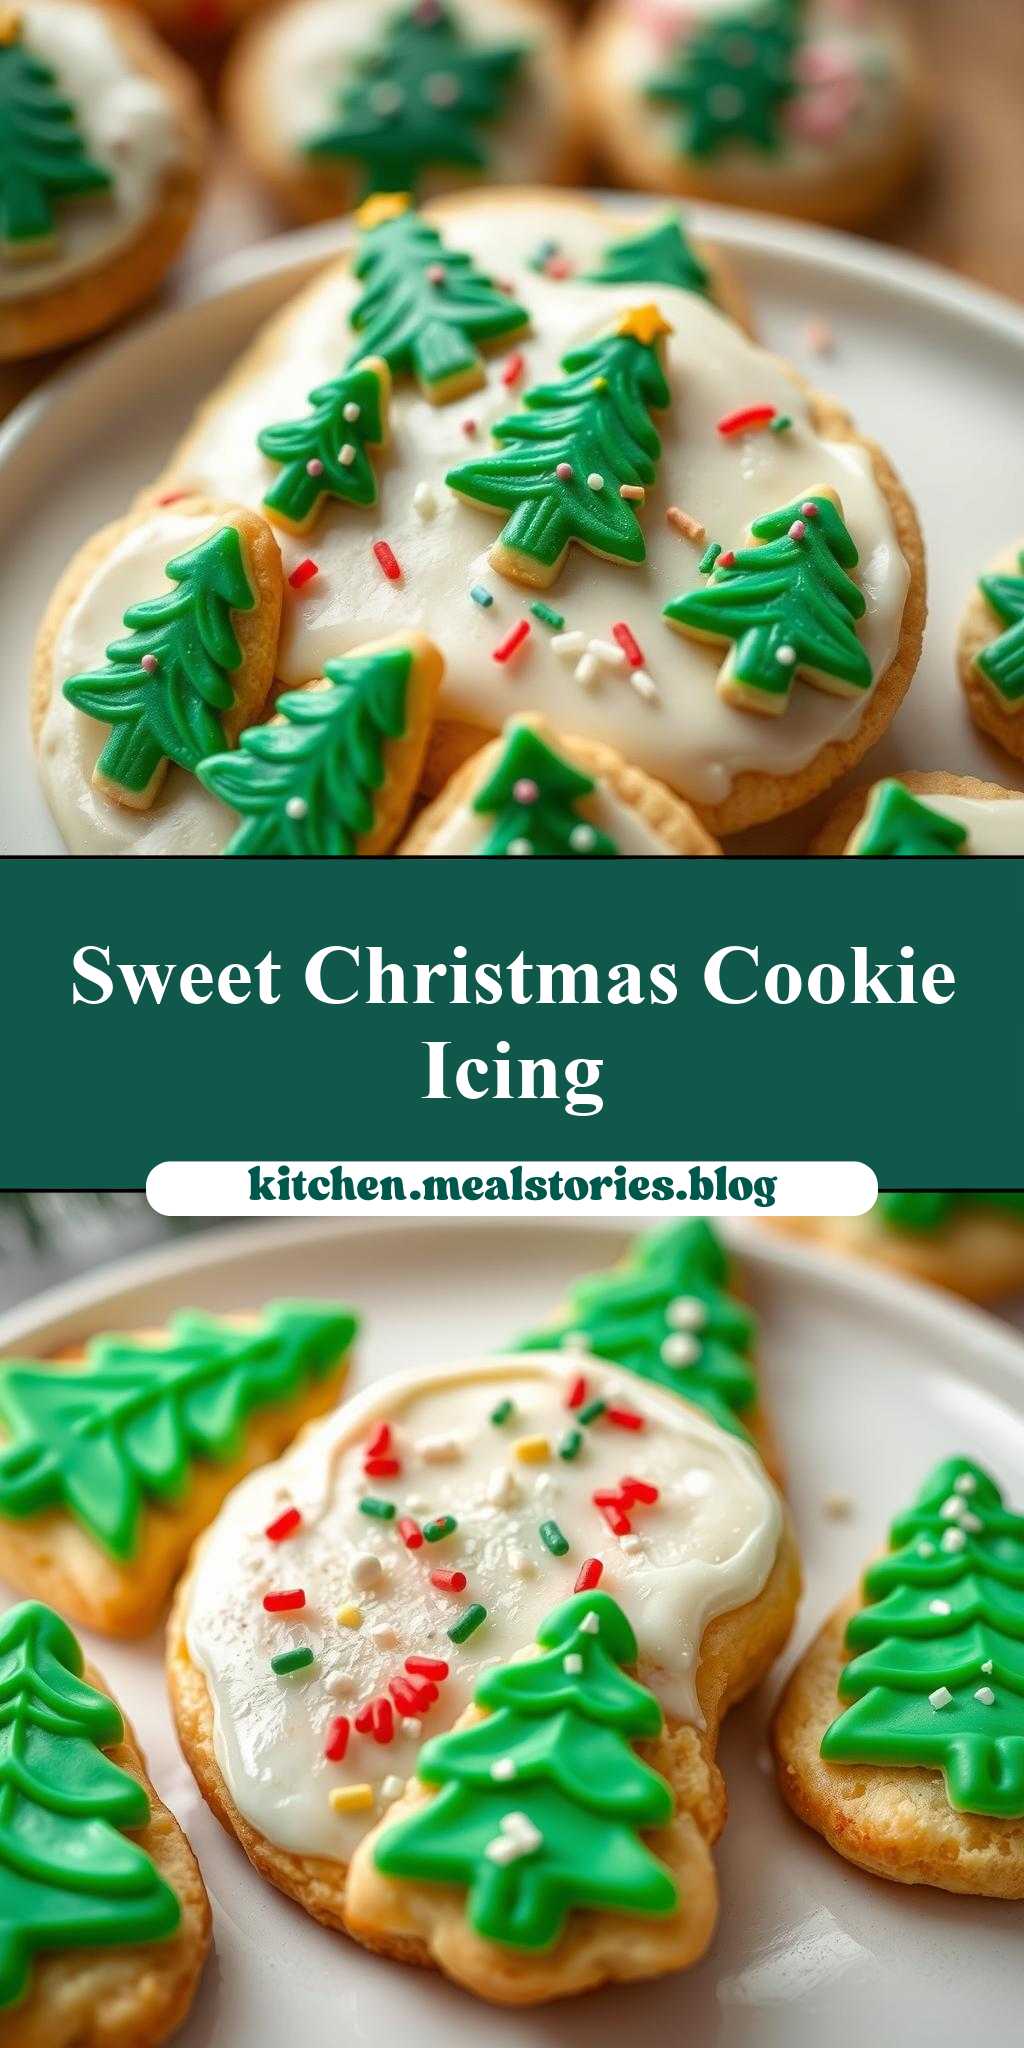
What makes the perfect holiday cookie pop with color and fun? It’s all about the sugar cookie icing and decorations, like these adorable christmas trees and sprinkles. Made with simple powdered sugar and a touch of vanilla, this easy homemade icing is a game changer for your family favorite treats. Save this idea for a quick holiday baking session.
sugar cookie icing decorated with christmas trees and sprinkles
Introduction
Imagine a world where the magic of Christmas comes alive on a plate, where every bite is a testament to the joy and wonder of the season. Welcome to the enchanting realm of sugar cookie icing decorated with Christmas trees and sprinkles, a culinary masterpiece that embodies the essence of festive cheer. This delightful treat is more than just a dessert; it’s an experience that combines the simplicity of everyday ingredients with the creativity of artistic expression. Whether you’re a seasoned baker or a novice in the kitchen, this recipe is designed to bring out the child in you, to inspire your creativity and to fill your home with the warm, inviting aromas of the holiday season.
Why This Works
- Flavor balance and ingredient accessibility: The beauty of this recipe lies in its use of readily available ingredients, carefully balanced to create a flavor profile that is both familiar and exciting. The sweetness of the sugar cookie icing is perfectly complemented by the crunch of the sprinkles and the festive charm of the Christmas tree decorations.
- Ease of preparation: One of the most appealing aspects of this recipe is its simplicity. With straightforward steps and minimal complexity, it’s a project that can be enjoyed by the whole family, making it an ideal activity for holiday gatherings and parties.
- Impressive results with minimal effort: Despite its ease of preparation, the end result is nothing short of impressive. The combination of colorful sprinkles and meticulously decorated Christmas trees on top of a smooth, creamy icing is sure to impress even the most discerning palates and eyes, making it a perfect centerpiece for any holiday dessert table.
Key Ingredients
The foundation of this delightful treat is built upon a few key ingredients, each playing a crucial role in the final masterpiece. The sugar cookie icing, made from powdered sugar, milk, and a hint of vanilla, provides the base upon which the decorations are applied. For the decorations, you’ll need Christmas tree-shaped sprinkles or edible decorations, along with a variety of colored sprinkles to add that extra pop of color and festivity. Practical substitutions can be made for the type of milk used in the icing, with almond milk or soy milk offering excellent dairy-free alternatives for those with dietary restrictions.
Instructions
- Step 1: Begin by preparing your sugar cookies according to your favorite recipe or using store-bought cookies. If baking your own, ensure they are completely cool before proceeding. This step is crucial as it sets the stage for the icing and decorations to follow.
- Step 2: To make the sugar cookie icing, combine powdered sugar, milk, and vanilla extract in a bowl. Mix until smooth and creamy, adjusting the consistency by adding more powdered sugar for thickness or milk for thinness. This icing is the glue that holds your decorations together, so getting the right consistency is key.
- Step 3: Once your icing is ready, apply a generous amount to the top of each cooled sugar cookie. This will be the base for your decorations. Immediately after icing, start decorating with Christmas tree-shaped sprinkles and other colored sprinkles. The immediacy is important to ensure the sprinkles stick well to the icing.
- Step 4: For the final touches, consider adding additional details to your Christmas trees, such as using a small dot of icing to attach a sprinkle star to the top of each tree. Allow the icing to set before serving. This step is where your creativity truly shines, so don’t be afraid to experiment and add your personal touch to each cookie.
Handy Tips
- When making the icing, it’s helpful to have it at room temperature to ensure it mixes smoothly and evenly. Also, be gentle when applying the icing to avoid damaging the cookie. For decorations, less can sometimes be more, so don’t overdo it with the sprinkles—balance is key to a visually appealing cookie.
Heat Control
Since this recipe primarily involves preparing icing and decorating cookies, heat control is mainly relevant if you’re baking your own sugar cookies. For baking, preheat your oven to 375°F (190°C). The timing will depend on the size of your cookies, but a general rule of thumb is 8-12 minutes for smaller cookies and up to 15 minutes for larger ones. Keep an eye on them; they’re done when the edges are lightly golden. Remember, the key to perfect cookies is not to overbake them, as this can make them too hard and less receptive to icing.
Crunch Factor
The crunch factor in this recipe comes from the sprinkles and any other decorations you might choose to add. To achieve the perfect crunch, ensure your cookies are completely cool before icing, as a warm cookie can cause the icing to spread too much and lose its crunch. Additionally, applying the sprinkles immediately after icing allows them to adhere properly and maintain their crunch.
Pro Kitchen Tricks
- To make your decorating process more efficient, consider using a piping bag or a plastic bag with a corner cut off to apply the icing. This allows for more precise application and can help in creating detailed designs on your cookies. For a professional finish, use a turntable to display your cookies, allowing each one to be admired from every angle.
Storage Tips
- For storing your decorated sugar cookies, it’s best to place them in an airtight container, layered with parchment paper to prevent them from sticking together. If you won’t be serving them immediately, consider freezing them. To freeze, place the cookies in a single layer in a freezer-safe container or bag. When you’re ready to serve, simply thaw at room temperature. The shelf life of these cookies can be up to 5 days at room temperature and up to 2 months frozen.
Gift Packaging Ideas
If you’re considering gifting these delightful treats, presentation is everything. Place a selection of decorated cookies in a decorative tin or jar, separated by layers of tissue paper or parchment paper. You can also wrap individual cookies in cellophane bags and tie them with a ribbon, adding a personal touch with a handwritten note or a small Christmas ornament. For a more rustic look, use a wooden crate or a woven basket, filling any gaps with decorative fillers like crumpled paper or small bows.
Flavor Variations
- Different spices: Consider adding a pinch of cinnamon or nutmeg to your icing for a unique twist on the traditional flavor. For those who love citrus, a squeeze of fresh lemon or orange zest can add a bright and refreshing note to your cookies.
- Creative toppings: Beyond Christmas trees and sprinkles, you can use other edible decorations like holly-shaped sprinkles, snowflake designs, or even make your own decorations using royal icing and food coloring.
- Ingredient swaps: For a gluten-free version, use gluten-free flour in your sugar cookie recipe. You can also experiment with different types of milk in the icing, such as almond or soy milk, to cater to dairy-free dietary needs.
Troubleshooting
- Texture problems: If your icing is too thin, add a bit more powdered sugar. If it’s too thick, add a tiny amount of milk. For cookies that are too hard, it might be due to overbaking; aim for a lighter golden color to ensure they retain some chew.
- Ingredient replacements: If you’re out of vanilla extract, you can omit it or substitute it with a different flavor extract like almond or lemon. For sprinkles, feel free to get creative with different shapes and colors to match your theme or preference.
- Over/undercooking signs: Keep an eye on your cookies while they’re baking. Overcooked cookies will be dark golden or even brown, while undercooked ones might appear pale and soft. The perfect cookie should have a lightly golden edge and a set center.
FAQs
- Can I freeze it? Yes, you can freeze both the baked cookies and the decorated cookies. Freezing is a great way to prepare ahead of time, especially during the busy holiday season.
- Is it gluten-free? It can be, with the use of gluten-free flour in the sugar cookie recipe. Always ensure that any additional ingredients, like sprinkles, are also gluten-free.
- Can I double the recipe? Absolutely, this recipe can be easily doubled or even tripled if you’re planning a large gathering. Just remember to adjust the baking time slightly if you’re making larger batches of cookies.
Conclusion
As you embark on this culinary adventure, remember that the true magic of sugar cookie icing decorated with Christmas trees and sprinkles lies not just in the taste, but in the experience. It’s about sharing laughter and making memories with loved ones, all while indulging in a treat that’s as much a feast for the eyes as it is for the palate. So, don’t be afraid to get creative, to experiment, and to make this recipe your own. With its perfect blend of ease, flavor, and festive cheer, it’s sure to become a holiday tradition that you and your family will cherish for years to come. Happy baking, and warmest wishes for a joyous holiday season!