What makes a cookie truly irresistible? For me, it’s the perfect combination of crunch and decadence, like these twix cookie cups made with rich chocolate and a shortbread crust. Quick to assemble and easy to customize, they’re a homemade treat that’s sure to become a family favorite. Save this idea for your next baking session.
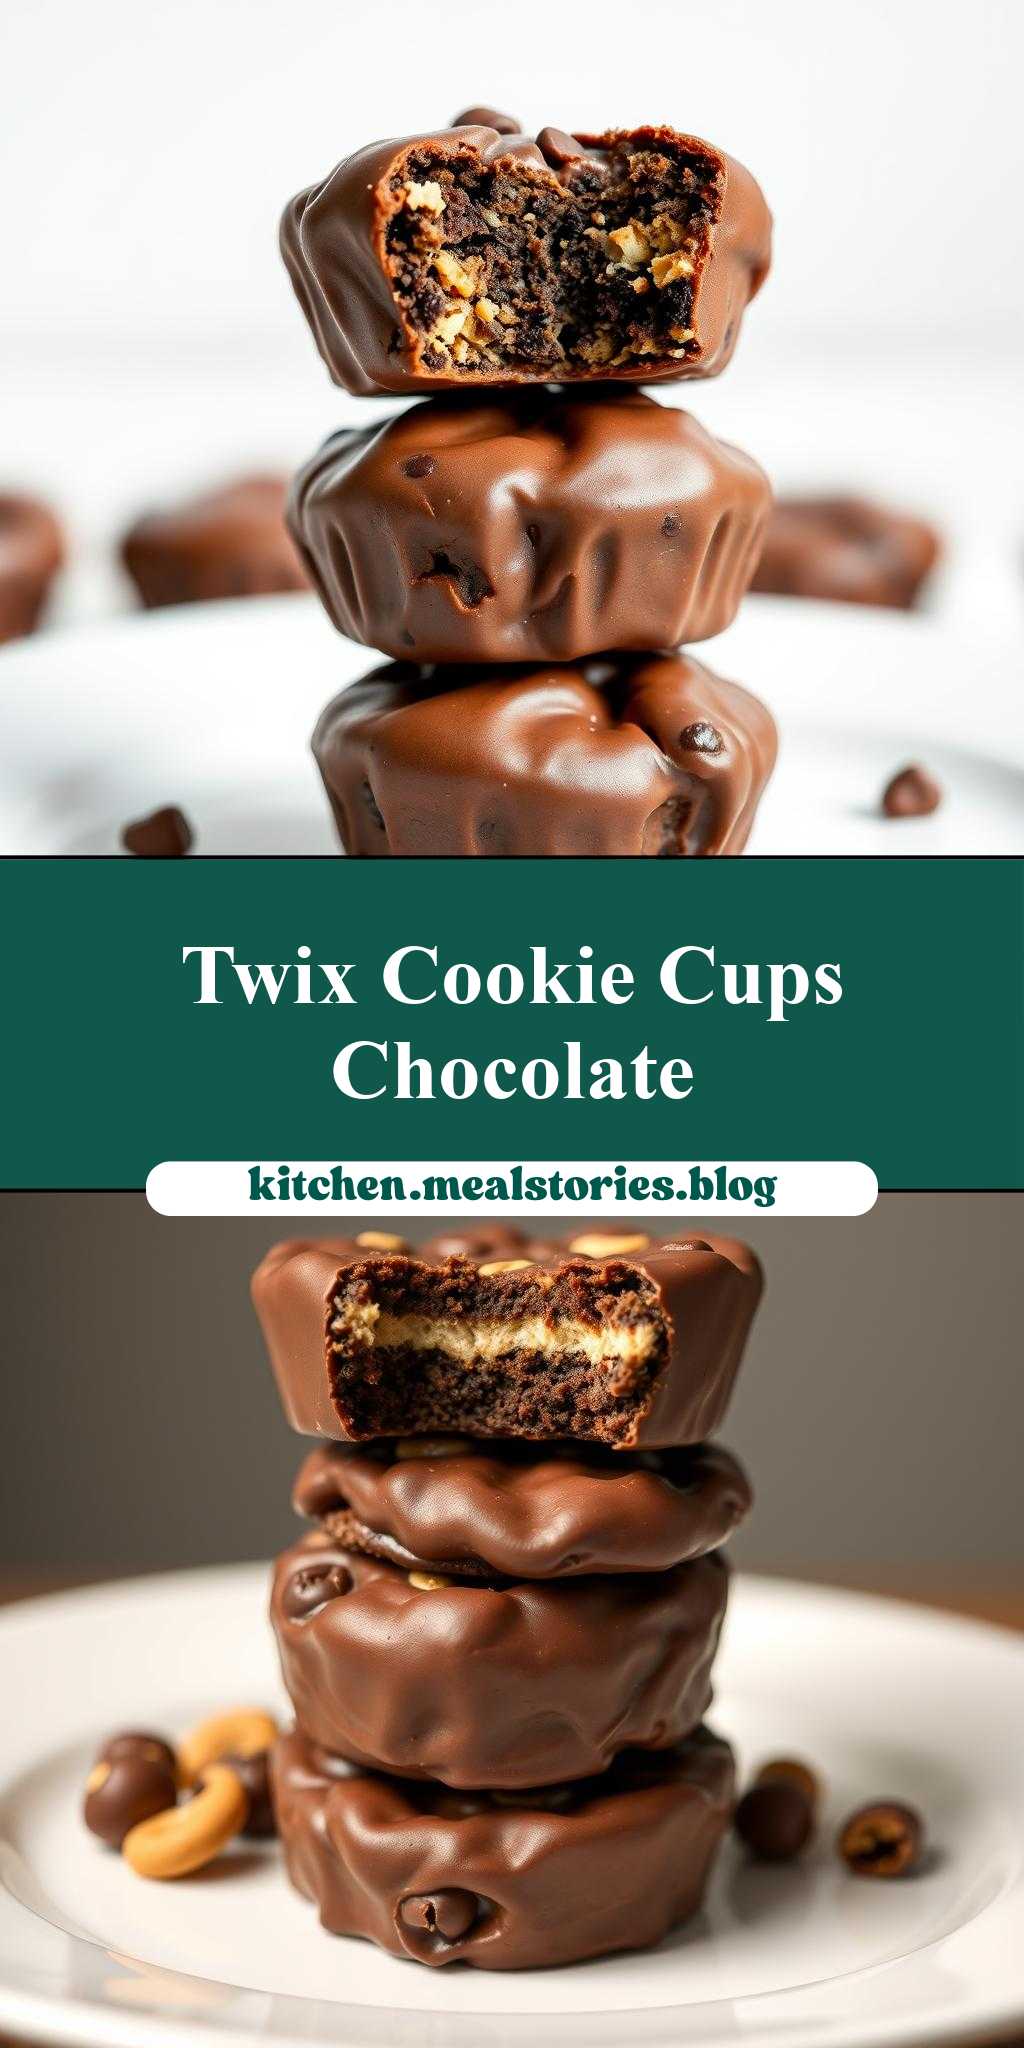
chocolate covered cookies are stacked on top of each other with the words twix cookie cups
Introduction
Imagine the perfect combination of crunchy cookies, smooth caramel, and rich chocolate, all stacked together in a delightful treat that’s as easy to make as it is impressive to serve. Welcome to the world of Twix Cookie Cups, where the magic of a classic candy bar meets the simplicity of a cookie cup. In this recipe, we’ll explore how to create these irresistible treats using everyday ingredients, minimal effort, and a dash of creativity. Whether you’re a seasoned baker or a novice in the kitchen, this recipe is designed to delight both your taste buds and your sense of adventure.
Why This Works
- Flavor balance and ingredient accessibility: The combination of cookie, caramel, and chocolate provides a perfect balance of flavors and textures, and the ingredients are easily found in most grocery stores.
- Ease of preparation: Despite the impressive presentation, these cookie cups are remarkably simple to prepare, requiring only basic baking skills and a few minutes of assembly.
- Impressive results with minimal effort: The layered effect of the cookies, caramel, and chocolate creates a visually stunning treat that’s sure to impress friends and family, all without requiring extensive culinary expertise.
Key Ingredients
To make these delicious Twix Cookie Cups, you’ll need a few key ingredients. For the cookie base, you’ll need all-purpose flour, baking soda, salt, granulated sugar, brown sugar, butter, eggs, and vanilla extract. For the caramel layer, you can use store-bought caramel sauce or make your own by melting sugar and heavy cream together. Finally, for the chocolate topping, you’ll need melted chocolate chips or chocolate bars. Practical substitutions include using different types of sugar, such as coconut sugar or turbinado sugar, and experimenting with various flavors of extract, like almond or coffee, to give your cookie cups a unique twist.
Instructions
- Step 1: Begin by preheating your oven to 375°F (190°C). Prepare your cookie dough by whisking together the flour, baking soda, and salt in a medium bowl, then creaming together the sugars and butter in a large bowl until light and fluffy. Beat in the eggs one at a time, followed by the vanilla extract. Gradually mix in the dry ingredients until a dough forms.
- Step 2: Scoop the cookie dough into balls, about 1 tablespoon each, and place them into a mini muffin tin. Bake for 12-15 minutes, or until the edges are lightly golden. Allow the cookies to cool completely in the pan.
- Step 3: Once the cookies are cool, use a small spoon or cookie scoop to remove the centers, creating a cup shape. Fill each cookie cup with a layer of caramel sauce, followed by a sprinkle of sea salt if desired.
- Step 4: Melt the chocolate chips in a double boiler or in the microwave in 30-second increments, stirring between each interval until smooth. Dip the top of each cookie cup into the melted chocolate, or use a spoon to drizzle the chocolate over the top. Refrigerate for at least 30 minutes to allow the chocolate to set before serving.
Handy Tips
- To ensure your cookies retain their shape, chill the dough for 30 minutes before baking. For an extra crunchy cookie, bake for an additional 2-3 minutes.
- When working with caramel, be careful not to burn it, as it can quickly go from perfectly caramelized to burnt. If using store-bought caramel, warm it slightly in the microwave to make it easier to pour.
- For a fun twist, experiment with different types of chocolate or add-ins like nuts, dried fruit, or candy pieces to the cookie dough or chocolate topping.
Heat Control
Heat control is crucial when baking the cookies and melting the chocolate. For the cookies, keep an eye on them after 10 minutes, as the baking time may vary depending on your oven. They’re done when the edges are lightly golden. When melting chocolate, use a low heat setting and stir frequently to prevent burning or seizing up. If melting in the microwave, start with short intervals and check the chocolate between each heating, stirring until smooth and melted.
Crunch Factor
Achieving the right crunch factor is key to these Twix Cookie Cups. The cookie base should be crunchy on the outside and chewy on the inside, the caramel should be smooth and slightly firm, and the chocolate should be set but still slightly soft to the bite. To enhance the crunch, ensure your cookies are baked until lightly golden and consider adding nuts or crunchy candy pieces to the cookie dough or chocolate topping.
Pro Kitchen Tricks
- Use a cookie scoop to portion out the dough for uniform cookies, and press the dough balls slightly flat on the top before baking for a better shape.
- For easier caramel handling, lightly grease the spoon or spatula with butter or cooking spray before filling the cookie cups.
- Temper your chocolate by heating and cooling it to a specific temperature to give it a glossy appearance and a satisfying snap when broken. This involves heating the chocolate to around 105°F (40°C), cooling it to about 80°F (27°C), and then re-heating it to working temperature, around 90°F (32°C) for dark chocolate and 86°F (30°C) for milk chocolate.
Storage Tips
- Store the Twix Cookie Cups in an airtight container in the refrigerator for up to 5 days. Allow them to come to room temperature before serving for the best flavor and texture.
- For longer storage, these cookie cups can be frozen for up to 2 months. Place them in a single layer in a freezer-safe bag or container and thaw at room temperature or in the refrigerator when ready to serve.
- When packaging, consider using parchment paper or wax paper to separate the cookie cups and prevent them from sticking together.
Gift Packaging Ideas
These Twix Cookie Cups make perfect gifts for friends, family, or coworkers. Consider packaging them in decorative jars, gift boxes, or bags. You can wrap each cookie cup individually in cellophane or parchment paper and tie with a ribbon for a more personalized touch. Adding a gift tag or a handwritten note can make the gift even more special. For a more rustic look, use burlap bags or twine to add a homespun feel to your gift packaging.
Flavor Variations
- Different spices: Add a pinch of cinnamon, nutmeg, or cayenne pepper to the cookie dough for a unique twist.
- Creative toppings: Experiment with various nuts (walnuts, pecans, hazelnuts), dried fruits (cranberries, cherries, raisins), or candy pieces (M&M’s, chopped peanut butter cups, sprinkles) added to the cookie dough or sprinkled on top of the chocolate.
- Ingredient swaps: Replace the all-purpose flour with oat flour for a nuttier flavor, use coconut sugar instead of granulated sugar for a slightly caramel-like flavor, or swap the chocolate chips with white chocolate or caramel bits for a different flavor profile.
Troubleshooting
- Texture problems: If your cookies are too hard, they may have been overbaked. Check your oven temperature and baking time. If the caramel is too runny, it may not have been heated to the correct temperature. Try reheating it to a firmer consistency.
- Ingredient replacements: If you’re out of a specific ingredient, consider what role it plays in the recipe and find a substitute that can fulfill that role. For example, if you’re out of butter, you could use margarine or a dairy-free alternative.
- Over/undercooking signs: Keep an eye on your cookies while they’re baking. If they’re undercooked, they’ll be soft and pale. If they’re overcooked, they’ll be dark and hard. For the caramel, if it’s underheated, it won’t set properly. If it’s overheated, it will burn and turn bitter.
FAQs
- Can I freeze it? Yes, these Twix Cookie Cups can be frozen for up to 2 months. Simply place them in a single layer in a freezer-safe bag or container and thaw at room temperature or in the refrigerator when ready to serve.
- Is it gluten-free? The recipe as stated contains gluten due to the all-purpose flour. However, you can make it gluten-free by substituting the flour with a gluten-free flour blend. Note that gluten-free baking can be more delicate, and you may need to adjust the ratio of flours and add xanthan gum to help with texture.
- Can I double the recipe? Yes, you can easily double or triple this recipe to make more Twix Cookie Cups. Just keep in mind that you’ll need to adjust the baking time slightly if you’re making a larger batch, and be sure to not overcrowd the muffin tin.
Conclusion
Making Twix Cookie Cups is a fun and rewarding baking project that combines the best of cookies, caramel, and chocolate. With these simple steps and handy tips, you’re well on your way to creating a dessert that’s sure to impress. Don’t be afraid to experiment with different flavors and toppings to make the recipe your own, and consider sharing your creations with friends and family as a thoughtful gift. Happy baking, and enjoy the delightful taste of your homemade Twix Cookie Cups!