What makes the perfect velvet cake truly unforgettable? Rich chocolate and creamy peanut butter come together in this decadent homemade dessert, featuring a moist and fluffy texture thanks to a simple easy mixing method. Save this idea for a family favorite treat to make on a weeknight dinner occasion, Try it soon
chocolate peanut butter velvet cake on a plate with the words, chocolate peanut butter velvet cake
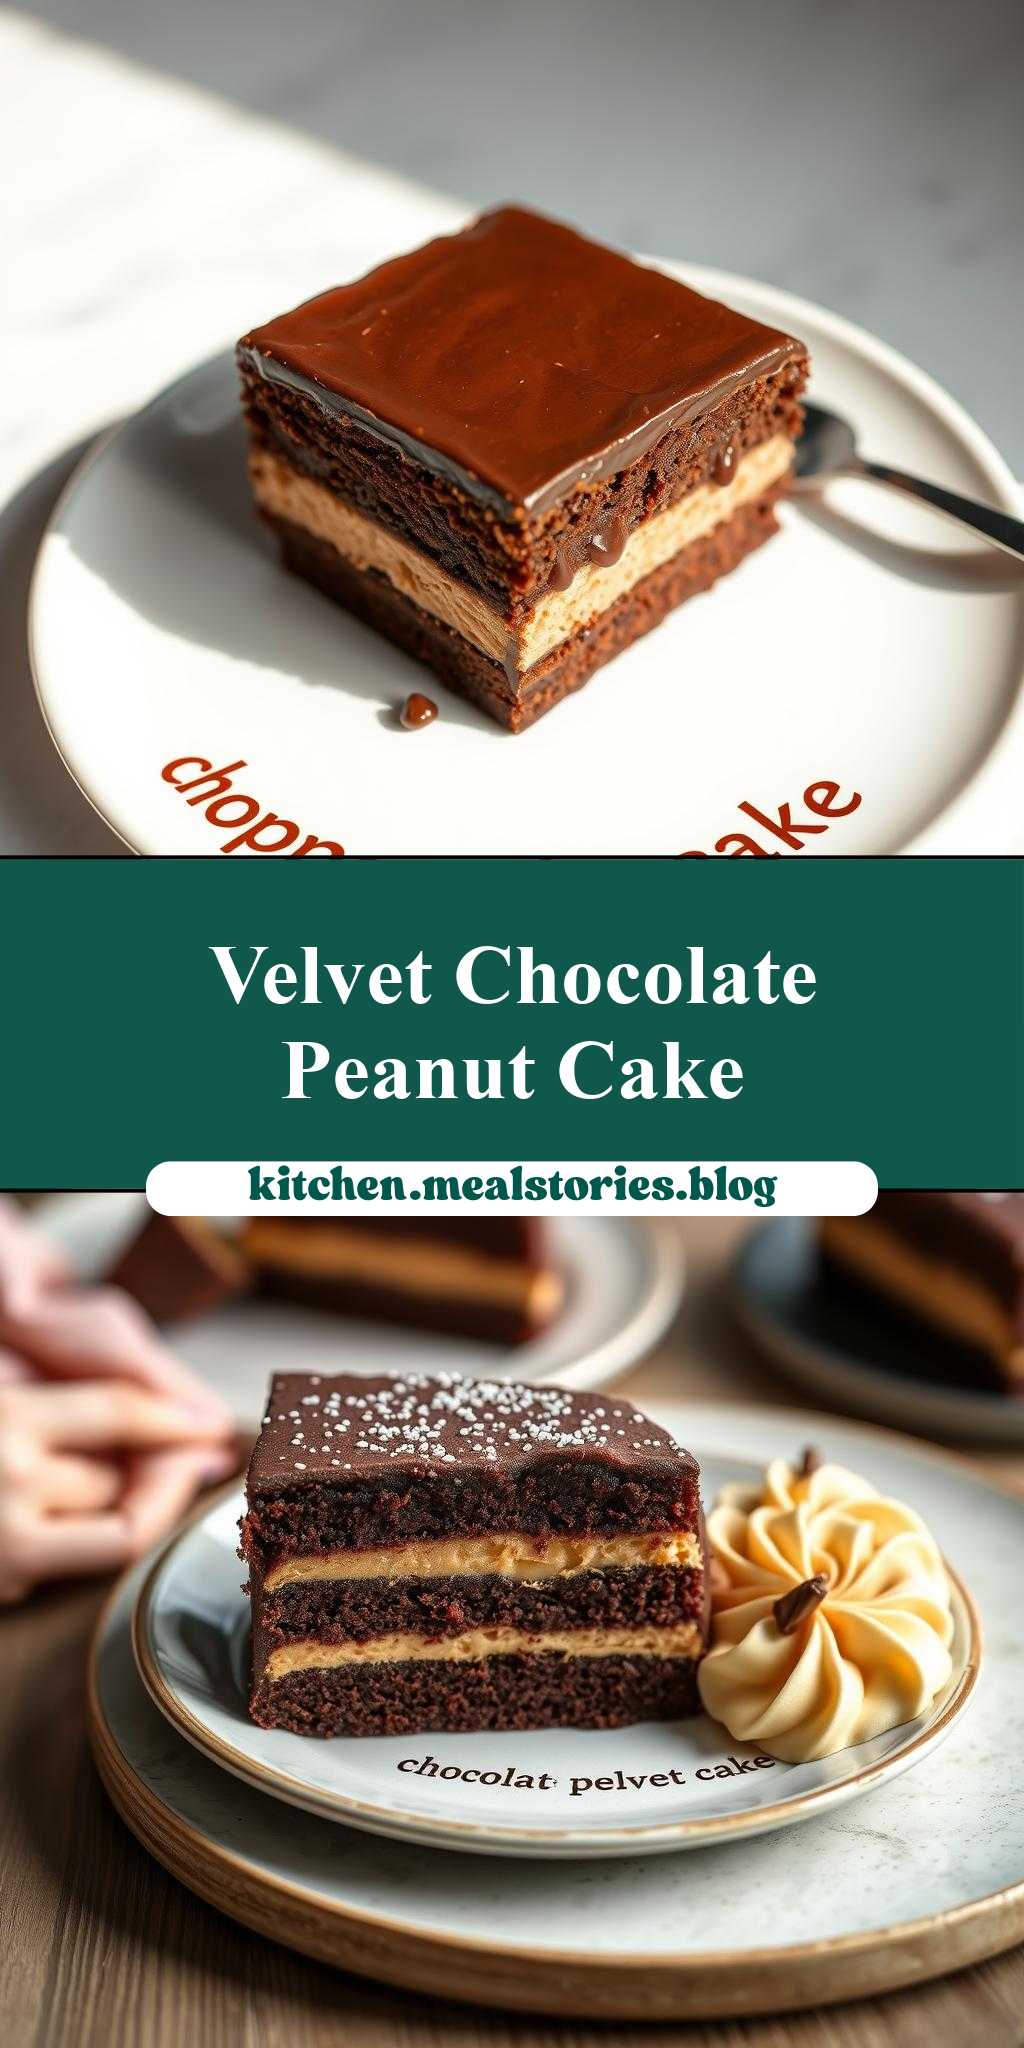
Introduction
Imagine a moist, decadent cake that combines the richness of chocolate and the creamy delight of peanut butter, all presented in a visually stunning way. The chocolate peanut butter velvet cake is not just a treat for the taste buds, but also a feast for the eyes, especially when beautifully plated with the words “chocolate peanut butter velvet cake” written alongside it. This recipe is all about ease, flavor, and creativity, using everyday ingredients to create something truly special. Whether you’re a seasoned baker or just starting out, this cake is sure to impress with its deep, velvety texture and the perfect balance of chocolate and peanut butter flavors.
Why This Works
- Flavor balance and ingredient accessibility: The combination of chocolate and peanut butter is a classic for a reason. It’s easy to find these ingredients in most grocery stores, and their flavors complement each other beautifully, creating a deep, satisfying taste experience.
- Ease of preparation: Despite its impressive appearance and taste, this cake is relatively simple to prepare. The instructions are straightforward, and with a bit of patience, anyone can achieve professional-looking results.
- Impressive results with minimal effort: The key to this recipe’s success lies in its layering and presentation. By taking a little extra time to write out the cake’s name on the plate, you elevate a delicious dessert into a memorable dining experience.
Key Ingredients
The main ingredients for this recipe include high-quality dark chocolate for the deepest flavor, creamy peanut butter for the frosting, and basic cake ingredients like flour, sugar, eggs, and butter. For the cake’s design, you’ll need a bit of chocolate ganache or melted chocolate and a steady hand for writing. Practical substitutions can be made for those with dietary restrictions, such as using gluten-free flour or vegan chocolate alternatives. The peanut butter can also be substituted with other nut butters for a different flavor profile.
Instructions
- Step 1: Begin by preheating your oven and preparing your cake pans. Measure out your ingredients, including flour, sugar, eggs, and butter, and have them ready. For the peanut butter frosting, ensure you have creamy peanut butter, powdered sugar, and a bit of milk or cream.
- Step 2: Mix your cake batter according to the recipe, being careful not to overmix. Pour the batter into your prepared pans and bake until a toothpick inserted comes out clean. Allow the cakes to cool completely before frosting.
- Step 3: Prepare your peanut butter frosting by blending the peanut butter, powdered sugar, and milk until smooth and creamy. Once your cakes are cool, you can frost them. If you’re making a layered cake, apply a thin layer of frosting between the layers to help them stick together.
- Step 4: For the final touches, melt some chocolate to create a ganache for decorating. Write out “chocolate peanut butter velvet cake” on the plate in a decorative manner. You can also add additional decorations like chopped nuts or chocolate shavings around the cake.
Handy Tips
- To ensure your cake is moist, don’t overbake it. Check frequently towards the end of the baking time, and remove it from the oven as soon as a toothpick inserted into the center comes out clean.
- For a smoother frosting, make sure your peanut butter is at room temperature, and sift your powdered sugar to avoid lumps.
- Practice makes perfect when it comes to writing on plates with chocolate. You might want to practice on a spare plate before decorating your final dish.
Heat Control
If you’re baking, the ideal temperature for your oven should be around 350°F (175°C), depending on your recipe’s specifications. Keep an eye on your cake’s baking time, as it can vary based on the size of your cake and your oven’s performance. A perfectly baked cake will be firm to the touch, with a slight spring when pressed gently in the center.
Crunch Factor
This cake should be tender and moist, with a smooth, creamy frosting. If you’re adding decorations like chopped nuts, these will provide a pleasant crunch contrast to the softness of the cake. To achieve the perfect texture, make sure not to overmix your batter, and don’t overbake your cake.
Pro Kitchen Tricks
- Use room temperature ingredients for a better texture and easier mixing.
- Don’t open the oven door too frequently while the cake is baking, as this can cause it to sink or not bake evenly.
- For an extra moist cake, try adding an extra egg yolk or a tablespoon of sour cream to your batter.
Storage Tips
- Leftover cake can be stored in an airtight container at room temperature for up to 3 days or frozen for up to 2 months.
- When reheating, do so gently to prevent drying out the cake. You can reheat slices in the microwave for a few seconds or wrap them in foil and heat them in the oven at a low temperature.
- For the best results, use a clean, dry container for storage, and consider wrapping the cake tightly in plastic wrap or aluminum foil before placing it in the container.
Gift Packaging Ideas
If you’re giving this cake as a gift, consider presenting it in a beautiful cake box or on a decorative plate, wrapped in clear plastic wrap or a dome to protect it. You can also add a ribbon around the box or a gift card with a personal message. For a more rustic look, use a wooden board or a vintage plate, and decorate with fresh flowers or greenery.
Flavor Variations
- Different spices: Try adding a pinch of salt or a teaspoon of cinnamon to your cake batter for added depth of flavor.
- Creative toppings: In addition to peanut butter frosting, you could top your cake with chocolate shavings, chopped nuts, or even a scoop of ice cream.
- Ingredient swaps: Substitute the peanut butter with almond butter or cashew butter for a different nutty flavor, or use different types of chocolate for the cake and frosting.
Troubleshooting
- Texture problems: If your cake turns out too dense, it might be due to overmixing. If it’s too dry, it could be overbaked. Adjust your mixing and baking times accordingly for the next attempt.
- Ingredient replacements: If you’re missing an ingredient, look for substitutions online or in cookbooks. For example, you can make your own buttermilk by mixing milk with vinegar or lemon juice.
- Over/undercooking signs: Keep an eye on your cake while it bakes, and check it frequently towards the end. A toothpick inserted into the center should come out clean for a perfectly baked cake.
FAQs
- Can I freeze it? Yes, you can freeze the cake for up to 2 months. It’s best to freeze it without frosting and then frost it after thawing.
- Is it gluten-free? Not in its basic form, but you can make it gluten-free by substituting the flour with a gluten-free flour mix.
- Can I double the recipe? Yes, you can double the recipe to make a larger cake. Just keep in mind that you might need to adjust the baking time slightly.
Conclusion
Making a chocolate peanut butter velvet cake and presenting it beautifully on a plate with its name written in chocolate is a fun and rewarding project. It’s a great way to practice your baking and decorating skills, and the end result is a delicious and visually appealing dessert that’s sure to impress anyone. Don’t be afraid to experiment with different flavors and decorations, and remember, the most important ingredient in any recipe is love. So, go ahead, get creative, and enjoy the process of making something truly special.