What’s the ultimate comfort food for a weeknight dinner? These baked cheeseburger sliders are a family favorite, made with freshly ground beef and melted cheddar cheese in a quick and easy homemade recipe. Save this idea for your next easy weeknight dinner solution.
Baked Cheeseburger Sliders
Introduction
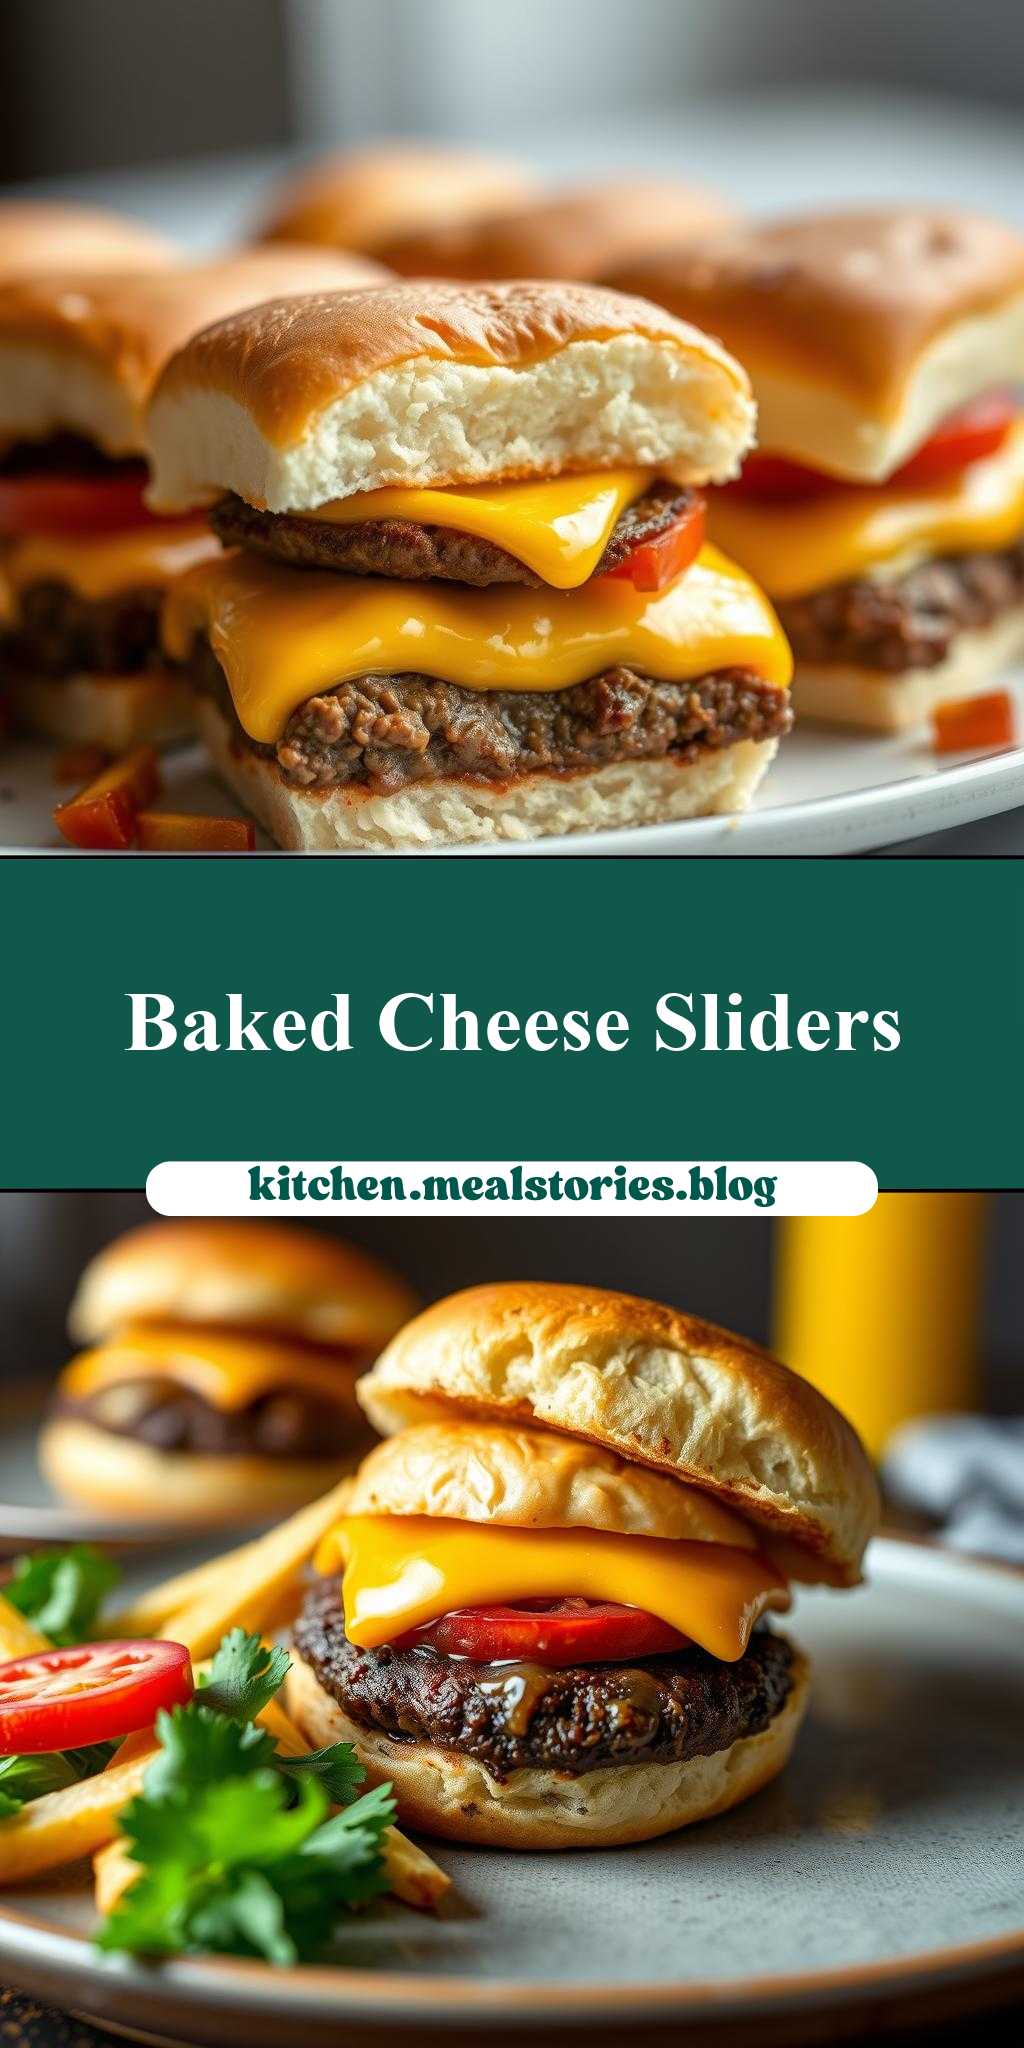
Imagine the classic flavors of a cheeseburger, carefully layered and baked to perfection in a compact, shareable slider form. The Baked Cheeseburger Sliders recipe brings together the ease of a casserole, the fun of finger foods, and the satisfaction of a homemade burger, all in one delightful dish. By utilizing everyday ingredients and a straightforward baking process, this recipe makes it simple to create an impressive array of sliders that are perfect for gatherings, parties, or even a quick family dinner. The beauty of this dish lies in its balance of flavors, textures, and the creativity it allows for customizing to your taste preferences.
Why This Works
- Flavor balance and ingredient accessibility: The combination of ground beef, cheese, and the subtle sweetness of buns, all baked together, creates a harmonious flavor profile that is both comforting and exciting. The ingredients are readily available and can be adjusted based on personal preferences and dietary needs.
- Ease of preparation: The steps involved in preparing Baked Cheeseburger Sliders are straightforward and require minimal cooking expertise. The recipe is forgiving and allows for a variety of substitutions and additions, making it accessible to cooks of all levels.
- Impressive results with minimal effort: Despite the simplicity of the recipe, the end result is visually appealing and satisfying. The sliders are perfect for serving a crowd, as they are easy to grab and go, and their compact size makes them an ideal snack or light meal.
Key Ingredients
The foundation of Baked Cheeseburger Sliders includes ground beef, which can be substituted with ground turkey, chicken, or vegetarian options like beans or mushrooms for a different twist. Other essential ingredients are slider buns, cheese (such as cheddar, American, or mozzarella), lettuce, tomatoes, onions, pickles, and any desired condiments or toppings. For added flavor, ingredients like bacon, caramelized onions, or jalapeños can enhance the sliders. Practical substitutions can be made based on dietary restrictions or preferences, such as using gluten-free buns or vegan cheese alternatives.
Instructions
- Step 1: Begin by preheating your oven to 375°F (190°C). While the oven is warming up, prepare your ingredients. Chop the lettuce, slice the tomatoes, onions, and pickles, and cook the ground beef in a skillet until it’s browned, breaking it into small pieces as it cooks.
- Step 2: In a large bowl, mix the cooked ground beef with any desired seasonings, such as salt, pepper, and Worcestershire sauce. Cut the slider buns in half and place the bottom halves in a baking dish. Spoon the beef mixture over the buns, followed by a layer of cheese.
- Step 3: Add your toppings, such as lettuce, tomatoes, onions, and pickles, on top of the cheese. Place the top halves of the buns on the sliders. If desired, brush the tops of the buns with melted butter or a beaten egg for a golden glaze.
- Step 4: Bake the sliders in the preheated oven for about 15-20 minutes, or until the cheese is melted and the buns are lightly toasted. Remove from the oven and let cool for a few minutes before serving. You can serve them as is or with additional condiments on the side.
Handy Tips
- To prevent the sliders from becoming too soggy, lightly toast the buns before assembling the sliders. Also, consider using a baking sheet with a rack to allow air to circulate under the sliders.
- For an extra crispy top, broil the sliders for an additional 1-2 minutes after baking. Keep a close eye to avoid burning.
- Customize your sliders with different cheeses, meats, or toppings to cater to various tastes and dietary needs.
Heat Control
The ideal temperature for baking the sliders is 375°F (190°C), and the baking time should be around 15-20 minutes. It’s essential to keep an eye on the sliders during the last few minutes of baking to ensure the cheese is melted to your liking and the buns are not over-toasted. Signs of doneness include melted cheese, lightly toasted buns, and heated-through toppings.
Crunch Factor
Achieving the right texture is key to the appeal of Baked Cheeseburger Sliders. The sliders should have a soft, slightly toasted bun, a crunchy freshness from the lettuce and vegetables, and a satisfying crunch from any added toppings like bacon or onions. To enhance the crunch factor, consider adding crispy elements like fried onions or pickles on top of the sliders before baking.
Pro Kitchen Tricks
- Use a variety of cheeses for a deeper flavor profile. Mixing cheddar with mozzarella or parmesan can add complexity to the dish.
- Prepare the ground beef mixture ahead of time and store it in the refrigerator overnight to allow the flavors to meld together.
- For easier cleanup, line the baking dish with aluminum foil or parchment paper before adding the sliders.
Storage Tips
- Leftover sliders can be stored in an airtight container in the refrigerator for up to 3 days. Reheat them in the oven or microwave until warmed through.
- For longer storage, consider freezing the assembled but unbaked sliders. Simply thaw and bake as needed.
- When storing, it’s best to keep the sliders in a single layer to prevent them from sticking together. If stacking is necessary, place a piece of parchment paper between the layers.
Gift Packaging Ideas
If you’re considering gifting Baked Cheeseburger Sliders, perhaps for a potluck or as a care package, there are several creative ways to package them. Individual sliders can be wrapped in foil or placed in small containers and then put into a larger gift basket or box. Adding a side of condiments or a small salad can complement the gift. For a more rustic appeal, use parchment paper or a paper bag and tie with a ribbon.
Flavor Variations
- Different spices: Add a pinch of cumin for a southwestern twist or some dried oregano for a Mediterranean flavor.
- Creative toppings: Consider using grilled mushrooms, caramelized onions, or roasted bell peppers to add depth and variety to the sliders.
- Ingredient swaps: Substitute the ground beef with ground lamb for a Greek-inspired slider or use vegetarian options like black beans or portobello mushrooms for a meatless version.
Troubleshooting
- Texture problems: If the sliders become too soggy, it may be due to overbaking or using too much sauce. Conversely, if they’re too dry, a bit more cheese or a dollop of sauce can help.
- Ingredient replacements: When substituting ingredients, especially the protein or cheese, be mindful of the cooking time and temperature, as these can vary.
- Over/undercooking signs: Keep an eye on the sliders during baking. If the buns are getting too brown, cover the dish with foil. If the cheese isn’t melting, bake for a few minutes longer.
FAQs
- Can I freeze it? Yes, you can freeze the sliders before baking. Assemble them, place them on a baking sheet to freeze, and then transfer the frozen sliders to a freezer-safe bag or container for storage.
- Is it gluten-free? Depending on the type of buns used, the sliders can be made gluten-free. Look for gluten-free slider buns or consider using lettuce wraps as a low-carb, gluten-free alternative.
- Can I double the recipe? Absolutely, the recipe can be easily doubled or tripled to serve a larger crowd. Just ensure you have a large enough baking dish to accommodate all the sliders in a single layer.
Conclusion
Baked Cheeseburger Sliders offer a fun, flexible, and flavorful way to enjoy a classic favorite in a new and exciting format. With their ease of preparation, customizable ingredients, and crowd-pleasing presentation, they’re perfect for any occasion. Don’t be afraid to experiment with different ingredients and toppings to make the recipe your own, and enjoy the process of sharing your creations with friends and family. Whether you’re a seasoned cook or just starting out, this recipe is sure to become a staple in your kitchen.