What makes the perfect brownie utterly irresistible? Rich, fudgy texture and a twist of flavor from crushed Oreos. These homemade treats are incredibly easy to whip up on a weeknight using melted chocolate and a simple mixing method. Save this idea for your next family favorite dessert to try soon
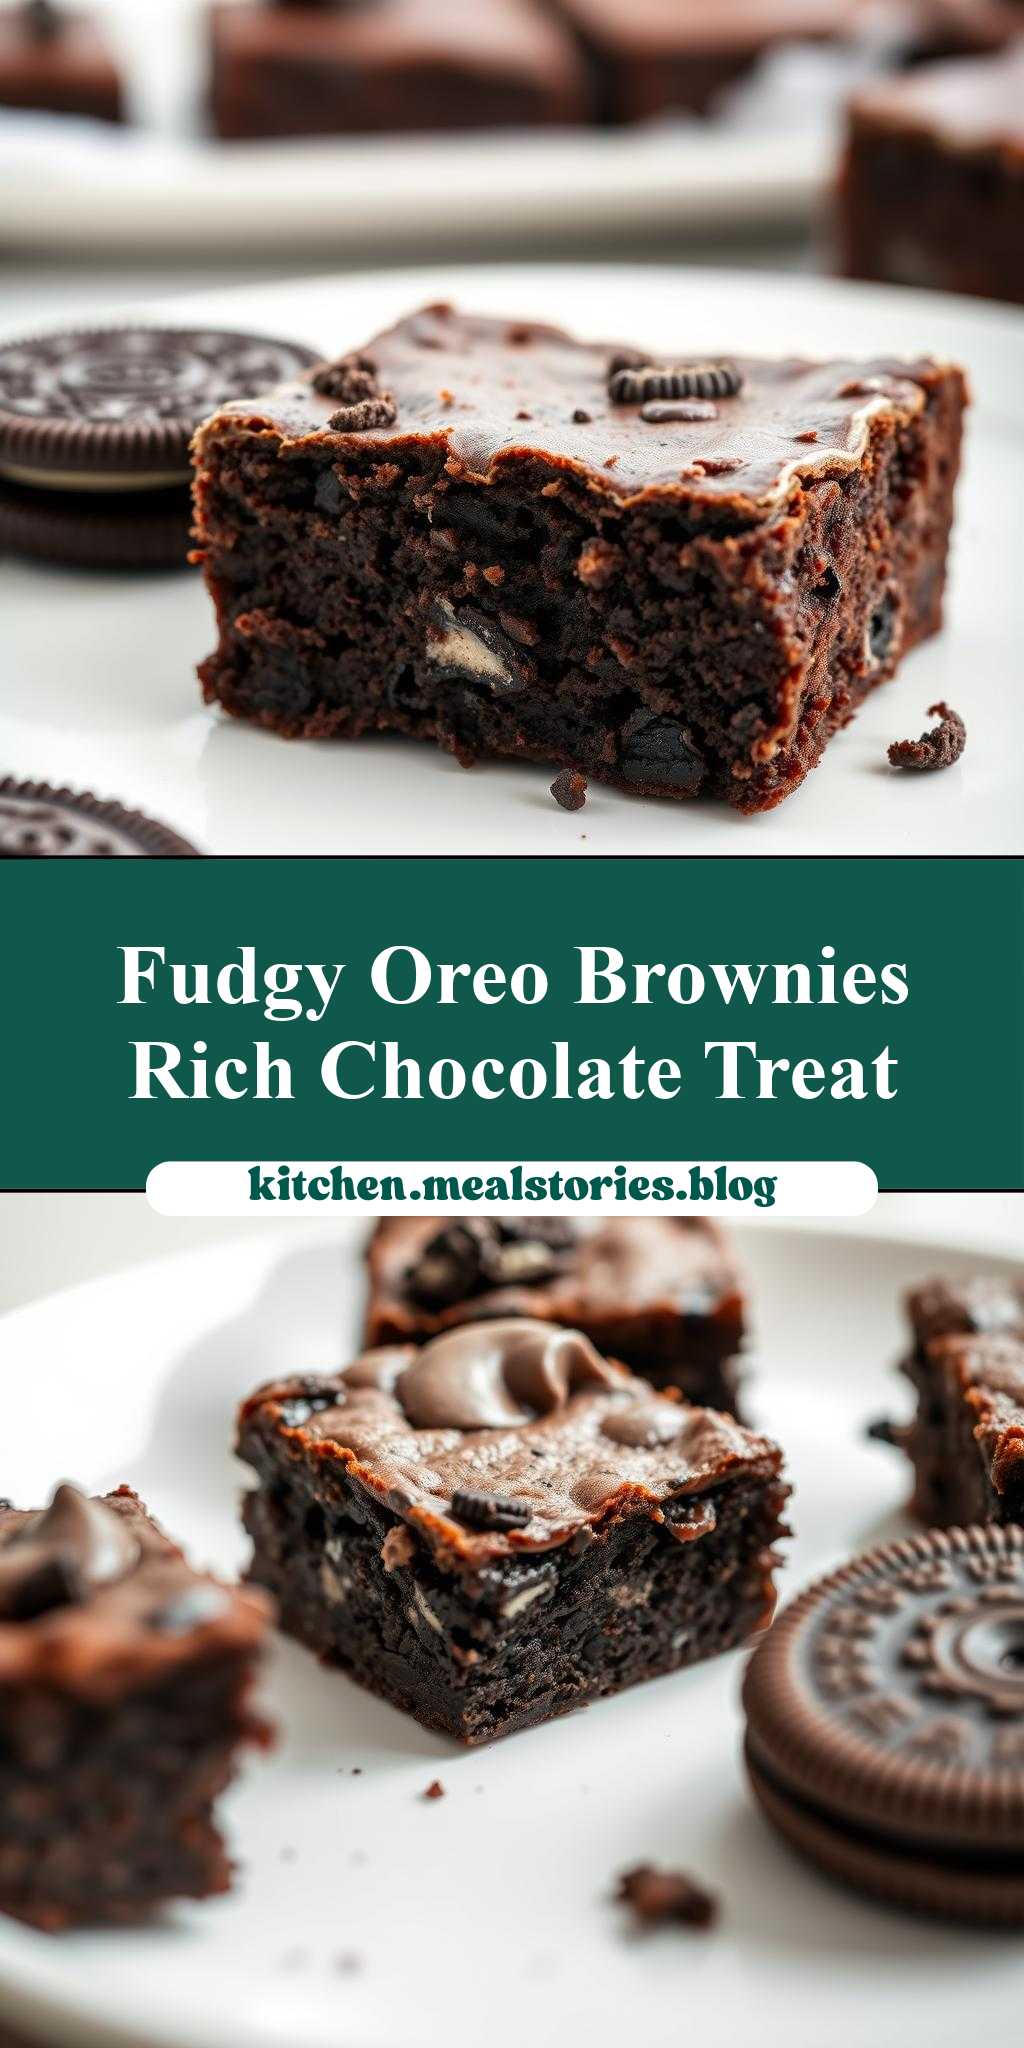
Fudgy Oreo Brownies
Introduction
Imagine sinking your teeth into a rich, fudgy brownie that’s bursting with the iconic flavor of Oreos. These Fudgy Oreo Brownies are a game-changer for anyone with a sweet tooth, combining the best of both worlds in a single, indulgent treat. What’s more, they’re incredibly easy to make, requiring only a handful of everyday ingredients and minimal effort. Whether you’re a seasoned baker or a beginner in the kitchen, this recipe is sure to impress, making it perfect for family gatherings, potlucks, or as a special gift for friends and loved ones.
Why This Works
- Flavor balance and ingredient accessibility: The combination of dark chocolate, Oreos, and a hint of vanilla creates a perfectly balanced flavor profile that’s both decadent and familiar. Plus, all the ingredients are easily found in most supermarkets.
- Ease of preparation: The recipe involves straightforward steps that are hard to mess up, making it accessible to bakers of all skill levels. From measuring out ingredients to layering the brownies, each step is simple and quick.
- Impressive results with minimal effort: Despite the simplicity of the recipe, the end result is nothing short of impressive. The fudgy texture, the crunch of the Oreos, and the deep chocolate flavor all come together to create a dessert that looks and tastes like it was made by a professional.
Key Ingredients
The main ingredients in these Fudgy Oreo Brownies include dark chocolate for the deepest, richest flavor, Oreos for that unmistakable crunch and flavor contrast, all-purpose flour as the base, unsalted butter for moisture and tenderness, granulated sugar for sweetness, large eggs to bind everything together, and pure vanilla extract for a touch of warmth and depth. For those looking for substitutions, consider using semi-sweet chocolate chips if dark chocolate is not available, and for a gluten-free version, replace the all-purpose flour with a gluten-free flour blend.
Instructions
- Step 1: Begin by preheating your oven to 350°F (175°C). While that’s warming up, chop your Oreos. You’ll want to end up with a mix of fine crumbs and slightly larger pieces for the best texture. Measure out all your ingredients to ensure everything is ready to go.
- Step 2: In a medium saucepan over low heat, melt the butter and chocolate, stirring occasionally. Once smooth, remove from heat and stir in the sugar until well combined. Beat in the eggs one at a time, followed by the vanilla extract. Lastly, stir in the flour until just combined, being careful not to overmix.
- Step 3: Fold in your chopped Oreos. The batter will be thick, so be patient and make sure they’re evenly distributed. Pour half of the batter into a lined or greased 8×8-inch baking pan. Top with more Oreos—you can’t have too many! Then, pour the remaining batter over the top.
- Step 4: Bake for about 25-30 minutes or until a toothpick inserted into the center comes out with a few moist crumbs attached. Let the brownies cool completely in the pan before cutting into squares and serving. For an extra-special touch, top with additional Oreos or a sprinkle of powdered sugar.
Handy Tips
- Don’t overbake. The key to fudgy brownies is taking them out of the oven when they’re still slightly underdone. They’ll set as they cool, retaining that gorgeous, gooey center.
- Use high-quality chocolate for the best flavor. While it might be tempting to use whatever chocolate you have on hand, investing in good dark chocolate will elevate your brownies significantly.
- Experiment with different types of Oreos. While classic works beautifully, feel free to try out other flavors like Mint or Peanut Butter for a unique twist.
Heat Control
For the perfect bake, ensure your oven is at the correct temperature. An oven thermometer can be a valuable tool here. Bake for 25-30 minutes, but keep an eye on them after 20 minutes. You’re looking for the edges to be set and the center to still look slightly underbaked. A toothpick test is your best friend here—aim for a few moist crumbs clinging to the toothpick for fudgy brownies.
Crunch Factor
The crunch in these brownies comes from the Oreos, which provide a beautiful textural contrast to the fudgy chocolate. To enhance this, don’t overmix the batter once you’ve added the Oreos, as this can cause them to break down and lose their crunch. Also, consider adding a layer of whole Oreos in the middle of the batter for an extra crunchy surprise in the center of your brownies.
Pro Kitchen Tricks
- Line your baking pan with parchment paper for easy removal and cleanup. This also helps prevent the brownies from sticking and makes cutting them into neat squares much simpler.
- Let the brownies cool completely in the pan. This might seem like a patience-tester, but it’s crucial for them to set properly and retain their fudgy texture.
- Use a sharp knife to cut the brownies. For clean cuts, dip your knife in hot water, wipe it dry, and cut. This helps prevent the brownies from tearing and gives you nice, clean edges.
Storage Tips
- Store your brownies in an airtight container at room temperature for up to 3 days. If you won’t be consuming them within this timeframe, consider freezing them. Wrap the brownies tightly in plastic wrap or aluminum foil and place them in a freezer-safe bag for up to 2 months.
- To freeze individual brownies, cut them first, then wrap each one separately before placing them in a freezer bag. This way, you can thaw and enjoy one at a time without having to thaw the whole batch.
- For the best flavor and texture after freezing, let the brownies thaw at room temperature or reheat them gently in the microwave.
Gift Packaging Ideas
These Fudgy Oreo Brownies make a wonderful gift, especially when packaged with a bit of flair. Consider placing them in decorative tins or jars, wrapped in colorful paper or cellophane, and tied with a ribbon. For a more rustic look, use brown paper bags and twine. You could also pair them with a bag of gourmet coffee or a box of specialty teas for a complete gift set. Don’t forget to include a personalized note or card to make it extra special.
Flavor Variations
- Different spices: Add a pinch of salt or a teaspoon of espresso powder to deepen the flavor. For a seasonal twist, consider using pumpkin spice in the fall or peppermint extract in the winter.
- Creative toppings: Once your brownies are cooled, get creative with toppings. Powdered sugar, chopped nuts, or even a drizzle of caramel or chocolate sauce can add an extra layer of flavor and visual appeal.
- Ingredient swaps: Feel free to experiment with different types of chocolate or nuts. Walnuts or pecans can add a lovely texture, while white chocolate chips can provide a sweet and creamy contrast.
Troubleshooting
- Texture problems: If your brownies turn out too dry, they were likely overbaked. Next time, try taking them out of the oven a minute or two earlier. If they’re too gooey, they might not have been baked long enough or were not cooled properly.
- Ingredient replacements: Need to replace an ingredient? Consider using applesauce or mashed banana as a substitute for some of the butter or oil for a moist and healthier brownie. For egg replacers, flaxseed or chia eggs work well in brownies.
- Over/undercooking signs: Keep an eye on your brownies as they bake. Overcooked brownies will be dry and possibly cracked on top, while undercooked ones will be too soft and squishy to the touch.
FAQs
- Can I freeze it? Yes, these brownies freeze beautifully. Wrap them tightly and store in a freezer-safe bag for up to 2 months.
- Is it gluten-free? The recipe as written is not gluten-free due to the all-purpose flour. However, you can easily make it gluten-free by substituting the flour with a gluten-free flour blend.
- Can I double the recipe? Absolutely! Just keep in mind that you’ll need to adjust the baking time slightly. A doubled recipe in a 9×13-inch pan will likely take about 35-40 minutes to bake through.
Conclusion
With these Fudgy Oreo Brownies, you’re not just making a dessert; you’re creating an experience. The combination of textures and flavors is sure to impress anyone who tries them. Whether you’re a fan of classic desserts or looking to mix things up with new flavors, this recipe is versatile and easy to adapt. So go ahead, get baking, and enjoy the joy of sharing something truly special with the people around you. Happy baking!