What makes Girl Scout cookies so addictive? It’s the perfect combination of crunchy coconut, rich chocolate and a hint of caramel in a homemade treat. This easy recipe uses shortbread, coconut flakes and a chocolate drizzle to create the ultimate Samoa cookie. Save this idea for your next baking session Pin for later
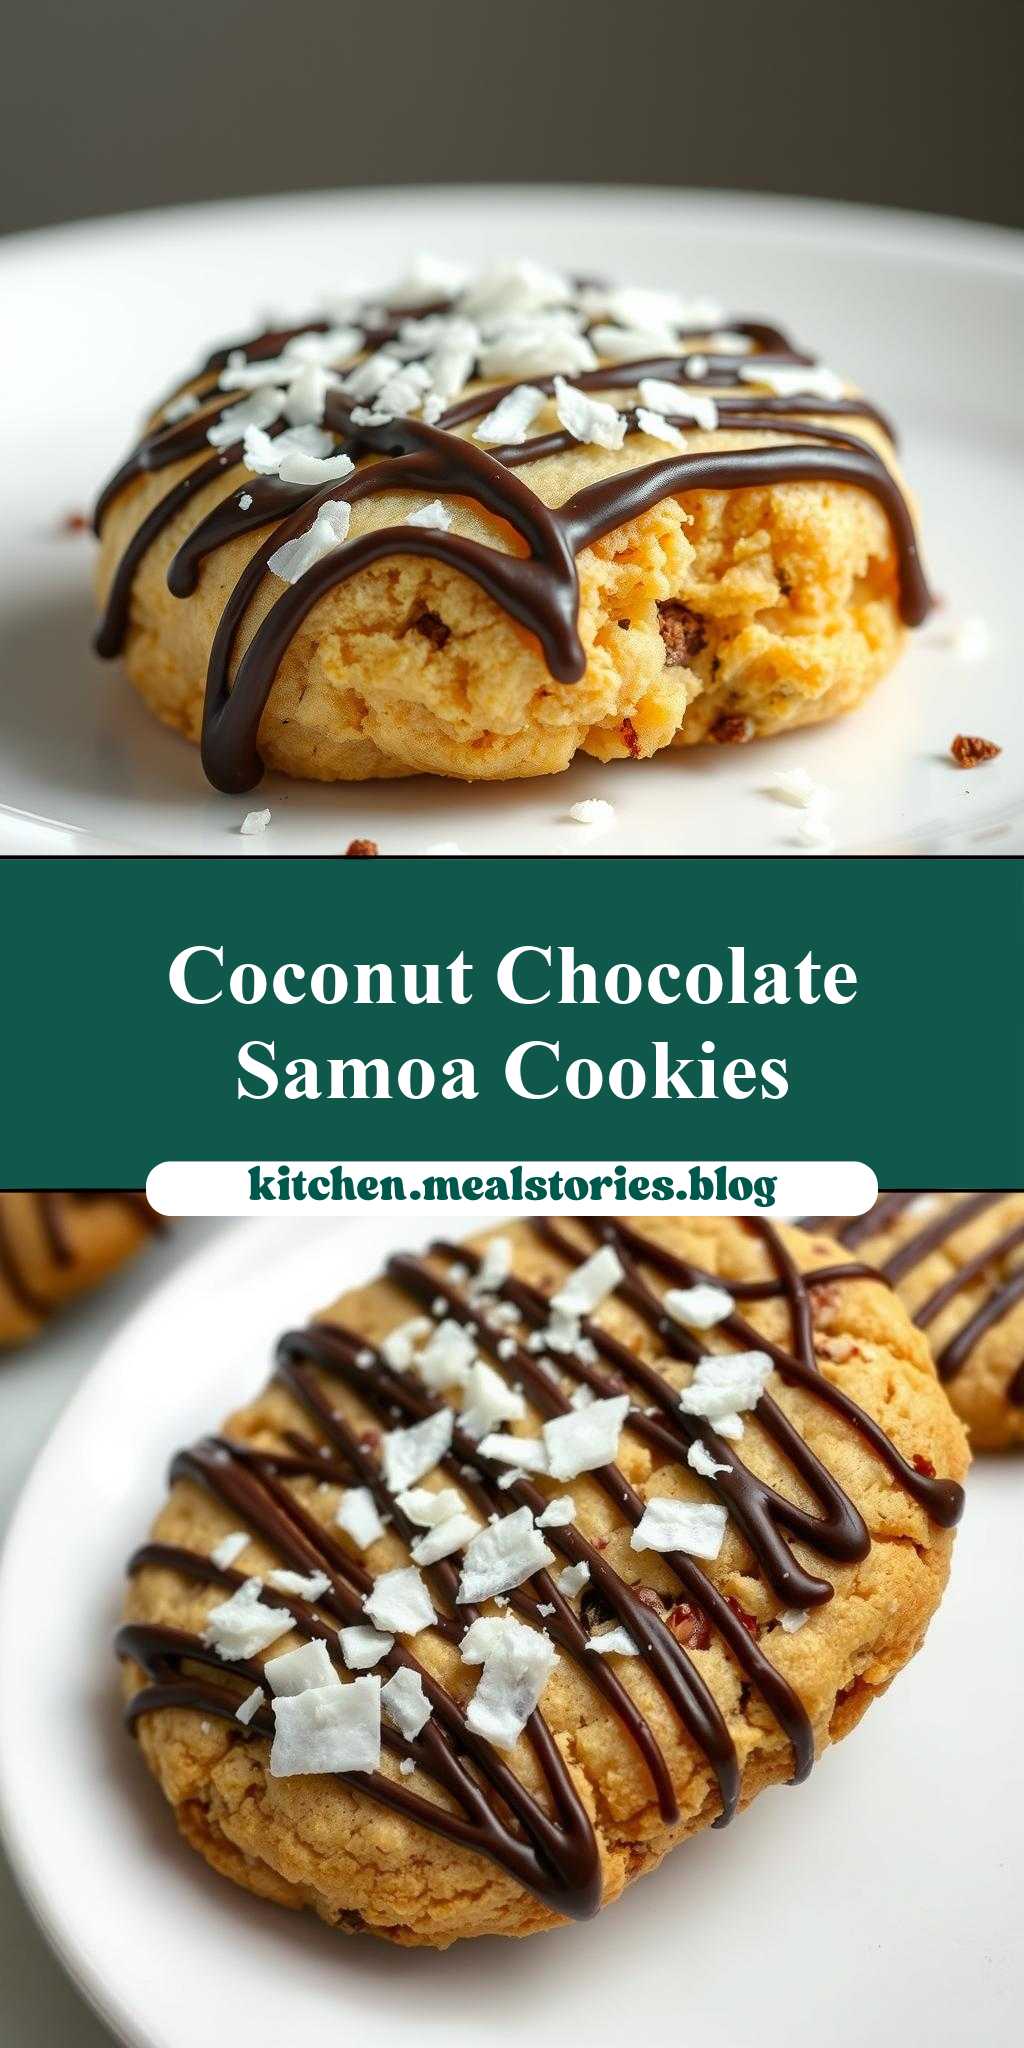
homemade samoa girl scout cookies with chocolate drizzle and coconut flakes on top
Introduction
Indulge in the delightful taste of homemade Samoa Girl Scout cookies, elevated with a rich chocolate drizzle and toasted coconut flakes on top. These decadent treats are surprisingly easy to make, requiring everyday ingredients that you might already have in your pantry. The combination of caramel, chocolate, and coconut creates a flavor balance that is both familiar and exciting, making these cookies perfect for satisfying your sweet tooth or sharing with friends and family. With a little creativity, you can enjoy the classic Girl Scout cookie experience from the comfort of your own home, customized to your taste preferences.
Why This Works
- Flavor balance and ingredient accessibility: The recipe strikes a perfect balance between sweet and savory, using ingredients that are easily found in most grocery stores.
- Ease of preparation: Despite the impressive results, the cookies are relatively simple to prepare, requiring basic baking skills and minimal special equipment.
- Impressive results with minimal effort: The addition of a chocolate drizzle and toasted coconut flakes adds a luxurious touch without requiring a lot of extra work, making these cookies perfect for both casual snacking and special occasions.
Key Ingredients
The main ingredients for these homemade Samoa Girl Scout cookies include shortbread cookies made with butter, sugar, and flour, a caramel filling made with sweetened condensed milk, butter, and vanilla, and a topping of melted chocolate and toasted coconut flakes. For practical substitutions, you can use unsalted butter and add a pinch of salt, or use coconut milk instead of sweetened condensed milk for a lighter caramel. Additionally, you can customize the cookies with your favorite type of chocolate or add-ins like nuts or sea salt for extra texture and flavor.
Instructions
- Step 1: Begin by preheating your oven to 300°F (150°C). Line a baking sheet with parchment paper and set aside. In a medium bowl, whisk together the flour, sugar, and salt. Add the cold butter and use a pastry blender or your fingers to work it into the dry ingredients until the mixture resembles coarse crumbs.
- Step 2: Press the mixture into a disk, wrap it in plastic wrap, and refrigerate for at least 30 minutes. On a lightly floured surface, roll out the dough to about 1/4 inch thickness. Cut into desired shapes using a cookie cutter. Place the cookies on the prepared baking sheet and bake for 18-20 minutes, or until lightly golden.
- Step 3: While the cookies are baking, prepare the caramel filling by combining the sweetened condensed milk, butter, and vanilla in a small saucepan. Place over medium heat and cook, stirring constantly, until the caramel turns a deep amber color. Remove from heat and let cool slightly.
- Step 4: Once the cookies are cool, spread a small amount of caramel onto the top of each cookie, leaving a 1/2 inch border around the edges. Melt the chocolate in a double boiler or in the microwave in 30-second increments, stirring between each interval until smooth. Drizzle the melted chocolate over the caramel and sprinkle with toasted coconut flakes.
Handy Tips
- For a crisper cookie, bake for an additional 2-3 minutes. To avoid overcooking, keep an eye on the cookies after 15 minutes of baking and check for doneness every minute thereafter.
- Use high-quality chocolate for the best flavor. If using the microwave to melt the chocolate, be careful not to overheat, as this can cause the chocolate to seize up and become grainy.
- Toast the coconut flakes in a 350°F oven for 5-7 minutes, or until lightly golden and fragrant, to enhance the flavor and texture.
Heat Control
When cooking the caramel, it’s essential to maintain a medium heat and stir constantly to prevent burning. The ideal temperature for caramelizing the sweetened condensed milk is between 240°F and 250°F, which should take about 10-12 minutes. Be patient and do not rush this step, as the caramel is a crucial component of the cookie’s flavor and texture.
Crunch Factor
The crunch factor in these cookies comes from the toasted coconut flakes and the shortbread texture. To achieve the perfect crunch, make sure to not overbake the cookies and to toast the coconut flakes until they are lightly golden. You can also add some chopped nuts or sea salt on top of the cookies before baking for extra texture and flavor.
Pro Kitchen Tricks
- For easier cookie removal, chill the baked cookies in the refrigerator for 10 minutes before transferring them to a wire rack to cool completely.
- Use a spatula to spread the caramel and chocolate, as this will help you achieve a smooth and even layer.
- Experiment with different types of milk and flavor extracts, such as almond or coconut extract, to create unique and delicious variations of the cookies.
Storage Tips
- Store the cookies in an airtight container at room temperature for up to 5 days. If you live in a humid climate, consider storing the cookies in the refrigerator to maintain freshness.
- Freeze the cookies for up to 2 months. When you’re ready to serve, simply thaw the cookies at room temperature or reheat them in the microwave for a few seconds.
- Use parchment paper or a silicone mat to line your baking sheet, as this will prevent the cookies from sticking and make cleanup easier.
Gift Packaging Ideas
These homemade Samoa Girl Scout cookies are perfect for gift-giving, especially during the holiday season. Consider packaging the cookies in decorative tins or jars, or wrapping them individually in cellophane bags and tying with a ribbon. You can also add a personal touch by including a handwritten note or a sprinkle of edible glitter on top of the cookies.
Flavor Variations
- Different spices: Try adding a pinch of salt or a sprinkle of cinnamon to the caramel for a unique flavor twist.
- Creative toppings: Experiment with different types of chocolate, nuts, or dried fruit to create a variety of flavor combinations.
- Ingredient swaps: Use coconut milk instead of sweetened condensed milk for a lighter caramel, or substitute the shortbread cookies with a different type of cookie dough.
Troubleshooting
- Texture problems: If the cookies are too hard or too soft, adjust the baking time accordingly. If the caramel is too runny, cook it for a few more minutes until it reaches the desired consistency.
- Ingredient replacements: If you don’t have sweetened condensed milk, you can make a substitute by combining 1 cup of heavy cream with 1/2 cup of granulated sugar in a saucepan and cooking over medium heat, stirring constantly, until the mixture thickens.
- Over/undercooking signs: Keep an eye on the cookies while they’re baking, and check for doneness every minute after 15 minutes. If the edges are lightly golden, the cookies are done. If the caramel is too dark or smells burnt, it’s overcooked.
FAQs
- Can I freeze it? Yes, you can freeze the cookies for up to 2 months. Simply place them in a single layer in a freezer-safe bag or container and thaw at room temperature when you’re ready to serve.
- Is it gluten-free? No, the cookies contain wheat flour and are not gluten-free. However, you can try substituting the flour with a gluten-free alternative, such as almond flour or coconut flour, to make a gluten-free version.
- Can I double the recipe? Yes, you can easily double or triple the recipe to make a larger batch of cookies. Simply multiply the ingredients accordingly and adjust the baking time as needed.
Conclusion
With these homemade Samoa Girl Scout cookies, you can indulge in the delicious taste of caramel, chocolate, and coconut from the comfort of your own home. Whether you’re a fan of the classic Girl Scout cookie or just looking for a new dessert recipe to try, these cookies are sure to impress. So go ahead, get creative, and share your favorite flavor variations with friends and family. Happy baking!