What’s the secret to a dessert that’s as light as air? Whip up a batch of homemade meringue using fresh egg whites and sugar, perfect for a quick and easy weeknight treat, and save this idea for your next family favorite dessert to try soon.
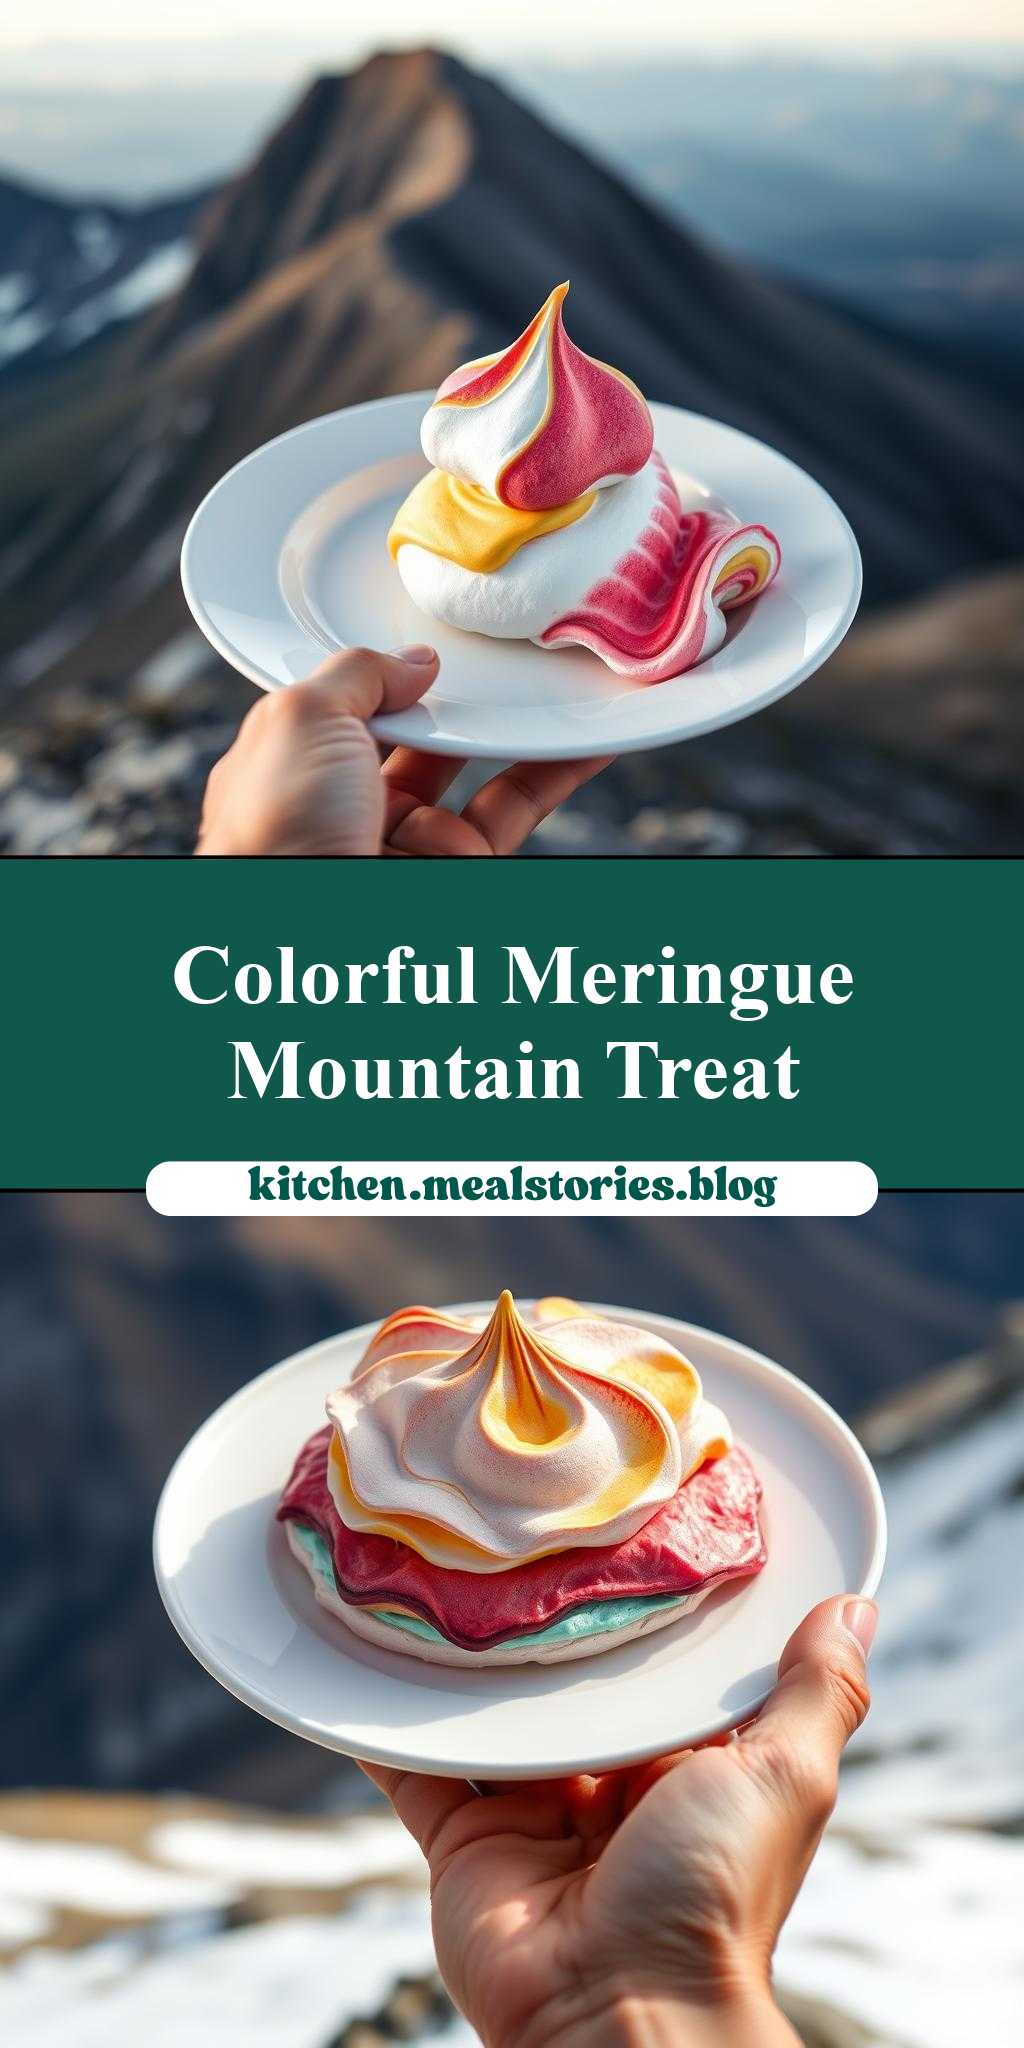
a hand holding a white plate filled with colorful meringue on top of a mountain
Introduction
Imagine standing atop a majestic mountain, the crisp air filling your lungs, and in your hand, a delicate white plate adorned with a kaleidoscope of colorful meringue. This dish is not just a feast for the eyes but a symphony of textures and flavors, from the crunchy outside of the meringue to its soft, chewy interior. The beauty of this recipe lies in its simplicity, using everyday ingredients to create something truly breathtaking. Whether you’re a seasoned baker or a novice in the kitchen, this colorful meringue recipe is sure to delight, offering a perfect blend of ease, flavor, and creativity.
Why This Works
- Flavor balance and ingredient accessibility: The combination of simple ingredients like egg whites, sugar, and food coloring creates a dish that is both accessible and exciting, allowing for a wide range of flavor variations and creative expressions.
- Ease of preparation: Despite its impressive appearance, the colorful meringue is surprisingly easy to prepare, requiring minimal ingredients and straightforward steps that can be followed by anyone.
- Impressive results with minimal effort: The transformation of basic ingredients into a vibrant, mountain-inspired masterpiece is a testament to the power of simple, well-crafted recipes that can elevate any occasion or gathering.
Key Ingredients
The main ingredients for this colorful meringue include egg whites, granulated sugar, cream of tartar, and food coloring. Egg whites provide the structure, while sugar adds sweetness and helps stabilize the meringue. Cream of tartar is a crucial ingredient for stabilizing the egg whites and ensuring they whip up nicely. Food coloring is what brings the meringue to life, allowing you to create any color combination you desire. For practical substitutions, you can use different types of sugar or natural food colorings, though the results may slightly vary in texture and color intensity.
Instructions
- Step 1: Begin by preheating your oven to 200°F (90°C) and lining a baking sheet with parchment paper. This step is crucial for ensuring that your meringues bake evenly and do not stick to the baking sheet.
- Step 2: In a large mixing bowl, whip the egg whites and cream of tartar until soft peaks form. Gradually add the granulated sugar and continue whipping until stiff peaks form. This process should be done slowly and patiently to incorporate air and achieve the right consistency.
- Step 3: Divide the meringue mixture into separate bowls, depending on how many colors you wish to create. Add a few drops of food coloring to each bowl and mix until the color is evenly distributed. Be careful not to overmix, as this can deflate the meringue.
- Step 4: Spoon the colored meringue mixtures onto the prepared baking sheet, creating mountain-inspired shapes or simply dolloping the meringue in decorative patterns. Place the baking sheet in the oven and bake for about 1.5 to 2 hours, or until the meringues are dry and crisp. Allow them to cool completely on the baking sheet before serving.
Handy Tips
- Ensure your bowl and utensils are completely clean and dry before starting, as any trace of fat or moisture can prevent the egg whites from whipping properly.
- Do not open the oven door during the baking time, as this can cause the meringues to crack or collapse.
- Experiment with different color combinations and patterns to make your meringue truly unique and personalized.
Heat Control
For this recipe, heat control is crucial. The oven should be set at a low temperature (200°F or 90°C) to slowly dry out the meringues without browning them. The baking time can vary depending on the size of your meringues and your oven’s performance, so it’s essential to check on them periodically. They are done when they are crisp and dry, and if tapped gently, they should sound hollow.
Crunch Factor
The crunch factor of your meringue is what makes it so appealing. To achieve the perfect crunch on the outside while maintaining a chewy interior, it’s vital to not overbake the meringues. They should be dry and crisp to the touch but still yield to pressure. If you prefer a crunchier meringue, you can bake them for a slightly longer time, but be cautious not to overdo it, as they can become too brittle.
Pro Kitchen Tricks
- Use aged egg whites for better stability and volume when whipping.
- Add a pinch of salt to the egg whites before whipping to help stabilize them and enhance flavor.
- For a more stable meringue, especially in humid environments, consider adding a little more cream of tartar than the recipe calls for.
Storage Tips
- Store your colorful meringues in an airtight container to keep them fresh and crunchy. Moisture is the enemy of meringue, so it’s crucial to keep them away from humid environments.
- If you notice your meringues becoming chewy due to humidity, you can try drying them out in a low-temperature oven (150°F or 65°C) for about 10 minutes to restore their crunch.
- Meringues can be made ahead of time and stored for up to 2 weeks when kept properly. However, it’s best to add color and finalize the decoration just before serving to preserve the vibrancy of the colors.
Gift Packaging Ideas
If you’re considering gifting your colorful meringue, presentation is key. Place the meringues in decorative jars or bags, and add a personal touch with ribbons or handmade gift tags. For a more rustic look, you can arrange the meringues in a wooden crate or a basket lined with parchment paper. Whatever method you choose, make sure the meringues are well protected from moisture to preserve their texture and appearance.
Flavor Variations
- Different spices: Consider adding a pinch of salt or a teaspoon of flavored extract (like almond or lemon) to the meringue mixture for added depth of flavor.
- Creative toppings: Once the meringues are baked and cooled, you can decorate them with powdered sugar, chocolate shavings, or even edible glitter for extra festivity.
- Ingredient swaps: For a different twist, you can substitute granulated sugar with brown sugar or use natural sweeteners like honey, though this may affect the texture and stability of the meringue.
Troubleshooting
- Texture problems: If your meringues turn out too chewy, it might be due to underbaking or high humidity. If they are too brittle, they might have been overbaked.
- Ingredient replacements: While it’s possible to substitute some ingredients, be cautious with replacements for egg whites, as they are crucial for the structure of the meringue.
- Over/undercooking signs: Keep an eye on your meringues during the baking time. They should be completely dry and not sticky to the touch when done. If they start to brown, they are overcooking.
FAQs
- Can I freeze it? Yes, meringues can be frozen, but it’s best to freeze them before coloring. When you’re ready to serve, simply thaw and add your desired colors.
- Is it gluten-free? Yes, this recipe is naturally gluten-free, making it a great option for those with gluten intolerance or sensitivity.
- Can I double the recipe? Absolutely, you can double or even triple the recipe if you’re planning a larger gathering. Just ensure you have enough baking sheets and oven space to accommodate the increased quantity.
Conclusion
Creating a hand holding a white plate filled with colorful meringue on top of a mountain is more than just a recipe; it’s an experience. It’s about bringing people together with a dish that’s as visually stunning as it is delicious. Whether you’re a food enthusiast, an avid baker, or just someone who loves to experiment in the kitchen, this recipe offers a unique blend of creativity, simplicity, and joy. So, don’t be afraid to get creative, share your masterpieces, and enjoy the process of turning simple ingredients into something truly magical.