What makes the perfect snack for a busy day? These homemade granola bars, made with rolled oats and golden syrup, are a quick and easy family favorite. Try making a batch for a weeknight dinner prep or as a sweet treat. Save this idea for a delicious homemade British flapjacks recipe to try soon.
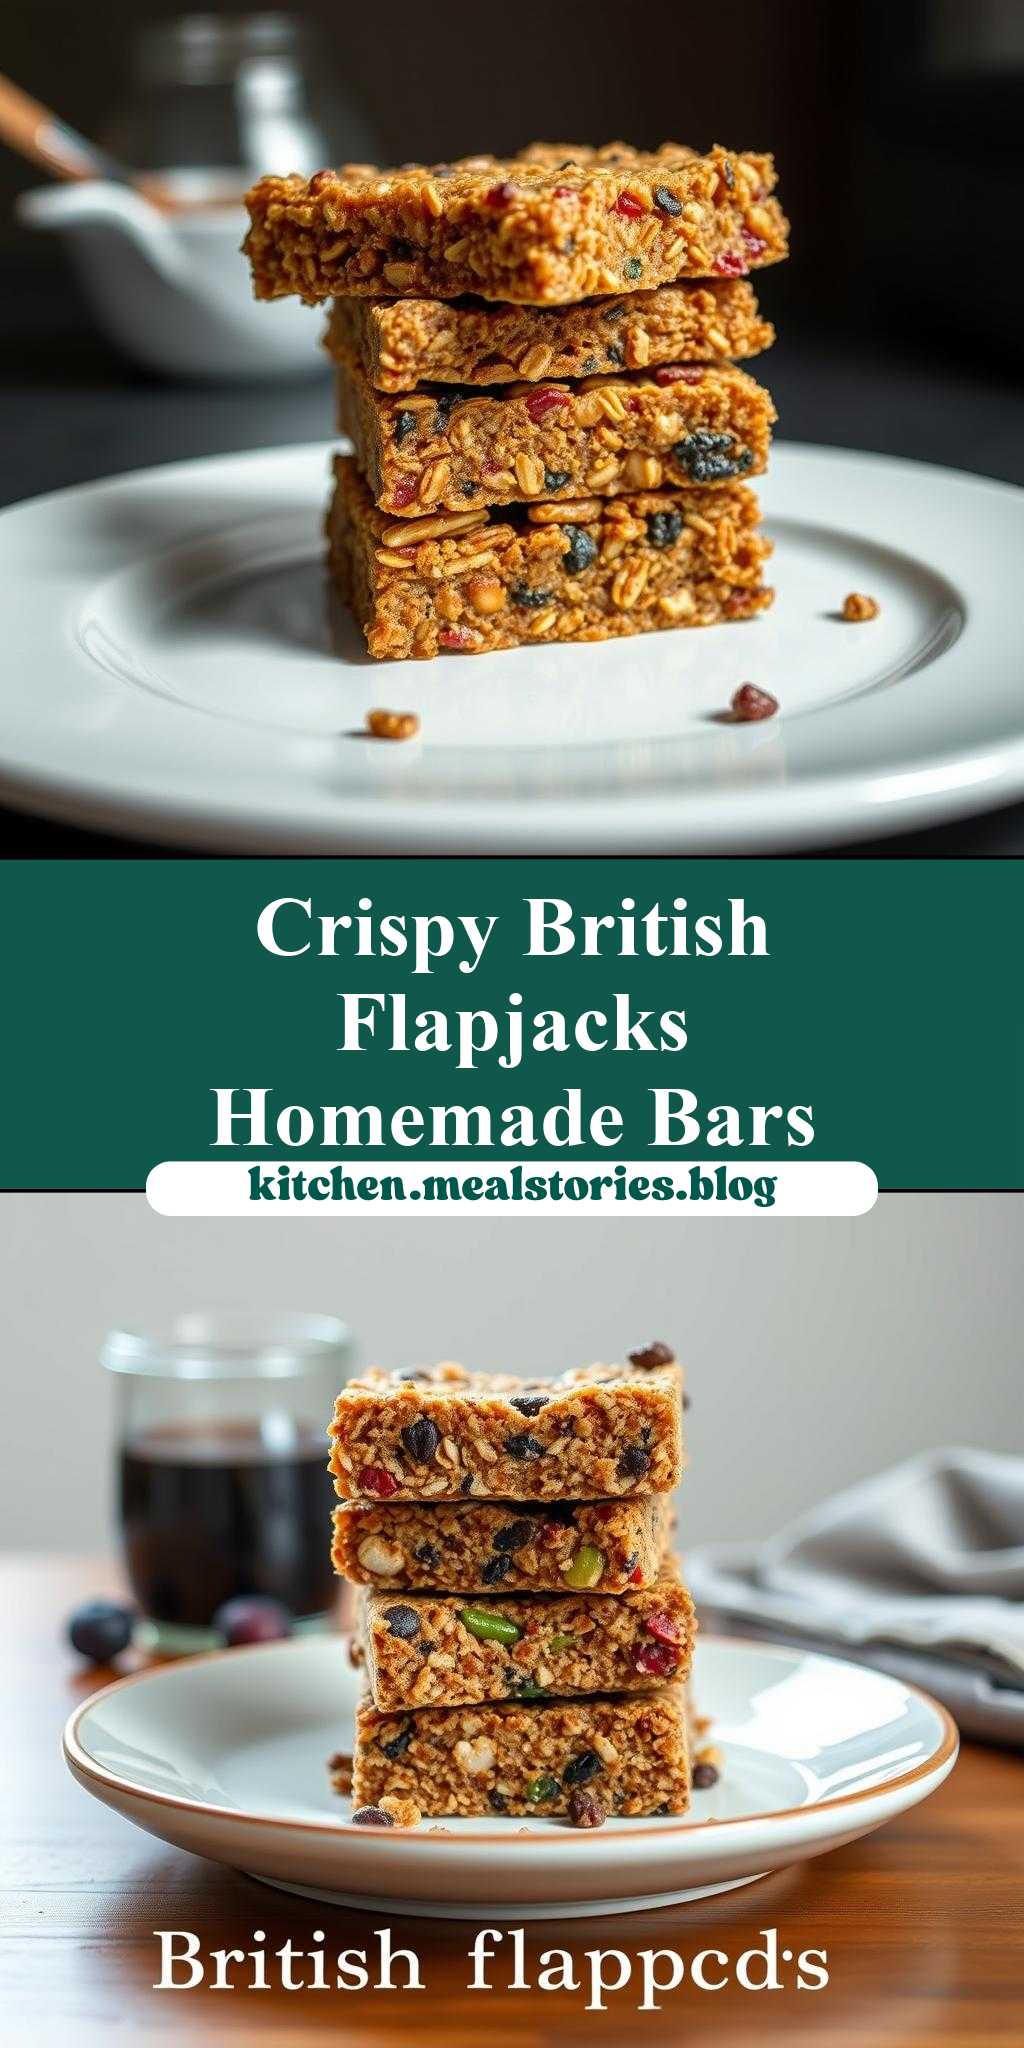
homemade granola bars stacked on top of each other with the words british flapjacks recipe below
Introduction
Imagine sinking your teeth into a crunchy, golden homemade granola bar, filled with the warmth of oats, the sweetness of honey, and the richness of nuts. These British flapjacks, a classic snack in the UK, are incredibly easy to make and offer a world of flavor and creativity using everyday ingredients. With just a few simple steps, you can create your own delicious granola bars at home, perfect for snacking on the go, as a post-workout treat, or as a healthy addition to your lunchbox. The best part? You can customize them to your taste, adding your favorite nuts, seeds, or dried fruits to make them truly unique.
Why This Works
- Flavor balance and ingredient accessibility: The combination of rolled oats, honey, and butter provides a perfect balance of flavors, while using readily available ingredients makes this recipe accessible to everyone.
- Ease of preparation: With a simple mix-and-bake method, these granola bars are quick to prepare, requiring minimal effort for maximum reward.
- Impressive results with minimal effort: Despite the ease of preparation, the end result is a beautifully textured and flavorful snack that looks and tastes like it was bought from a specialty store.
Key Ingredients
The main ingredients in this recipe include rolled oats, which provide the base and texture of the granola bars; honey, which acts as a natural sweetener and binder; butter, which adds richness and helps hold the mixture together; and your choice of nuts or seeds, which add crunch and flavor. Practical substitutions can be made for those with dietary restrictions, such as using maple syrup instead of honey or choosing vegan butter alternatives. Additionally, you can customize the recipe by adding dried fruits, cocoa powder, or spices to create different flavor variations.
Instructions
- Step 1: Begin by preheating your oven to 300°F (150°C). Then, prepare your ingredients by measuring out the oats, honey, butter, and any additional nuts or seeds you wish to include. Chop the nuts or seeds into smaller pieces if desired for better distribution throughout the bars.
- Step 2: In a large mixing bowl, combine the oats, nuts or seeds, and any dried fruits or spices you’re using. In a separate saucepan, gently heat the honey and butter over low heat, stirring until the butter is fully melted and the mixture is smooth. Pour the honey and butter mixture over the oat mixture and stir until everything is well combined.
- Step 3: Press the mixture into a lined or greased 8×8 inch baking dish. Use a spatula or the back of a spoon to ensure the mixture is evenly distributed and firmly pressed down. This will help the granola bars hold their shape once cut.
- Step 4: Bake the mixture in the preheated oven for about 20-25 minutes, or until the edges are lightly golden. Remove from the oven and let cool completely in the pan. Once cooled, use a sharp knife to cut into bars. You can cut them into whatever size you prefer, depending on whether you want them to be snack-sized or more substantial.
Handy Tips
- To ensure your granola bars hold together well, don’t overbake them. A lightly golden edge is perfect; overcooking can make them too crunchy and prone to breaking apart.
- Experiment with different combinations of nuts, seeds, and dried fruits to find your favorite flavors. Some popular additions include cranberries, chocolate chips, and coconut flakes.
- If you find your granola bars too crumbly, you can try adding a bit more honey or butter to the mixture next time. Conversely, if they’re too sticky, you can add a bit more oats.
Heat Control
When heating the honey and butter mixture, it’s essential to do so over low heat to prevent the honey from burning or the butter from separating. Stir constantly to ensure a smooth, well-combined mixture. For baking, keep an eye on the granola bars after the 20-minute mark, as oven times can vary. They’re done when the edges are lightly golden; avoid overbaking for the best texture.
Crunch Factor
The desired texture of your granola bars is a personal preference, but generally, a good balance between crunch from the nuts or seeds and chew from the oats is ideal. To achieve this, don’t overprocess the mixture, and avoid overbaking, which can make the bars too hard. If you prefer a softer bar, you can bake them for a minute or two less; for a crunchier bar, bake for a minute or two longer, keeping a close eye to prevent overcooking.
Pro Kitchen Tricks
- For an extra crunchy top, you can broil the granola bars for 30 seconds to 1 minute after baking, watching carefully to prevent burning.
- To make cleanup easier, line your baking dish with parchment paper or aluminum foil, leaving some overhang for easy removal once the bars are cooled.
- Consider making a double batch and freezing some of the bars for up to 2 months. Simply wrap them tightly in plastic wrap or aluminum foil and place in a freezer-safe bag.
Storage Tips
- Store your granola bars in an airtight container at room temperature for up to 5 days. For longer storage, consider freezing them.
- When reheating frozen granola bars, simply leave them at room temperature for a few hours or warm them in the microwave for a few seconds.
- The best containers for storing granola bars are those that keep air out, such as glass jars with tight-fitting lids or plastic containers designed for storing baked goods.
Gift Packaging Ideas
These homemade granola bars make wonderful gifts, especially when packaged in a thoughtful and visually appealing way. Consider wrapping each bar individually in parchment paper or plastic wrap, then placing them in a decorative tin or jar. You can also add a personal touch with a ribbon or a handwritten note. For a more rustic look, place the bars in a paper bag and tie the top with twine. Whatever method you choose, the recipient is sure to appreciate the thought and effort you’ve put into creating a healthy, delicious snack just for them.
Flavor Variations
- Different spices: Try adding a pinch of cinnamon, nutmeg, or ginger to the mixture for a unique twist on the classic flavor.
- Creative toppings: Press some chocolate chips, dried cranberries, or coconut flakes into the top of the granola bars before they cool for an added layer of flavor and texture.
- Ingredient swaps: Use maple syrup instead of honey, or substitute some of the oats with other grains like barley or quinoa for a different nutritional profile and texture.
Troubleshooting
- Texture problems: If your granola bars are too crumbly, they may not have been pressed firmly enough into the pan. If they’re too hard, they might have been overbaked.
- Ingredient replacements: When substituting ingredients, keep in mind that different sweeteners, fats, and grains can affect the texture and flavor of the final product. Some trial and error may be necessary to find the perfect combination for your taste.
- Over/undercooking signs: Keep an eye on the color and texture of the granola bars while they’re baking. They should be lightly golden and firm to the touch when done. Avoid underbaking, as this can result in bars that are too soft or fall apart easily.
FAQs
- Can I freeze it? Yes, you can freeze your granola bars for up to 2 months. Simply wrap them tightly and place in a freezer-safe bag.
- Is it gluten-free? This recipe is gluten-free, making it a great option for those with gluten intolerance. However, be sure to check the ingredients of any additions, like oats, to ensure they are processed in a gluten-free facility.
- Can I double the recipe? Yes, you can easily double or even triple this recipe if you’re making it for a large group or want extras to freeze. Just be sure to use a larger pan to accommodate the increased volume.
Conclusion
Making your own homemade granola bars is a fun and rewarding process that allows you to control the ingredients and tailor the flavors to your preferences. With these simple steps and handy tips, you’re well on your way to creating delicious, healthy snacks for yourself and your loved ones. Don’t be afraid to experiment and share your creations with friends and family. Whether you’re a seasoned baker or just starting out, this British flapjacks recipe is a great place to begin your granola bar-making journey. So go ahead, get creative, and enjoy the process of making something truly special and delicious from the comfort of your own home.