What makes a rich chocolate cake truly unforgettable? It’s all about the moist texture and deep flavors achieved with high-quality cocoa powder and a simple homemade recipe. Perfect for a special occasion or easy weeknight dessert, this family favorite is incredibly quick to prepare. Save this idea for a decadent treat anytime.
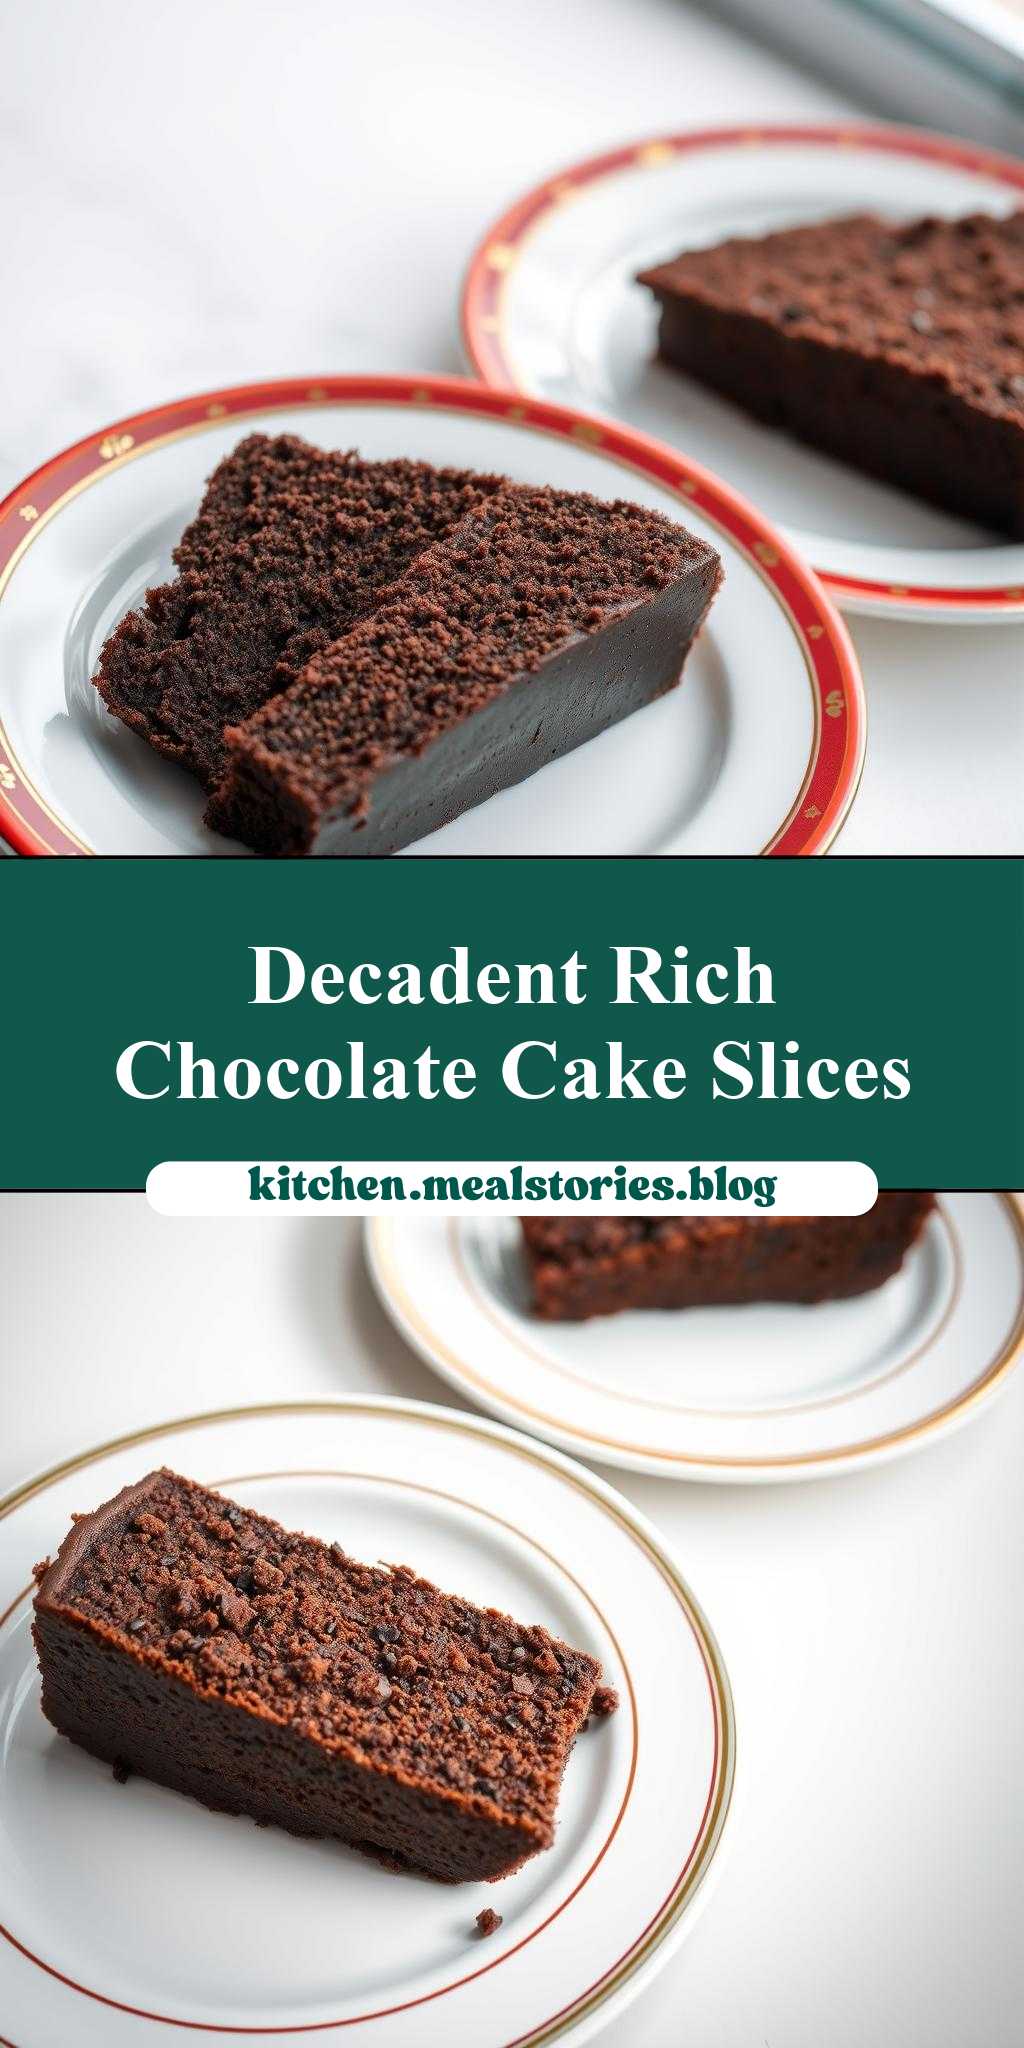
Two Slices of Chocolate Cake on White Plates with Red and Gold Border Around the Edges
Introduction
Imagine a decadent dessert that combines the richness of chocolate with the elegance of fine china, all within the comfort of your own home. This recipe for two slices of chocolate cake on white plates with red and gold border around the edges is not just about the cake itself, but about the experience of savoring a beautifully presented dessert. It’s about ease, flavor, and creativity, using everyday ingredients to create something truly special. Whether you’re a novice baker or an experienced chef, this recipe is designed to guide you through the process of creating a stunning and delicious dessert that’s sure to impress.
Why This Works
- Flavor balance and ingredient accessibility: The combination of deep, dark chocolate and the subtle nuances of the cake’s texture creates a flavor profile that’s both accessible and sophisticated. The ingredients are readily available, making this a practical choice for any occasion.
- Ease of preparation: Despite its elegant appearance, this dessert is surprisingly straightforward to prepare. With a few simple steps and some basic kitchen tools, you can create a dessert that looks like it was crafted by a professional pastry chef.
- Impressive results with minimal effort: The key to this recipe’s success lies in its ability to deliver impressive results with minimal fuss. By focusing on a few high-quality ingredients and some clever presentation techniques, you can create a dessert that’s sure to wow your friends and family.
Key Ingredients
The star of the show is, of course, the chocolate cake itself. Made with high-quality dark chocolate, this cake is moist, rich, and full of depth. To complement the cake, we’ll be using a few simple ingredients, including all-purpose flour, granulated sugar, unsalted butter, eggs, and a touch of vanilla extract. For the plates, we’ll be using white plates with a red and gold border, which adds a touch of elegance and sophistication to the presentation. Practical substitutions can be made for some ingredients, such as using semi-sweet chocolate chips instead of dark chocolate, or substituting almond extract for vanilla extract.
Instructions
- Step 1: Begin by preheating your oven to 350°F (180°C). While the oven is warming up, take a few minutes to prepare your ingredients. Chop the dark chocolate into small pieces, measure out the flour, sugar, and butter, and crack the eggs into a separate bowl.
- Step 2: In a medium-sized bowl, whisk together the flour, sugar, and a pinch of salt. In a large bowl, use an electric mixer to cream together the butter and eggs until light and fluffy. Gradually add the dry ingredients to the wet ingredients, mixing until just combined.
- Step 3: Melt the chocolate in a double boiler or in the microwave in 30-second increments, stirring between each interval until smooth. Allow the chocolate to cool slightly, then fold it into the cake batter until well combined.
- Step 4: Divide the batter evenly between two 8-inch round cake pans. Bake for 25-30 minutes, or until a toothpick inserted into the center of each cake comes out clean. Allow the cakes to cool in the pans for 5 minutes, then transfer them to a wire rack to cool completely.
Handy Tips
- To ensure that your cakes are moist and tender, be sure not to overmix the batter. Stop mixing as soon as the ingredients are combined, and avoid overbaking.
- If you don’t have dark chocolate on hand, you can substitute it with semi-sweet chocolate chips or even milk chocolate, depending on your preference.
- To add an extra touch of elegance to your presentation, consider dusting the cakes with powdered sugar or drizzling them with a bit of chocolate glaze.
Heat Control
When it comes to baking the cakes, heat control is crucial. Be sure to preheat your oven to the correct temperature, and avoid opening the oven door during the baking time to ensure that the cakes cook evenly. If you’re unsure whether the cakes are done, insert a toothpick into the center of each cake. If the toothpick comes out clean, the cakes are ready. If not, give them a few more minutes and check again.
Crunch Factor
The texture of the cake is just as important as its flavor. To achieve a tender, moist crumb, be sure not to overmix the batter, and avoid overbaking. If you prefer a slightly denser cake, you can try adding a bit more flour to the batter or baking the cakes for a few minutes longer.
Pro Kitchen Tricks
- To ensure that your cakes release easily from the pans, be sure to grease the pans thoroughly with butter or cooking spray before adding the batter.
- If you’re having trouble getting the cakes to cook evenly, try rotating the pans halfway through the baking time to ensure that they’re cooking consistently.
- To add an extra touch of professionalism to your presentation, consider using a turntable or cake stand to display the cakes. This will make it easier to slice and serve the cakes, and will add a touch of drama to the presentation.
Storage Tips
- To keep the cakes fresh for as long as possible, be sure to store them in an airtight container at room temperature. You can also wrap the cakes tightly in plastic wrap or aluminum foil and freeze them for up to 2 months.
- If you need to reheat the cakes, you can do so by wrapping them tightly in foil and heating them in a low-temperature oven (around 200°F) for 10-15 minutes.
- To extend the shelf life of the cakes, consider adding a bit of lemon juice or vinegar to the batter. This will help to preserve the cakes and keep them fresh for longer.
Gift Packaging Ideas
If you’re looking to give the cakes as a gift, there are a few ways you can package them to make them look extra special. Consider wrapping the cakes tightly in plastic wrap or aluminum foil, then placing them in a decorative tin or box. You can also add a bit of ribbon or twine around the package to give it a more rustic, homespun feel. If you’re feeling extra fancy, you can even create a custom cake box using cardboard or paper mache.
Flavor Variations
- Different spices: To add a bit of warmth and depth to the cakes, consider adding a pinch of cinnamon, nutmeg, or cardamom to the batter.
- Creative toppings: To add a bit of extra flavor and texture to the cakes, consider topping them with a bit of whipped cream, chopped nuts, or shaved chocolate.
- Ingredient swaps: If you’re looking to mix things up a bit, consider swapping out the dark chocolate for milk chocolate or white chocolate. You can also try substituting the all-purpose flour with almond flour or coconut flour for a gluten-free option.
Troubleshooting
- Texture problems: If the cakes are too dense or too dry, it may be due to overmixing the batter or overbaking. Try adjusting the mixing time or baking time to see if that improves the texture.
- Ingredient replacements: If you’re missing an ingredient or want to try a substitution, be sure to adjust the recipe accordingly. For example, if you’re using milk chocolate instead of dark chocolate, you may want to reduce the amount of sugar in the recipe.
- Over/undercooking signs: If the cakes are overcooked, they may be dry and crumbly. If they’re undercooked, they may be raw and soggy. Keep an eye on the cakes while they’re baking, and adjust the baking time as needed to ensure that they’re cooked to perfection.
FAQs
- Can I freeze it? Yes, you can freeze the cakes for up to 2 months. Simply wrap them tightly in plastic wrap or aluminum foil and place them in a freezer-safe bag.
- Is it gluten-free? No, this recipe contains gluten due to the use of all-purpose flour. However, you can try substituting the flour with a gluten-free alternative to make the recipe gluten-free.
- Can I double the recipe? Yes, you can double the recipe to make more cakes. Simply multiply the ingredients by two and adjust the baking time as needed to ensure that the cakes are cooked to perfection.
Conclusion
In conclusion, this recipe for two slices of chocolate cake on white plates with red and gold border around the edges is a must-try for anyone who loves chocolate cake. With its rich, moist texture and elegant presentation, this dessert is sure to impress your friends and family. Whether you’re a novice baker or an experienced chef, this recipe is easy to follow and requires minimal ingredients and equipment. So why not give it a try today, and see just how easy it is to create a stunning and delicious dessert that’s sure to become a favorite.