What makes the perfect summer dessert? This no-bake strawberry split cake recipe is a quick and easy homemade treat featuring fresh strawberries and whipped cream, perfect for a family favorite weeknight dinner. Save this idea for a sweet surprise anytime.
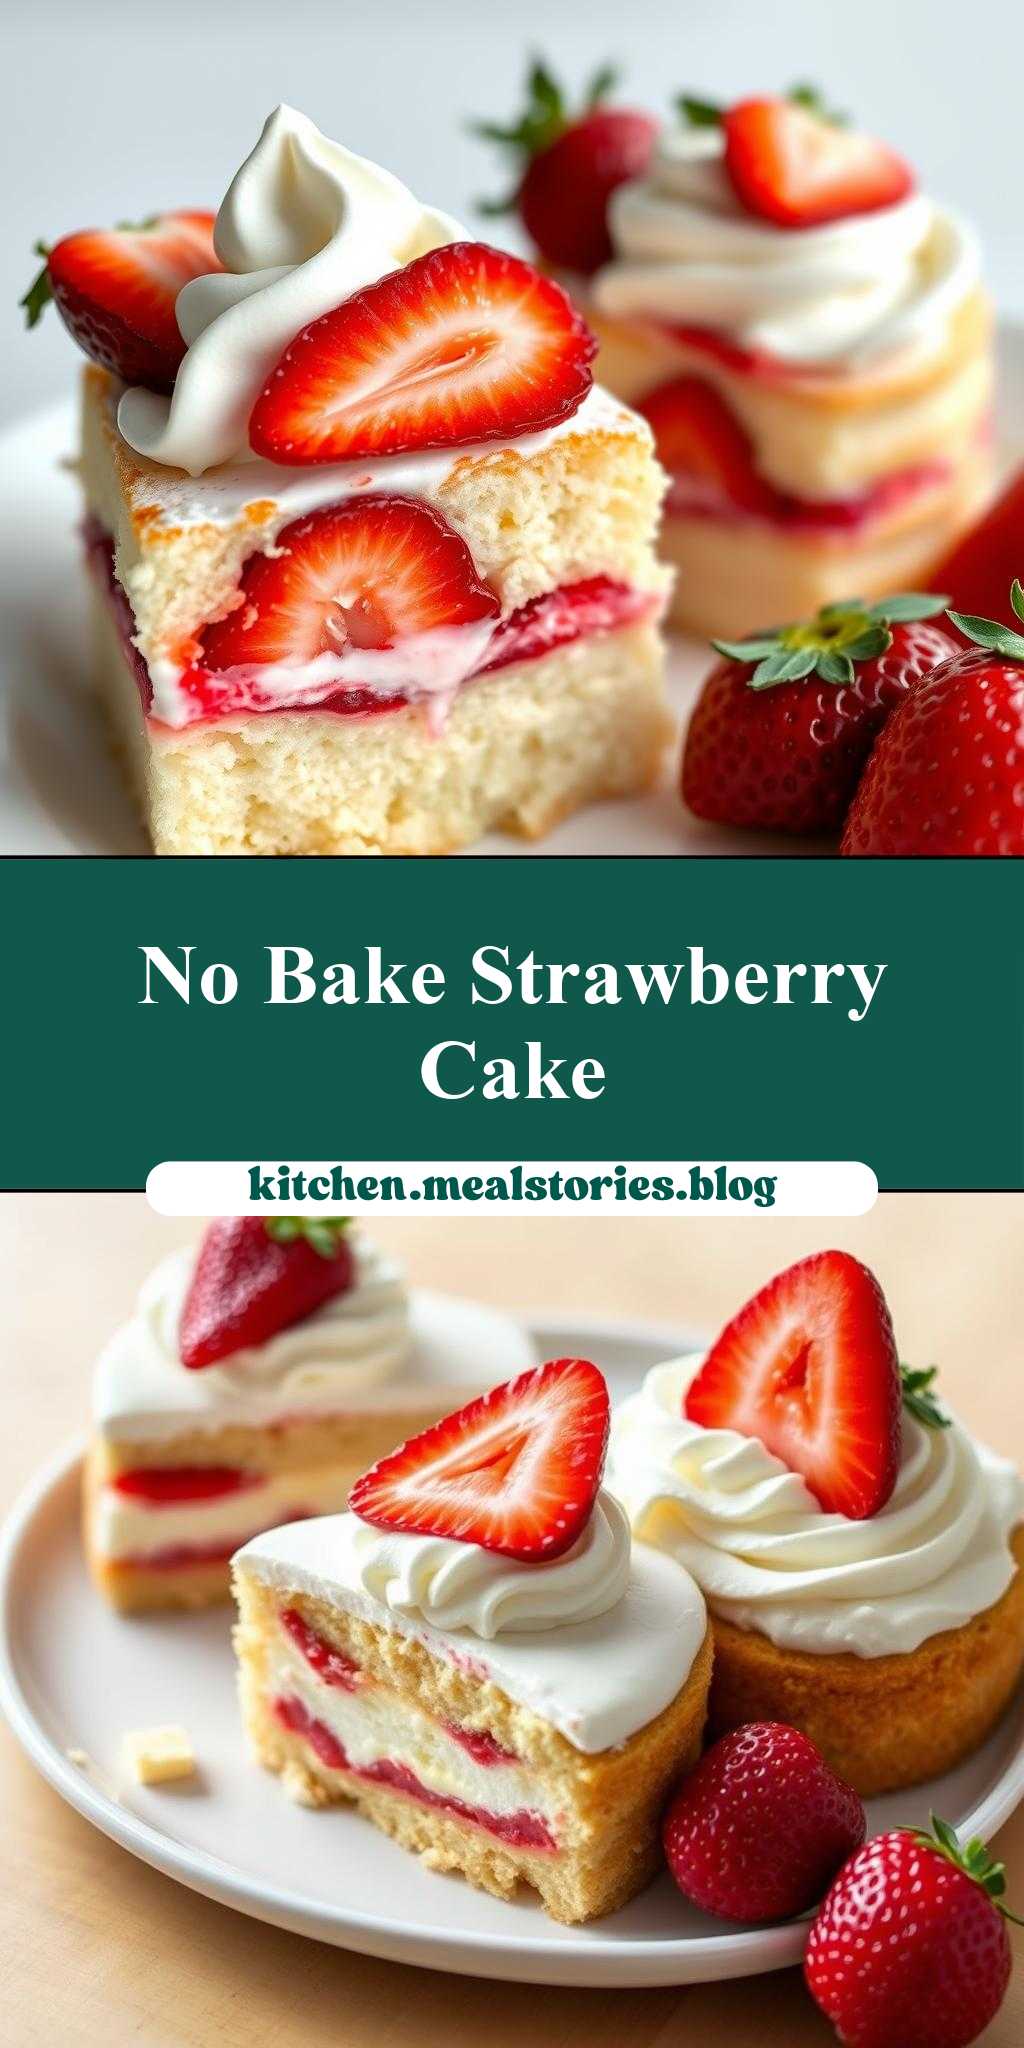
two cakes with strawberries and whipped cream on top, one has no – bake strawberry split cake recipe
Introduction
Imagine two stunning cakes, each adorned with fresh strawberries and a dollop of whipped cream, sitting elegantly on your dessert table. One of them, a no-bake strawberry split cake, is a masterpiece of simplicity and flavor, requiring no baking at all. The other, a traditional strawberry shortcake, offers a moist and fluffy base that complements the sweetness of strawberries perfectly. Both cakes are not just delicious but also remarkably easy to make, using everyday ingredients that you might already have in your pantry. The best part? They cater to different tastes and preferences, ensuring that every guest at your gathering finds something to love. In this article, we’ll dive into the world of these two cakes, exploring what makes them special, the ingredients you’ll need, and a step-by-step guide on how to bring them to life.
Why This Works
- Flavor balance and ingredient accessibility: Both recipes strike a perfect balance between sweet and tart, using ingredients that are easily found in most supermarkets.
- Ease of preparation: The no-bake cake, in particular, is a game-changer for those short on time or preferring not to use the oven, while the traditional cake is straightforward to bake.
- Impressive results with minimal effort: Despite their simplicity, both cakes are visually appealing and sure to impress your guests, making them perfect for special occasions or casual get-togethers.
Key Ingredients
The success of these cakes lies in their ingredients. For the no-bake strawberry split cake, you’ll need a base made from crushed biscuits or cookies, mixed with melted butter, a creamy mixture of sweetened condensed milk, whipped cream, and vanilla extract, and of course, fresh strawberries. For the traditional strawberry shortcake, the main ingredients include all-purpose flour, granulated sugar, baking powder, salt, butter, milk, eggs, and vanilla extract for the cake, and heavy cream, granulated sugar, and vanilla extract for the whipped cream. Practical substitutions can be made for dietary restrictions, such as using gluten-free flours or non-dairy milk alternatives.
Instructions
- Step 1: Begin by preparing your ingredients. For the no-bake cake, crush the biscuits and mix with melted butter. For the traditional cake, sift together the flour, sugar, baking powder, and salt.
- Step 2: For the no-bake cake, mix the sweetened condensed milk with whipped cream and vanilla extract. For the traditional cake, combine the butter, milk, eggs, and vanilla extract, then gently fold in the dry ingredients.
- Step 3: Layer the no-bake cake by spreading the creamy mixture over the biscuit base, topping with sliced strawberries. For the traditional cake, pour the batter into greased and floured pans and bake until golden.
- Step 4: Final touches include topping both cakes with whipped cream and additional sliced strawberries. For the traditional cake, split the cake in half horizontally before topping.
Handy Tips
- Use the freshest strawberries you can find for the best flavor and texture. If strawberries are out of season, consider using other berries as a substitute.
- Avoid overmixing the traditional cake batter to prevent it from becoming dense.
- For the no-bake cake, ensure the biscuit base is well chilled before adding the creamy layer to prevent it from becoming soggy.
Heat Control
For the traditional strawberry shortcake, heat control is crucial. The ideal oven temperature is 375°F (190°C), and the cakes are done when they are golden brown and a toothpick inserted into the center comes out clean. Keep an eye on them to avoid overcooking, which can make the cakes dry.
Crunch Factor
The crunch factor in both cakes comes from different elements. In the no-bake cake, it’s the biscuit base that provides a satisfying crunch, while in the traditional cake, toasting the top lightly in the oven after baking can add a delightful crunch. For an extra crunchy texture, consider sprinkling some chopped nuts over the whipped cream.
Pro Kitchen Tricks
- Chill your bowls and whisks before whipping cream to ensure it becomes stiff and holds its shape well.
- Use a kitchen scale to measure ingredients accurately, especially for the traditional cake, to ensure the best results.
- Prepare components of the cakes ahead of time. For example, the biscuit base for the no-bake cake can be made a day in advance, and the traditional cake can be baked and frozen for up to a month.
Storage Tips
- Leftover cakes should be stored in the refrigerator. The no-bake cake can be kept for up to 3 days, while the traditional cake is best consumed within 2 days.
- For reheating, the traditional cake can be warmed slightly in the microwave or oven, but the no-bake cake is best served chilled.
- Consider using airtight containers to keep the cakes fresh and prevent them from drying out.
Gift Packaging Ideas
If you’re planning to gift these cakes, consider packaging them in decorative tins or boxes. For a more rustic look, wrap the cakes in parchment paper and tie with a ribbon. Adding a few fresh strawberries on top and a sprinkle of powdered sugar can make the gift even more appealing.
Flavor Variations
- Different spices: Adding a pinch of cinnamon or nutmeg to the traditional cake can give it a unique twist.
- Creative toppings: Besides strawberries, consider using other fruits like blueberries, raspberries, or even caramelized bananas.
- Ingredient swaps: For a chocolate version, use chocolate biscuits for the no-bake cake or add cocoa powder to the traditional cake batter.
Troubleshooting
- Texture problems: If the no-bake cake becomes too soggy, it might be due to the biscuit base not being chilled enough. For the traditional cake, overmixing can lead to a dense texture.
- Ingredient replacements: Always try to use the exact ingredients called for in the recipe, but if you need to substitute, do so with similar ingredients to maintain the flavor and texture balance.
- Over/undercooking signs: For the traditional cake, check frequently towards the end of the baking time. Overcooking will make the cake dry, while undercooking can result in a soggy center.
FAQs
- Can I freeze it? Yes, both cakes can be frozen, but it’s best to freeze the components separately. For the no-bake cake, freeze the biscuit base and the creamy mixture separately, then assemble when needed. For the traditional cake, freeze the baked cakes and whip the cream fresh when serving.
- Is it gluten-free? The no-bake cake can easily be made gluten-free by using gluten-free biscuits. For the traditional cake, substituting the flour with a gluten-free flour blend can work, though you may need to adjust the ratio of flours and add some xanthan gum to help with texture.
- Can I double the recipe? Yes, both recipes can be doubled. Just ensure you have enough pans for the traditional cake and adjust the baking time slightly. For the no-bake cake, simply double all the ingredients and assemble in a larger dish.
Conclusion
Making these two cakes with strawberries and whipped cream on top, including the no-bake strawberry split cake, is a rewarding experience that combines ease of preparation with impressive results. Whether you’re a beginner in the kitchen or an experienced baker, these recipes offer a lot of room for creativity and personalization. Don’t be afraid to experiment with different flavors and toppings, and most importantly, enjoy the process and share your creations with loved ones. With a little practice, you’ll find that making these cakes becomes second nature, and they’ll become staples in your dessert repertoire.