What makes a dessert truly irresistible? For me, it’s the combination of moist homemade cake, crunchy Oreo cookies, and rich red icing. This easy show-stopping treat is perfect for a weeknight dinner party, featuring simple ingredients like Oreos and a quick drizzle of icing. Save this idea for your next family favorite dessert.
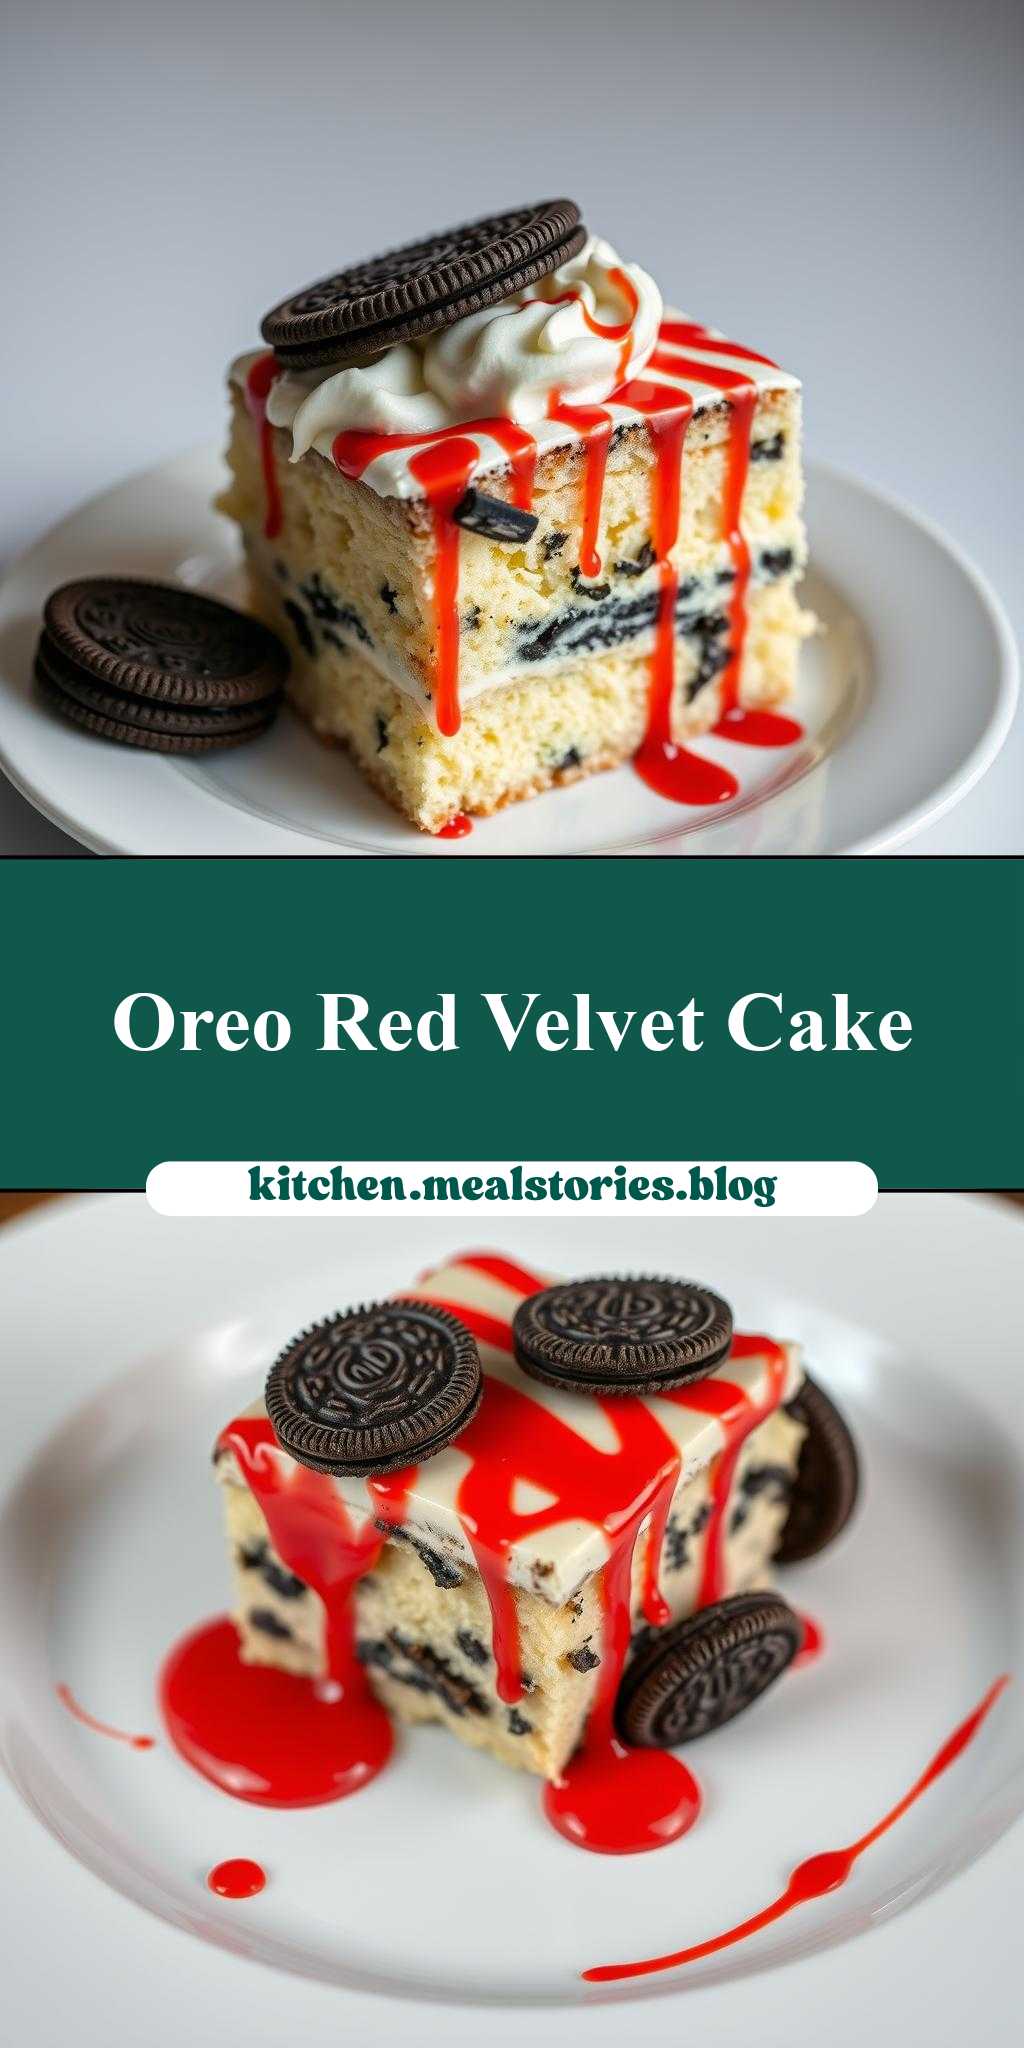
a cake with oreo cookies on top and red icing drizzled over it
Introduction
Imagine a moist and decadent cake, topped with the unmistakable crunch of Oreo cookies and finished with a drizzle of vibrant red icing – a perfect combination of textures and flavors that is sure to impress. This creative dessert is not only visually stunning, but it’s also surprisingly easy to make, using everyday ingredients that you might already have in your pantry. The beauty of this recipe lies in its simplicity and the freedom it offers to get creative with your favorite flavors and decorations. Whether you’re a seasoned baker or just starting to explore the world of desserts, this cake with Oreo cookies and red icing is a must-try that will satisfy your sweet tooth and leave you wanting more.
Why This Works
- Flavor balance and ingredient accessibility: The combination of the cake’s richness, the cookies’ crunch, and the icing’s sweetness creates a perfectly balanced flavor profile. Moreover, the ingredients are easily accessible in most grocery stores, making this dessert achievable for anyone.
- Ease of preparation: Despite its impressive appearance, this cake is relatively simple to prepare. The steps are straightforward, and the use of store-bought Oreo cookies and red icing simplifies the process, saving you time and effort.
- Impressive results with minimal effort: The addition of Oreo cookies on top and the drizzle of red icing transforms a basic cake into a show-stopping dessert. This makes it perfect for special occasions or as a centerpiece for any gathering, all without requiring extensive baking experience.
Key Ingredients
To make this stunning dessert, you’ll need a few key ingredients. For the cake, you’ll require basic baking staples such as flour, sugar, eggs, and butter. For the topping, a pack of Oreo cookies will provide the crunch and flavor contrast you’re looking for. Finally, red icing, which can be store-bought or homemade, adds the pop of color and sweetness. Practical substitutions can be made for ingredients like butter (using margarine or a dairy-free alternative) and eggs (using flax eggs or commercial egg substitutes), making this recipe adaptable to various dietary needs.
Instructions
- Step 1: Begin by preheating your oven to 350°F (175°C). Prepare your cake pans by greasing them and dusting them with flour. Then, measure out your ingredients according to your cake recipe, which typically includes flour, sugar, eggs, and butter or a butter substitute.
- Step 2: Mix your cake batter according to your recipe’s instructions. This usually involves creaming the butter and sugar, beating in the eggs, and then gently folding in the flour. Pour the batter into your prepared pans and smooth the tops. Bake for about 20-25 minutes, or until a toothpick inserted into the center comes out clean. Let the cakes cool completely before proceeding.
- Step 3: Once your cakes are cool, you can start decorating. Place one of the cooled cakes on a serving plate or cake stand. If desired, you can add a thin layer of frosting or jam to the top of this cake before adding the second cake on top, creating a sandwich. However, for this recipe, we’re focusing on the exterior decoration, so you can skip this step if you prefer a simpler cake.
- Step 4: For the final touches, arrange Oreo cookies on! top of the cake. You can leave them whole for a more rustic look or crush them slightly for a more textured appearance. Finally, drizzle red icing over the cookies and the cake. This can be done using a piping bag for more control or simply by spooning the icing over the top in a zig-zag pattern. The icing will not only add flavor but also help hold the cookies in place.
Handy Tips
- When baking the cake, ensure your ingredients are at room temperature for a better texture. Also, don’t overmix the batter, as this can lead to a dense cake.
- For the Oreo topping, consider the pattern you want to achieve. You can create a border around the cake, cover the entire top, or make a design with the cookies.
- Red icing can be quite sweet, so start with a small amount and add more to taste. If using store-bought icing, follow the package instructions for thawing and using.
Heat Control
If you’re baking the cake from scratch, heat control is crucial. Your oven should be preheated to the correct temperature (usually 350°F or 175°C for cakes). Use a timer to ensure you don’t overbake, as this can dry out the cake. A toothpick inserted into the center of the cake should come out clean or with a few moist crumbs attached when it’s done.
Crunch Factor
The crunch factor in this dessert comes from the Oreo cookies on top. To maintain their crunch, it’s best to add them just before serving. If you’re using crushed Oreos, you can sprinkle them over the cake and then drizzle with icing for a textured look that still retains some crunch.
Pro Kitchen Tricks
- For a more professional finish, chill your cake in the refrigerator for about 30 minutes before decorating. This will make it easier to handle and reduce crumbs when adding the Oreos and icing.
- Consider using a turntable to display your cake, especially if you’re adding a lot of toppings. This makes it easier to access all sides of the cake and ensures an even distribution of decorations.
- To prevent the icing from becoming too runny, especially if you’re serving the cake in a warm environment, keep it refrigerated until just before serving. You can also use a higher ratio of powdered sugar in your icing recipe to make it thicker and more stable.
Storage Tips
- Once decorated, the cake should be stored in an airtight container in the refrigerator to keep it fresh. If you won’t be serving it within a day or two, consider freezing the undecorated cake layers and decorating them just before serving.
- When reheating, do so gently to prevent drying out the cake. You can warm it up in the microwave for a few seconds or let it sit at room temperature for a couple of hours before serving.
- The shelf life of the cake depends on the freshness of your ingredients and how well it’s stored. Generally, a cake with butter and eggs can last for 3 to 5 days when stored properly in the fridge.
Gift Packaging Ideas
If you’re planning to gift this cake, consider how you can make it look appealing and safe to transport. You can place the cake on a sturdy cake board or plate, wrap it in plastic wrap or aluminum foil, and then decorate the outside with ribbons or gift tags. For a more rustic look, use a piece of parchment paper or a paper doily under the cake before wrapping. This not only adds a decorative touch but also makes the cake easier to handle.
Flavor Variations
- Different spices: You can add a pinch of cinnamon, nutmeg, or cardamom to the cake batter for a unique flavor twist.
- Creative toppings: Instead of Oreo cookies, consider using other types of cookies, nuts, or even dried fruits to change up the texture and flavor.
- Ingredient swaps: For a gluten-free version, swap out the flour for a gluten-free mix. You can also use almond milk or another non-dairy milk to make the cake more accessible to those with dietary restrictions.
Troubleshooting
- Texture problems: If your cake turns out too dense, it might be due to overmixing the batter. Try to mix your ingredients just until they come together, and then stop mixing.
- Ingredient replacements: If you’re out of a particular ingredient, look for substitutions online. For example, if you don’t have buttermilk, you can make a substitute by mixing milk with vinegar or lemon juice.
- Over/undercooking signs: Keep an eye on your cake while it’s baking. If it’s done too soon, it might be undercooked in the center. If it’s overcooked, it will be dry and possibly cracked on top.
FAQs
- Can I freeze it? Yes, you can freeze the cake layers before decorating. This is a good way to prepare ahead of time. Just thaw the layers at room temperature or refrigerate them overnight before decorating and serving.
- Is it gluten-free? The original recipe includes wheat flour, making it not gluten-free. However, you can easily make a gluten-free version by substituting the flour with a gluten-free flour blend.
- Can I double the recipe? Yes, you can double the recipe to make a larger cake. Just keep in mind that you’ll need to adjust the baking time slightly.
Conclusion
Making a cake with Oreo cookies on top and red icing drizzled over it is a fun and rewarding baking project that combines simplicity with impressive results. With a few basic ingredients and some creative freedom, you can produce a dessert that’s perfect for special occasions or everyday indulgence. Don’t be afraid to experiment with different flavors and decorations to make the recipe your own, and enjoy the process of creating something delicious and visually appealing. Whether you’re baking for yourself, your family, or your friends, this cake is sure to bring smiles and satisfy sweet cravings.