Pesto Grilled Cheese
Introduction
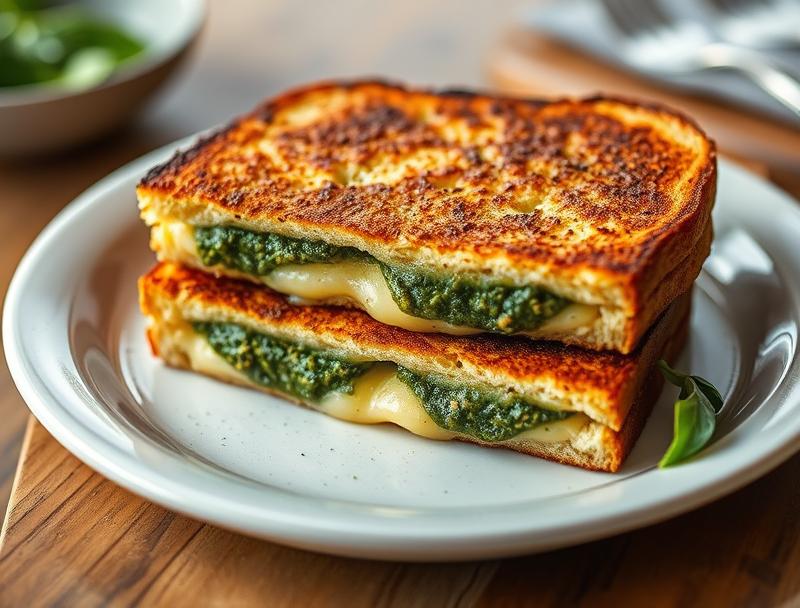
The Pesto Grilled Cheese is a creative twist on the classic grilled cheese sandwich, elevating it to a whole new level of flavor and sophistication. By incorporating the vibrant, herby taste of pesto into the traditional melted cheese between two slices of bread, this dish becomes an exciting culinary adventure that’s both easy to make and impressive to serve. The beauty of this recipe lies in its simplicity and versatility, making it perfect for a quick lunch, a satisfying snack, or even as a unique offering at a dinner party. With just a few everyday ingredients, you can create a dish that’s not only delicious but also visually appealing, sure to delight both kids and adults alike.
Why This Works
- Flavor balance and ingredient accessibility: The combination of melted cheese, fresh pesto, and the crunch of bread creates a perfect harmony of flavors and textures that are easily accessible in most supermarkets.
- Ease of preparation: This recipe requires minimal preparation and cooking time, making it an ideal choice for busy days or when you need something quick but satisfying.
- Impressive results with minimal effort: Despite its simplicity, the Pesto Grilled Cheese presents beautifully and tastes complex, making it a great option for entertaining guests without spending hours in the kitchen.
Ingredients
- 2 tablespoons of freshly made or store-bought pesto
- 2 slices of bread (preferably a crusty bread or baguette)
- 2 slices of cheese (such as mozzarella, parmesan, or a blend)
- 1 tablespoon of butter or non-stick cooking spray
- Salt and pepper to taste
- Fresh basil leaves for garnish (optional)
Instructions
- Step 1: Begin by preheating a non-stick skillet or griddle over medium heat. Butter or spray one side of each slice of bread.
- Step 2: On the unbuttered side of one slice of bread, spread a layer of pesto, leaving a small border around the edges. Place one or two slices of cheese on top of the pesto, depending on your preference for cheesiness.
- Step 3: Place the second slice of bread, buttered side up, on top of the cheese to complete the sandwich.
- Step 4: Place the sandwich in the preheated skillet or griddle and cook for about 2-3 minutes on the first side, or until the bread is golden brown and the cheese starts to melt. Carefully flip the sandwich over and cook for an additional 2-3 minutes, until the other side is also golden brown and the cheese is melted through.
Handy Tips
- For an extra crispy crust, grill the sandwich in a panini press or under the broiler for a few seconds.
- Consider using different types of cheese or pesto flavors to experiment with various taste profiles.
- Don’t overfill the sandwich, as this can make it difficult to cook evenly and can result in a mess.
Heat Control
Maintaining the right heat is crucial for achieving the perfect grilled cheese. Medium heat allows for a slow and even melting of the cheese and toasting of the bread. If the heat is too high, the outside can burn before the cheese is fully melted. Look for a golden brown color on the bread and a slight ooze of cheese when pressed gently to determine doneness.
Crunch Factor
Achieving the right crunch in your Pesto Grilled Cheese is key to its appeal. The bread should be toasted to a golden crisp on the outside, while the inside remains soft. This contrast of textures, combined with the gooey cheese and vibrant pesto, creates a delightful eating experience. To enhance the crunch, consider using a crusty bread or lightly toasting the bread before assembling the sandwich.
Pro Kitchen Tricks
- Use a thermometer to ensure your skillet is at the ideal temperature for melting cheese and toasting bread.
- Let the sandwich rest for a minute before slicing to allow the cheese to set, making it easier to handle and serve.
- Keep your ingredients at room temperature for better melting and a more even cook.
Storage Tips
- Best consumed fresh, but you can store any leftovers in an airtight container in the refrigerator for up to a day.
- Reheat in a toaster oven or under the broiler until warmed through and crispy again.
- Avoid microwaving as it can make the bread soggy and unevenly heat the cheese.
Gift Packaging Ideas
If you’re considering gifting your Pesto Grilled Cheese, perhaps as part of a picnic basket or care package, wrap the sandwich in parchment paper or a paper bag and tie with a ribbon. Include a side of tomato soup or a green salad for a complete meal. For a more substantial gift, package the ingredients along with a recipe card and a bottle of wine for a gourmet gift basket.
Flavor Variations
- Different spices: Add some dried or fresh herbs like basil, oregano, or thyme to the pesto for added depth.
- Creative toppings: Consider adding sliced meats like prosciutto or ham, or some sautéed spinach for extra nutrition and flavor.
- Ingredient swaps: Use vegan cheese or gluten-free bread to cater to dietary restrictions, or try different pesto flavors like sun-dried tomato pesto for a twist.
Troubleshooting
- Texture problems: If your bread becomes too crispy or the cheese doesn’t melt properly, adjust your heat and cooking time.
- Ingredient replacements: Don’t have pesto? Make your own with basil, garlic, pine nuts, parmesan, and olive oil, or substitute with another herby spread.
- Over/undercooking signs: Watch for the bread’s color and the cheese’s melt. If the bread is too dark, it’s overcooked. If the cheese isn’t melted, it needs more time.
FAQs
- Can I freeze it? While it’s best fresh, you can freeze the sandwich before cooking. Simply thaw and cook as instructed.
- Is it gluten-free? Depending on the bread used, it can be. Opt for a gluten-free bread to make it accessible to those with gluten intolerance.
- Can I double the recipe? Absolutely, this recipe scales well. Just ensure you have enough space in your skillet to cook the sandwiches without overcrowding.
Conclusion
The Pesto Grilled Cheese is a versatile and delicious dish that can be enjoyed in various settings, from a quick snack to a dinner party. Its simplicity and the use of everyday ingredients make it accessible to everyone, while its unique flavor profile ensures it will be a hit with anyone who tries it. Feel free to experiment with different ingredients and variations to make it your own, and don’t hesitate to share your creations with friends and family. Whether you’re a seasoned chef or a beginner in the kitchen, this recipe is sure to become a favorite, offering a perfect blend of ease, flavor, and creativity.