What happens when rich brownies meet creamy cheesecake? Pure dessert magic. These loaded brownie cheesecake cups are easy to make and feature a decadent chocolate base topped with a homemade cheesecake mixture and baked to perfection. Save this idea for your next family favorite dessert night.
Loaded Brownie Cheesecake Cups
Introduction
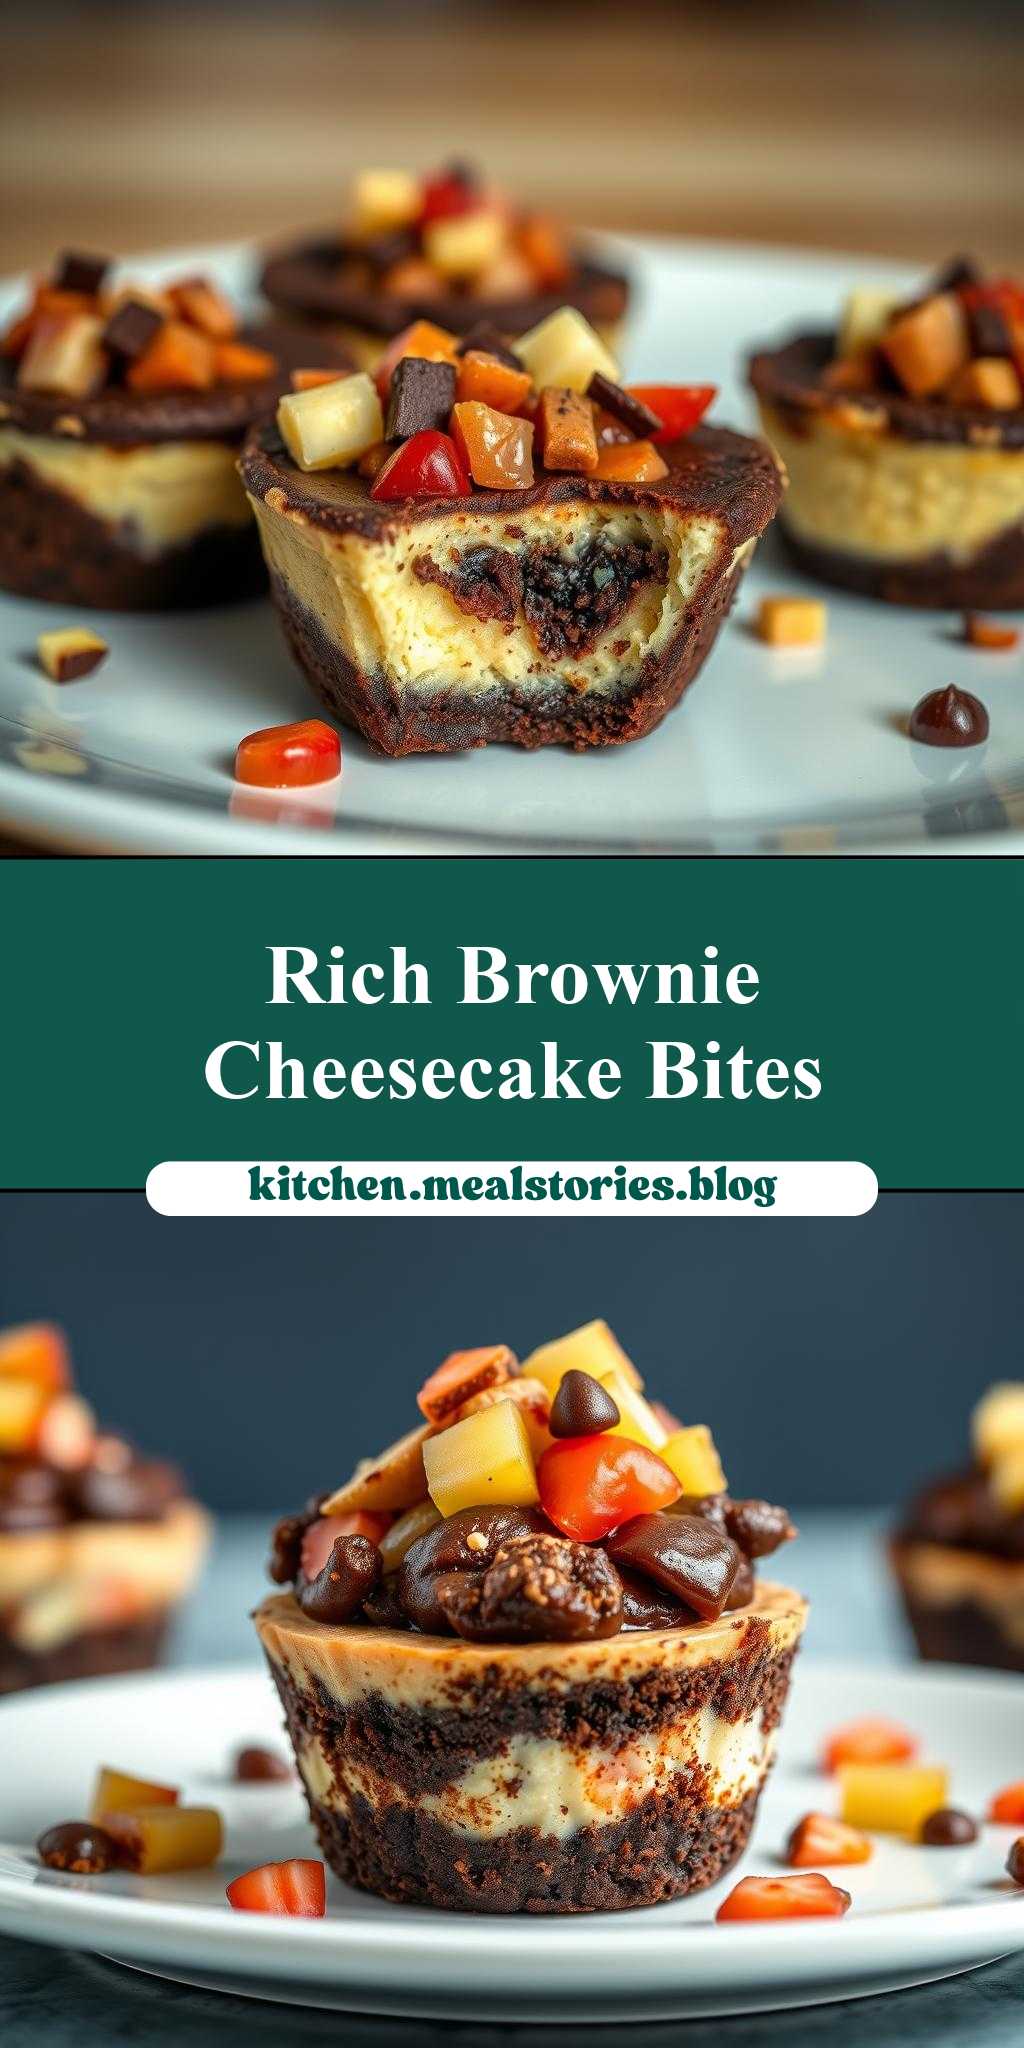
Imagine indulging in the richness of a decadent brownie and the creamy delight of a cheesecake, all in one bite. Loaded Brownie Cheesecake Cups bring together the best of both worlds, combining the deep, velvety texture of brownies with the smooth, tangy goodness of cheesecake. What’s more, these individual treats are surprisingly easy to make, requiring only everyday ingredients and basic kitchen tools. Whether you’re a beginner baker or a seasoned pro, this recipe promises to impress with its perfect balance of flavors and textures, all while allowing for a delightful degree of creativity and customization.
Why This Works
- Flavor balance and ingredient accessibility: The combination of dark chocolate, creamy cheesecake, and the crunch of nuts or cookie bits creates a harmonious balance of flavors that is both indulgent and accessible, using ingredients easily found in most supermarkets.
- Ease of preparation: Despite their impressive appearance, Loaded Brownie Cheesecake Cups are straightforward to prepare. The recipe involves simple mixing and layering, making it a great project for those new to baking or looking for a quick dessert solution.
- Impressive results with minimal effort: The individual cup format makes these treats perfect for parties, gatherings, or as a special dessert for the family. They look and taste like they came from a professional bakery, but with much less fuss and effort.
Key Ingredients
The foundation of Loaded Brownie Cheesecake Cups includes a few key components: a rich, fudgy brownie mix, a creamy cheesecake batter, and your choice of “loading” ingredients such as nuts, chocolate chips, or crushed cookies. For the brownie layer, using high-quality dark chocolate will enhance the depth of flavor. The cheesecake layer benefits from the use of full-fat cream cheese and large eggs for maximum richness and smoothness. Feel free to get creative with your loading ingredients – walnuts, pecans, M&M’s, or even crushed peanut butter cups can add a fun textural element and flavor boost. Practical substitutions can include using milk chocolate for a sweeter taste or opting for dairy-free alternatives to cater to different dietary needs.
Instructions
- Step 1: Begin by preheating your oven to 350°F (175°C). Prepare your muffin tin by lining it with cupcake liners. In a medium bowl, whisk together the flour, sugar, and cocoa powder for the brownie layer. In a separate bowl, whisk together the eggs, oil, and vanilla extract, then pour this mixture into the dry ingredients and stir until just combined. Fold in your chosen nuts or chocolate chips.
- Step 2: Divide the brownie batter evenly among the muffin cups, filling each about halfway. Bake for 12-15 minutes or until the edges are set and the centers are still slightly undercooked. Allow the brownie layer to cool completely in the pan.
- Step 3: For the cheesecake layer, beat the cream cheese until smooth, then add the eggs one at a time, followed by the sugar and vanilla extract. Mix well until combined. Spoon the cheesecake batter over the cooled brownie layer, filling each cup to the top. If desired, add additional loading ingredients on top of the cheesecake batter.
- Step 4: Bake the cheesecake cups for an additional 18-20 minutes, or until the edges are set and the centers are just slightly jiggly. Let them cool completely in the pan before refrigerating for at least 4 hours or overnight. Once chilled, they’re ready to serve. You can garnish with whipped cream, additional chocolate shavings, or a sprinkle of sea salt for extra flair.
Handy Tips
- To ensure the brownie and cheesecake layers bake evenly, it’s crucial to not overmix either batter. Stop mixing as soon as the ingredients come together in a cohesive mass.
- For a water bath, place the muffin tin in a larger baking dish and add hot water to come halfway up the sides of the tin. This helps the cheesecake bake more evenly and reduces the risk of cracking.
- Don’t open the oven door during the baking time, as this can cause the cheesecakes to sink or crack. Instead, check for doneness by gently jiggling the pan – the centers should be slightly jiggly.
Heat Control
Maintaining the right oven temperature is key to successfully baking Loaded Brownie Cheesecake Cups. Ensure your oven is at a true 350°F (175°C) for both the brownie and cheesecake layers. The baking time may vary slightly depending on your oven’s accuracy and the size of your muffin tin. Keep an eye on the cups after the minimum recommended baking time, and check for doneness by the firmness of the edges and the jiggle of the centers.
Crunch Factor
The crunch factor in these cheesecake cups comes from the loading ingredients you choose – nuts, cookie bits, or even candy pieces can add a delightful textural contrast to the smooth cheesecake and dense brownie. To enhance the crunch, consider toasting your nuts in a 350°F oven for 5-7 minutes, or until fragrant and lightly browned, before folding them into the batter.
Pro Kitchen Tricks
- For a clean release from the muffin tin, make sure the cheesecakes are completely cooled and chilled. Run a knife around the edges of each cup before lifting them out.
- To prevent cracking, avoid sudden changes in temperature. Let the cheesecakes cool in the oven with the door ajar after baking, then transfer them to a wire rack to cool completely.
- Experiment with different extracts like mint, orange, or almond to give your cheesecakes a unique twist. A teaspoon of high-quality extract can make a significant difference in the flavor profile.
Storage Tips
- Loaded Brownie Cheesecake Cups can be stored in an airtight container in the refrigerator for up to 5 days. Let them come to room temperature before serving for the best flavor and texture.
- For longer storage, consider freezing the cups. Place them in a single layer in a freezer-safe container or bag, making sure they don’t touch each other. Frozen, they’ll keep for up to 2 months. Thaw overnight in the refrigerator before serving.
- When reheating, a brief warm-up in the microwave (about 10-15 seconds) can enhance the texture and flavor. However, be cautious not to overheat, as this can cause the cheesecake to become too soft or even melt.
Gift Packaging Ideas
These individual treats are perfect for gifting, especially when packaged with a personal touch. Consider placing each cheesecake cup in a decorative cupcake liner or a small gift box. Wrap the box in ribbon or twine, and add a handwritten note or a gift tag with baking instructions and a personal message. For a more rustic look, place the cheesecakes in mason jars, sealed with a ribbon around the lid. This not only protects the dessert but also adds a charming, homemade touch.
Flavor Variations
- Different spices: Introduce a pinch of salt, a teaspoon of cinnamon, or a few grinds of nutmeg to the cheesecake batter for a unique flavor twist.
- Creative toppings: Experiment with various toppings such as caramel sauce, whipped cream, chopped nuts, or shaved chocolate to add texture and visual appeal.
- Ingredient swaps: Substitute the brownie layer with a cookie dough base for a cookie dough cheesecake cup, or use different types of chocolate for the brownie layer to change the flavor profile.
Troubleshooting
- Texture problems: If the cheesecakes are too dense, it might be due to overmixing the batter. If they’re too soft, they might not have baked long enough. Adjust the baking time and mixing technique accordingly.
- Ingredient replacements: When substituting ingredients, especially in the cheesecake layer, be mindful of the potential impact on texture and flavor. Dairy-free alternatives, for instance, can affect the richness and smoothness of the cheesecake.
- Over/undercooking signs: Keep an eye out for edges that are too dark (overcooked) or centers that are too jiggly (undercooked). Adjust the baking time as needed, and consider using a water bath to ensure even cooking.
FAQs
- Can I freeze it? Yes, Loaded Brownie Cheesecake Cups can be frozen for up to 2 months. Freeze them in a single layer in an airtight container or freezer bag, then thaw overnight in the refrigerator when you’re ready to serve.
- Is it gluten-free? The recipe as described contains gluten due to the wheat flour in the brownie mix. However, you can easily make it gluten-free by substituting the flour with a gluten-free flour blend.
- Can I double the recipe? Absolutely. Simply double all the ingredients and adjust the baking time slightly. Keep a close eye on the cheesecakes, as the baking time may be longer for a larger batch.
Conclusion
Loaded Brownie Cheesecake Cups are a game-changer for any dessert lover, offering a unique combination of textures and flavors in each bite. With their ease of preparation, impressive presentation, and flexibility in ingredients, they’re perfect for special occasions or everyday treats. Don’t be afraid to experiment with different loading ingredients, flavor extracts, and presentation ideas to make this recipe your own. Share your creations with friends and family, and enjoy the joy of baking and giving. Happy baking, and let the indulgence begin!