What makes the perfect chocolate cake? Rich, velvety chocolate and moist texture come together in Nestle’s House Toll Death by Chocolate Cake, a homemade family favorite that’s easy to make with simple ingredients like dark chocolate and creamy butter. Save this idea for your next weeknight dinner dessert.
Nestle’s House Toll Death by Chocolate Cake
Introduction
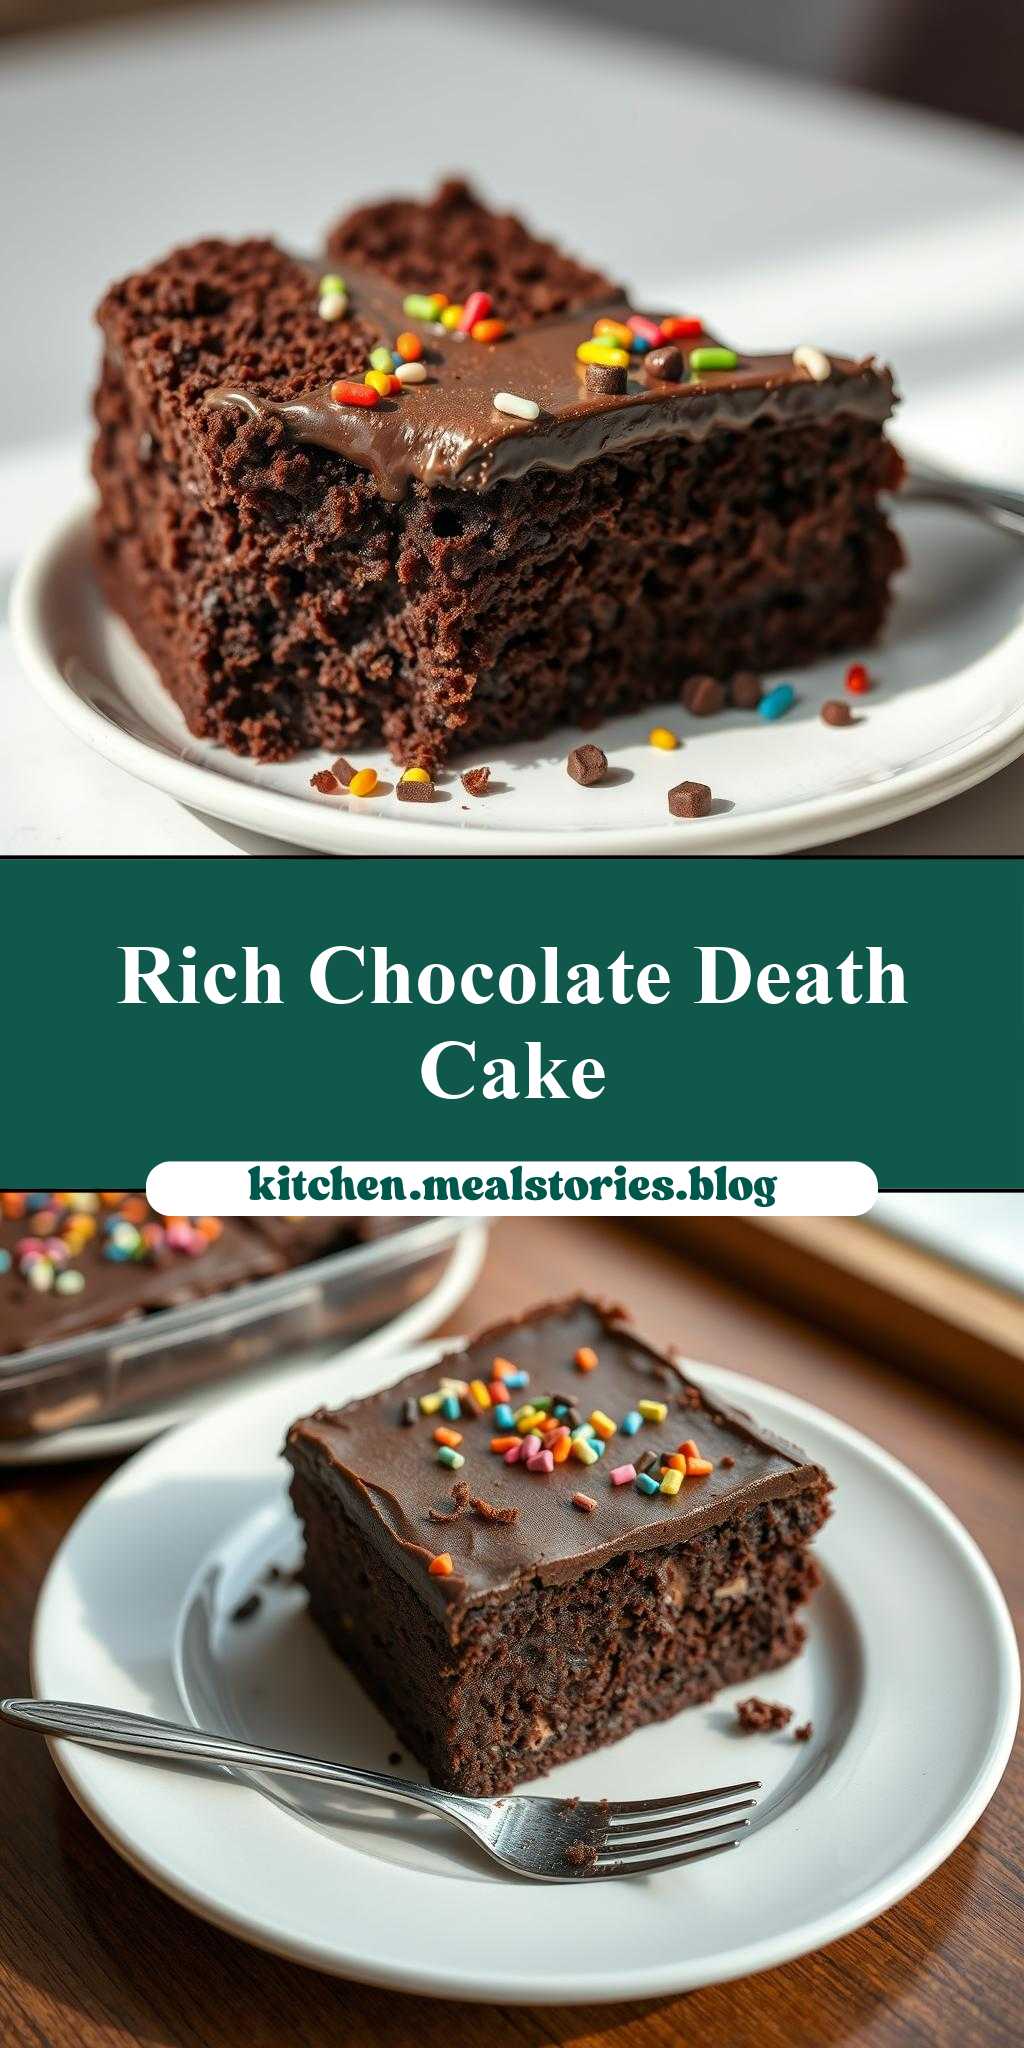
Imagine a rich, velvety chocolate cake that’s so decadent, it’s to die for. Nestle’s House Toll Death by Chocolate Cake is the epitome of chocolate indulgence, combining the finest dark chocolate, moist cake, and a hint of sweetness that will leave you craving for more. The best part? It’s incredibly easy to make, requiring just a few everyday ingredients and some basic kitchen skills. Whether you’re a chocolate aficionado or just looking to impress your friends and family with a show-stopping dessert, this cake is sure to hit the spot. So, let’s dive in and explore the magic behind this heavenly treat.
Why This Works
- Flavor balance and ingredient accessibility: The combination of dark chocolate, sugar, and eggs creates a perfect balance of flavors, while the use of readily available ingredients makes it easy to whip up this cake at any time.
- Ease of preparation: Despite its impressive appearance, the cake is surprisingly simple to prepare, requiring minimal effort and time.
- Impressive results with minimal effort: The end result is a stunning, professional-looking cake that’s sure to impress even the most discerning palates, all with minimal fuss and effort.
Key Ingredients
The star of the show is, of course, the dark chocolate, which provides the deep, rich flavor that this cake is famous for. You’ll also need all-purpose flour, granulated sugar, unsalted butter, eggs, and a pinch of salt. For an extra boost of flavor, you can add a teaspoon of pure vanilla extract. If you’re looking for substitutions, you can use semi-sweet chocolate chips or milk chocolate for a lighter flavor, and almond flour or gluten-free flour for a gluten-free option.
Instructions
- Step 1: Preheat your oven to 350°F (180°C) and grease two 9-inch (23cm) round cake pans. In a medium bowl, whisk together the flour, sugar, and salt.
- Step 2: In a large mixing bowl, combine the unsalted butter and dark chocolate. Melt the mixture in the microwave or over a double boiler, stirring occasionally, until smooth. Let it cool slightly.
- Step 3: Add the eggs one at a time, whisking well after each addition, followed by the vanilla extract. Gradually add the flour mixture, whisking until just combined.
- Step 4: Divide the batter evenly between the prepared pans and smooth the tops. Bake for 30-35 minutes or until a toothpick inserted in the center comes out clean. Let the cakes cool in the pans for 10 minutes before transferring them to a wire rack to cool completely.
Handy Tips
- Make sure to use high-quality dark chocolate for the best flavor.
- Don’t overmix the batter, as this can result in a dense cake.
- If you’re not serving the cake immediately, you can store it in an airtight container at room temperature for up to 3 days.
Heat Control
To ensure the cake is cooked to perfection, keep an eye on the temperature and timing. The ideal temperature is 350°F (180°C), and the cake should be baked for 30-35 minutes. Check for doneness by inserting a toothpick into the center of the cake; if it comes out clean, the cake is ready.
Crunch Factor
The cake should be moist and tender, with a delicate crumb. To achieve this, make sure not to overbake the cake, and avoid overmixing the batter. If you want to add a crunchy element, you can top the cake with chopped nuts or chocolate shavings.
Pro Kitchen Tricks
- Use a high-quality chocolate for the best flavor.
- Don’t overmix the batter, as this can result in a dense cake.
- Let the cake cool completely before serving to ensure it sets properly.
Storage Tips
- Store the cake in an airtight container at room temperature for up to 3 days.
- Wrap the cake tightly in plastic wrap or aluminum foil and freeze for up to 2 months.
- Thaw the frozen cake at room temperature or reheat it in the microwave or oven.
Gift Packaging Ideas
This cake is perfect for gifting, and with a little creativity, you can make it look stunning. Consider packaging the cake in a decorative tin or cake box, or wrapping it in colorful paper or fabric. You can also add a personal touch with a handwritten note or a sprinkle of edible decorations.
Flavor Variations
- Add a teaspoon of instant coffee powder to intensify the chocolate flavor.
- Use different types of chocolate, such as white chocolate or milk chocolate, for a unique twist.
- Add a handful of chopped nuts or dried fruit to the batter for added texture and flavor.
Troubleshooting
- If the cake is too dense, check if you overmixed the batter or overbaked the cake.
- If the cake is too dry, try adding a little more oil or butter to the batter.
- If the cake doesn’t set properly, check if you used the right type of flour or if the cake was not cooled completely.
FAQs
- Can I freeze it? Yes, you can freeze the cake for up to 2 months. Wrap it tightly in plastic wrap or aluminum foil and thaw at room temperature or reheat in the microwave or oven.
- Is it gluten-free? No, this cake recipe is not gluten-free. However, you can substitute the all-purpose flour with gluten-free flour to make it gluten-free.
- Can I double the recipe? Yes, you can double the recipe to make a larger cake. Just keep in mind that you may need to adjust the baking time accordingly.
Conclusion
Nestle’s House Toll Death by Chocolate Cake is a show-stopping dessert that’s sure to impress anyone. With its rich, velvety chocolate flavor and moist, tender texture, it’s the perfect treat for any chocolate lover. Whether you’re a seasoned baker or a beginner, this recipe is easy to follow and requires minimal effort. So go ahead, give it a try, and indulge in the decadence of this heavenly cake. Don’t forget to share your creations with friends and family, and experiment with different flavor variations to make it your own. Happy baking!