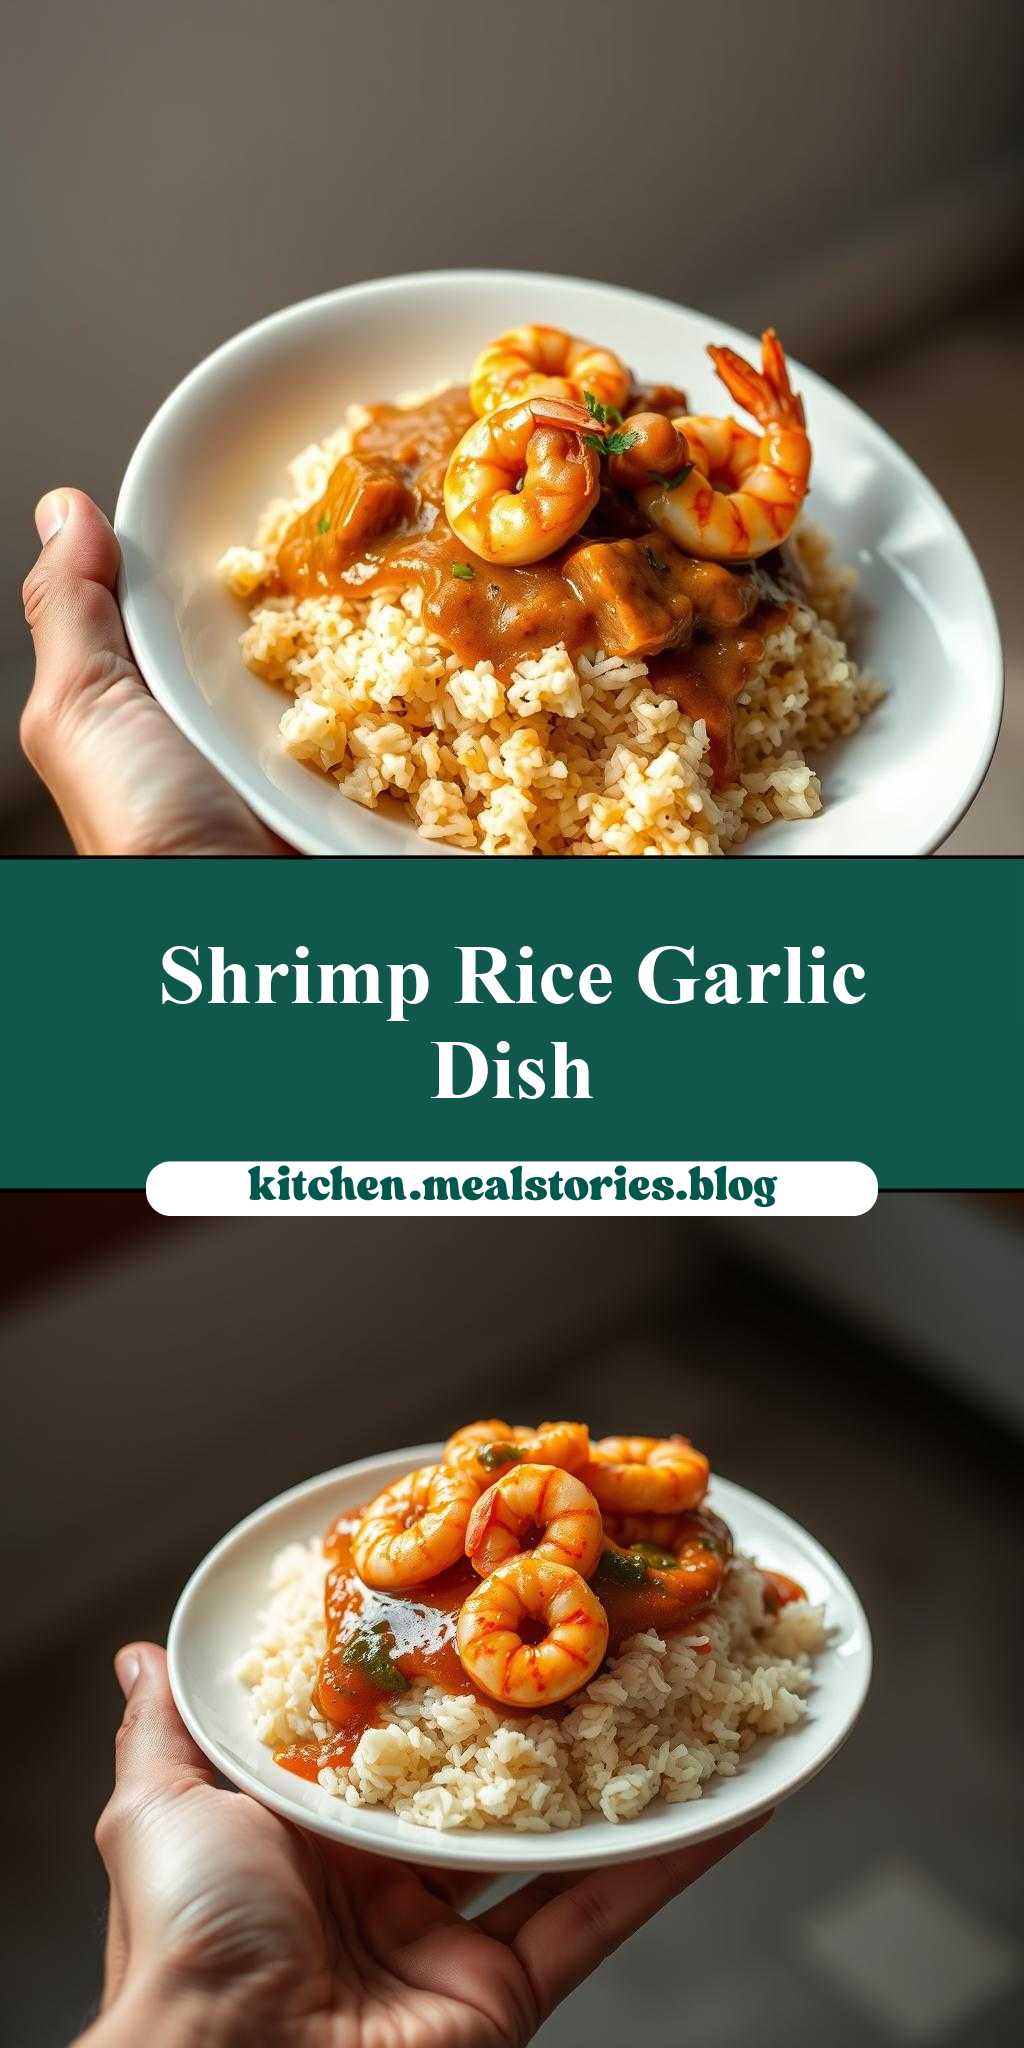
What makes a perfect weeknight dinner? For me, it’s a homemade plate of shrimp and gravy over rice, made easy with quick sautéing and savory spices. Save this idea for a delicious family favorite meal to try soon
a person holding a plate of food with shrimp and gravy on top of rice
Introduction
Imagine a dish that combines the succulence of shrimp, the richness of a homemade gravy, and the comforting familiarity of rice, all in one delightful plate. This recipe for shrimp and gravy on top of rice is not just a meal; it’s an experience that will leave you and your loved ones craving for more. The beauty of this dish lies in its simplicity and the ease with which it can be prepared, making it a perfect candidate for both weeknight dinners and special occasions. With everyday ingredients and a bit of creativity, you can elevate a basic meal into a culinary masterpiece that’s sure to impress.
Why This Works
- Flavor balance and ingredient accessibility: This dish achieves a perfect balance of flavors, from the savory shrimp to the slightly sweet undertones in the gravy, all complemented by the neutral background of rice. The ingredients are easily accessible, making it a practical choice for any home cook.
- Ease of preparation: Despite its impressive presentation, this recipe is remarkably easy to prepare. It requires minimal cooking techniques and can be ready in under 30 minutes, making it a great option for busy days.
- Impressive results with minimal effort: The combination of succulent shrimp, flavorful gravy, and fluffy rice creates a dish that looks and tastes like it was prepared in a professional kitchen, all with minimal effort and time.
Key Ingredients
The main ingredients in this recipe include fresh shrimp, which can be substituted with frozen shrimp if fresh is not available; rice, preferably long-grain for better texture; and a variety of spices and herbs for the gravy, such as onion, garlic, paprika, and thyme. For the gravy, you will also need some all-purpose flour to thicken it and a bit of butter or oil for sautéing. Practical substitutions can be made for the spices and herbs based on personal preference or dietary needs.
Instructions
- Step 1: Begin by preparing your ingredients. Peel and de-vein the shrimp, rinse them under cold water, and set them aside. Chop the onion and mince the garlic. Measure out your spices and herbs.
- Step 2: Cook the rice according to the package instructions. Typically, it involves boiling 2 cups of water for every 1 cup of rice, then reducing the heat to low, covering, and simmering for about 15-20 minutes or until the water is absorbed and the rice is fluffy.
- Step 3: In a large skillet, melt a tablespoon of butter over medium heat. Add the chopped onion and sauté until it’s translucent. Then, add the minced garlic and cook for another minute, ensuring it doesn’t burn. Add the shrimp and cook until they turn pink, about 2-3 minutes per side. Remove the shrimp from the skillet and set them aside.
- Step 4: In the same skillet, add a bit more butter if necessary, then sprinkle the flour to make a roux, whisking continuously to avoid lumps. Gradually add a cup of chicken or fish broth, whisking until the gravy thickens. Season with paprika, thyme, salt, and pepper. Return the shrimp to the skillet and toss them in the gravy to coat.
Handy Tips
- For a creamier gravy, you can add a tablespoon of heavy cream or half-and-half towards the end of cooking. Be cautious not to add too much, as it can make the gravy too rich.
- Avoid overcooking the shrimp, as they can become tough and rubbery. They should be cooked just until they turn pink.
- Experiment with different spices and herbs to give the dish your personal touch. For example, a bit of cayenne pepper can add a nice kick for those who like spicy food.
Heat Control
Heat control is crucial in this recipe, especially when cooking the shrimp and making the gravy. For the shrimp, medium heat is ideal to ensure they cook evenly and don’t burn. When making the gravy, it’s essential to whisk constantly over medium heat to prevent the flour from burning and to achieve a smooth texture. The ideal temperature for cooking the gravy is around 180°F to 190°F, where it simmers gently and thickens without burning.
Crunch Factor
The crunch factor in this dish can come from adding some crispy elements on top, such as toasted almonds or crispy fried onions. To achieve crunch, simply slice an onion thinly, separate it into rings, dredge them in flour, and fry in hot oil until crispy and golden. Drain on paper towels and sprinkle over the dish before serving.
Pro Kitchen Tricks
- Use high-quality ingredients: Fresh shrimp and real butter can make a significant difference in the flavor and texture of your dish.
- Don’t overcomplicate the gravy: Sometimes, less is more. Avoid adding too many spices or ingredients that can overpower the delicate flavor of the shrimp.
- Clean as you go: This habit can save you a lot of time and stress after cooking. Cleaning utensils and dishes as you use them keeps your kitchen organized and makes the cooking process more enjoyable.
Storage Tips
- Leftover storage: Cool the dish to room temperature, then store it in an airtight container in the refrigerator for up to 2 days. Reheat gently over low heat, adding a bit of water if the gravy has thickened too much.
- Reheating tips: When reheating, make sure the dish is heated through but not overcooked. You can also reheat individual portions in the microwave for convenience.
- Shelf life: Cooked shrimp and gravy can be safely stored in the fridge for 2 days. If you don’t plan to use it within this timeframe, consider freezing it. Frozen cooked shrimp and gravy can last for 3-4 months.
Gift Packaging Ideas
If you’re considering gifting this dish, perhaps for a potluck or as a care package, you can package it in a decorative microwave-safe container. Add a sprinkle of fresh herbs on top for a pop of color and a personal touch. Include a card with reheating instructions and a personal message to make it extra special.
Flavor Variations
- Different spices: Try adding some smoked paprika for a smoky flavor or a bit of saffron! for a luxurious and aromatic taste.
- Creative toppings: Apart from crispy onions, you can also top your dish with chopped fresh parsley, diced bell peppers, or even a dollop of sour cream for added richness.
- Ingredient swaps: For a vegetarian version, you could substitute the shrimp with sautéed mushrooms or eggplant, adjusting the cooking time accordingly.
Troubleshooting
- Texture problems: If your gravy turns out too thick, you can thin it out with a bit of broth or water. If it’s too thin, simmer it for a few more minutes or add a bit more flour mixed with water to thicken it.
- Ingredient replacements: If you’re allergic to shellfish, consider using chicken or tofu as a protein substitute. Adjust the cooking time based on the ingredient you choose.
- Over/undercooking signs: Shrimp are done when they turn pink and firm to the touch. If they’re undercooked, they will be translucent and soft. Overcooked shrimp are hard and rubbery.
FAQs
- Can I freeze it? Yes, you can freeze cooked shrimp and gravy for up to 3-4 months. It’s best to freeze it in airtight, freezer-safe containers or bags, making sure to press out as much air as possible before sealing.
- Is it gluten-free? The recipe as described is gluten-free, making it a great option for those with gluten intolerance. However, if you’re using a store-bought broth, ensure it’s gluten-free. Some broths may contain gluten.
- Can I double the recipe? Yes, you can easily double or triple this recipe for larger gatherings. Just keep in mind that you may need to adjust the cooking time slightly for the shrimp and the gravy.
Conclusion
This recipe for shrimp and gravy on top of rice is a versatile and delicious meal that can be enjoyed in various settings. Whether you’re a seasoned cook or just starting out, this dish is sure to become a favorite. Don’t be afraid to experiment with different flavors and ingredients to make it your own. Share your creations with friends and family, and enjoy the joy of cooking and sharing meals together. Happy cooking!