What makes red velvet cookies so irresistible? Rich cocoa powder and a hint of tangy buttermilk come together in these easy homemade treats, perfect for a quick weeknight dessert, try making a batch with your family and save this idea for later
Red Velvet Cookies
Introduction
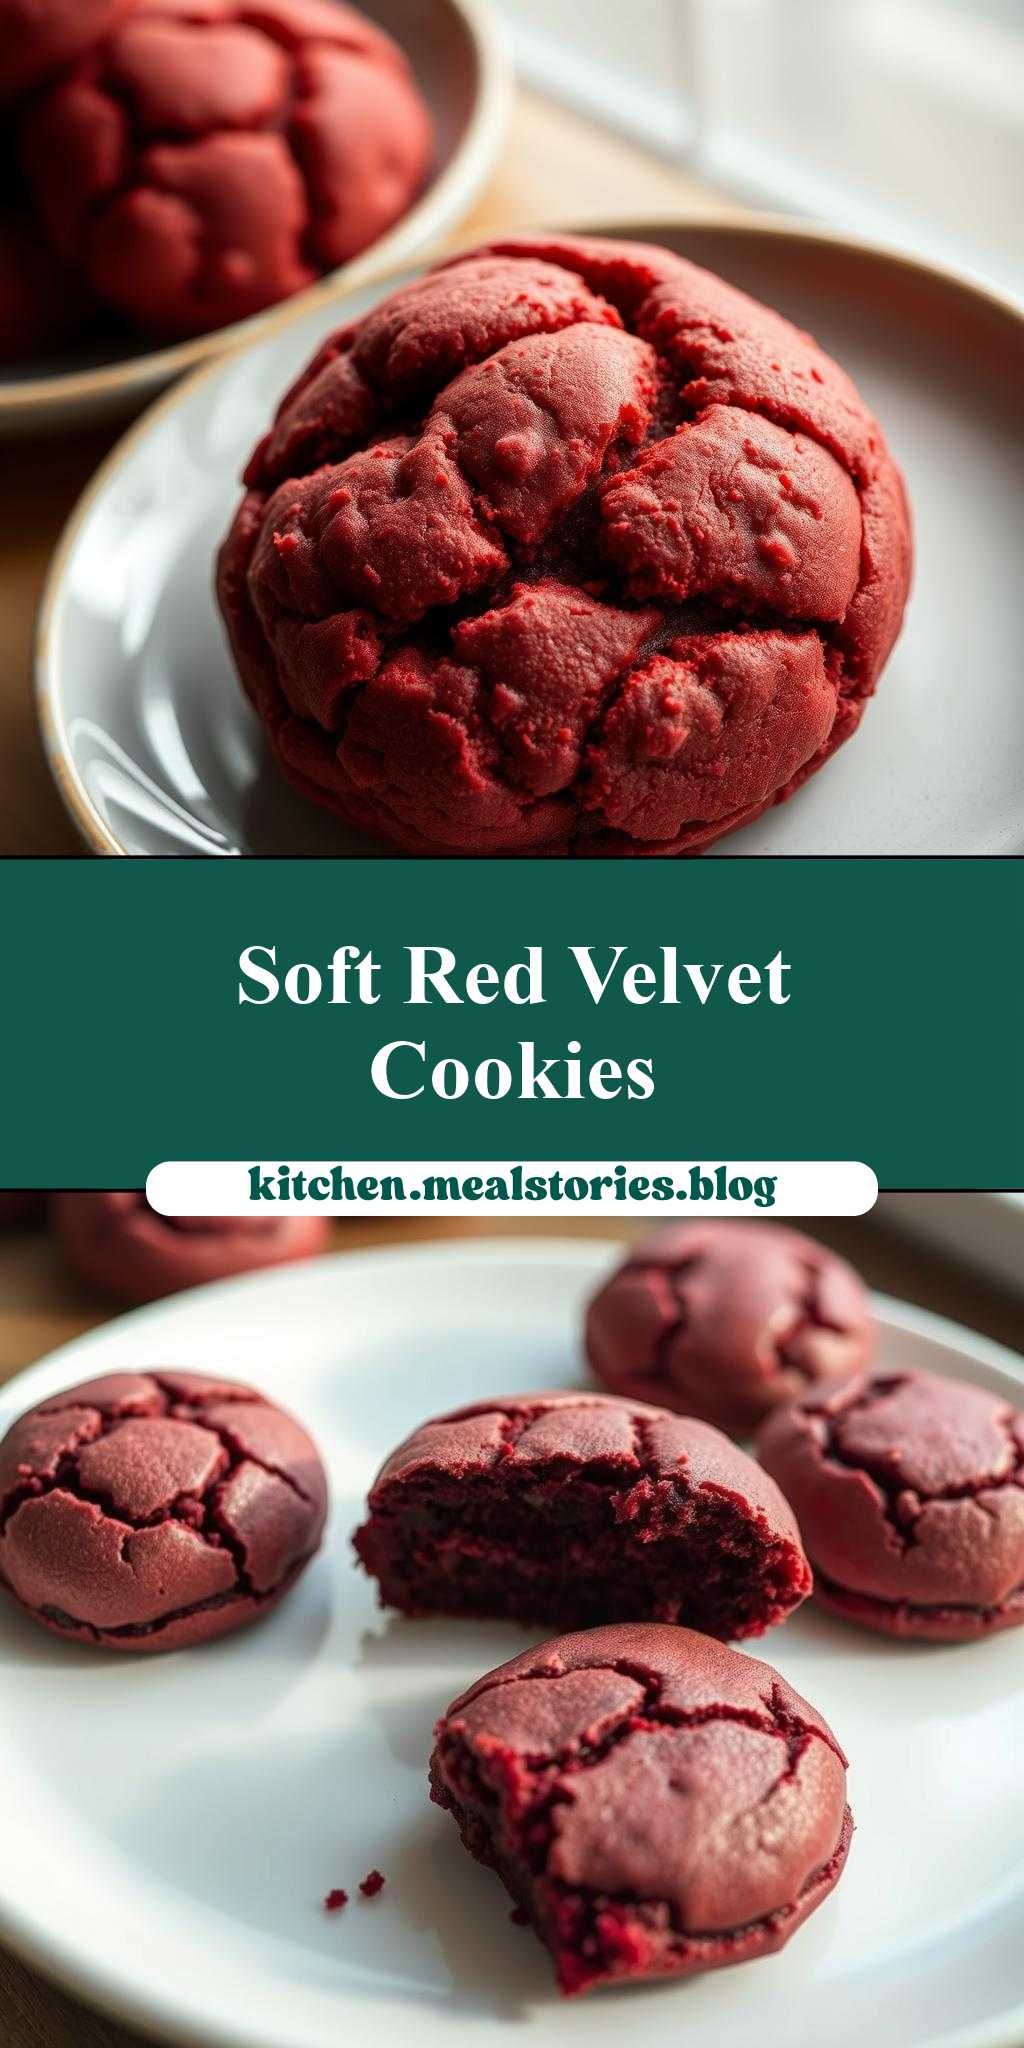
Imagine sinking your teeth into a soft, chewy cookie that’s as vibrant as it is delicious. Red Velvet Cookies are a masterpiece of flavor and texture, combining the subtle tang of buttermilk, the richness of chocolate, and the warmth of vanilla in a perfectly balanced treat. What’s more, these cookies are incredibly easy to make, requiring only everyday ingredients and a bit of creativity. Whether you’re a seasoned baker or just starting out, this recipe is sure to impress, yielding cookies that are not only stunning but also utterly irresistible.
Why This Works
- Flavor balance and ingredient accessibility: The combination of cocoa powder, buttermilk, and vanilla extract creates a deep, velvety flavor profile that’s both unique and approachable, using ingredients that are readily available in most supermarkets.
- Ease of preparation: With a straightforward mixing process and no need for complex techniques, these cookies are perfect for a quick baking session or as a fun project with the kids.
- Impressive results with minimal effort: Despite their simplicity, Red Velvet Cookies offer a dramatic presentation, thanks to their distinctive red color and potential for creative decoration, making them ideal for special occasions or as a thoughtful gift.
Key Ingredients
The main ingredients in Red Velvet Cookies include all-purpose flour, granulated sugar, brown sugar, unsalted butter, eggs, cocoa powder, buttermilk, vanilla extract, baking soda, salt, and red food coloring. For those looking for substitutions, almond milk or regular milk with a tablespoon of white vinegar or lemon juice can replace buttermilk, and coconut sugar can be used in place of brown sugar for a slightly different flavor. The quality of the cocoa powder can significantly affect the depth of the chocolate flavor, so using a high-quality cocoa is recommended.
Instructions
- Step 1: Begin by preheating your oven to 375°F (190°C). Line a baking sheet with parchment paper or a silicone mat. In a medium bowl, whisk together the flour, baking soda, and salt. Set aside.
- Step 2: In a large bowl, use an electric mixer to cream together the butter and sugars until light and fluffy, about 2-3 minutes. Beat in the eggs one at a time, followed by the vanilla extract.
- Step 3: With the mixer on low speed, gradually mix in the flour mixture until just combined, being careful not to overmix. Then, add the cocoa powder and mix until the dough comes together in a ball. Finally, add the buttermilk and red food coloring, mixing until a uniform color is achieved.
- Step 4: Scoop tablespoon-sized balls of dough onto the prepared baking sheet, leaving about 2 inches of space between each cookie. Bake for 10-12 minutes or until the edges are set and the centers are just slightly soft. Allow the cookies to cool on the baking sheet for 5 minutes before transferring them to a wire rack to cool completely.
Handy Tips
- For the best flavor, make sure to use room temperature ingredients, especially the butter and eggs. This ensures a smooth and even mixing process.
- Avoid overbaking, as this can lead to cookies that are too hard. If you prefer a chewier cookie, bake for 8-10 minutes. For a crisper cookie, bake for 12-14 minutes.
- Consider using a combination of white and brown sugar for a richer flavor profile. Brown sugar adds a depth and caramel-like flavor that complements the cocoa beautifully.
Heat Control
Maintaining the right oven temperature is crucial for achieving the perfect texture in your Red Velvet Cookies. Ensure your oven is at 375°F (190°C) for baking. The cookies are done when they are firm to the touch and the edges are lightly golden. It’s also important to avoid overcrowding the baking sheet, as this can affect the cookies’ shape and baking time.
Crunch Factor
The desired texture of Red Velvet Cookies can vary, but generally, they are soft and chewy on the inside with a slight crispiness on the edges. To achieve this, do not overbake. If you prefer a crunchier cookie, you can bake them for a couple of minutes longer. For an extra crunchy exterior and chewy interior, try chilling the dough for 30 minutes before baking.
Pro Kitchen Tricks
- Chilling the dough can result in a better texture and a more vibrant color, as it allows the flour to hydrate fully and the flavors to meld together.
- Using a silicone mat on your baking sheet can help prevent the cookies from spreading too much and make them easier to remove once baked.
- For clean and round cookies, use a cookie scoop to portion out the dough. This also ensures uniform baking times.
Storage Tips
- Red Velvet Cookies can be stored in an airtight container at room temperature for up to 5 days. For longer storage, consider freezing the cookies in a sealed bag or container for up to 2 months. Frozen cookies can be thawed at room temperature or reheated in the microwave for a few seconds.
- When storing, it’s best to place a piece of parchment paper or a silicone sheet between layers of cookies to prevent them from sticking together.
- For the freshest flavor, bake and store the cookies in small batches, especially if you plan to consume them over an extended period.
Gift Packaging Ideas
Red Velvet Cookies make a wonderful gift, especially during holidays or special occasions. Consider packaging them in decorative jars or tin containers lined with parchment paper or cellophane bags. You can also wrap individual cookies in plastic wrap or aluminum foil and place them in a gift box or bag. Adding a ribbon or a handmade card with the recipe or a personal message can make the gift even more thoughtful and unique.
Flavor Variations
- Different spices: Introduce a pinch of cinnamon, nutmeg, or cayenne pepper to give your cookies a unique twist. Cinnamon pairs well with the chocolate flavor, while cayenne pepper adds a surprising kick.
- Creative toppings: Before baking, press a few chocolate chips, chopped nuts, or sprinkles into the top of each cookie for added texture and visual appeal.
- Ingredient swaps: Replace some of the all-purpose flour with oat flour for a nuttier flavor, or use dark cocoa powder for an intense chocolate taste.
Troubleshooting
- Texture problems: If your cookies turn out too hard, they might have been overbaked. If they’re too soft, they might not have been baked long enough. Adjust the baking time accordingly for the next batch.
- Ingredient replacements: If you find that you’re out of a particular ingredient, refer to the substitutions mentioned earlier in the recipe. However, keep in mind that each substitution can slightly alter the final flavor and texture.
- Over/undercooking signs: Overcooked cookies will be hard and possibly dark around the edges. Undercooked cookies will be soft and possibly raw in the center. The ideal cookie is firm around the edges and slightly soft in the center.
FAQs
- Can I freeze it? Yes, you can freeze the dough or the baked cookies. Frozen dough can be thawed overnight in the fridge or at room temperature for a few hours before baking. Frozen cookies can be thawed at room temperature or reheated in the microwave.
- Is it gluten-free? The recipe as given contains gluten due to the all-purpose flour. However, you can experiment with gluten-free flours, keeping in mind that the texture and flavor might be slightly different.
- Can I double the recipe? Yes, you can easily double or triple the recipe if you’re planning to make a large batch of cookies. Just ensure you have enough baking sheets and space in your oven for the increased number of cookies.
Conclusion
Red Velvet Cookies are a true delight, offering a unique blend of flavors and textures that are sure to please both kids and adults. With their striking appearance and versatility in decoration and flavor variations, they’re perfect for any occasion. Don’t be afraid to experiment with different ingredients and toppings to make the recipe your own, and enjoy the process of creating something truly special. Whether you’re a baking novice or a seasoned pro, these cookies are sure to become a favorite, and with the tips and tricks provided, achieving perfection is well within reach.