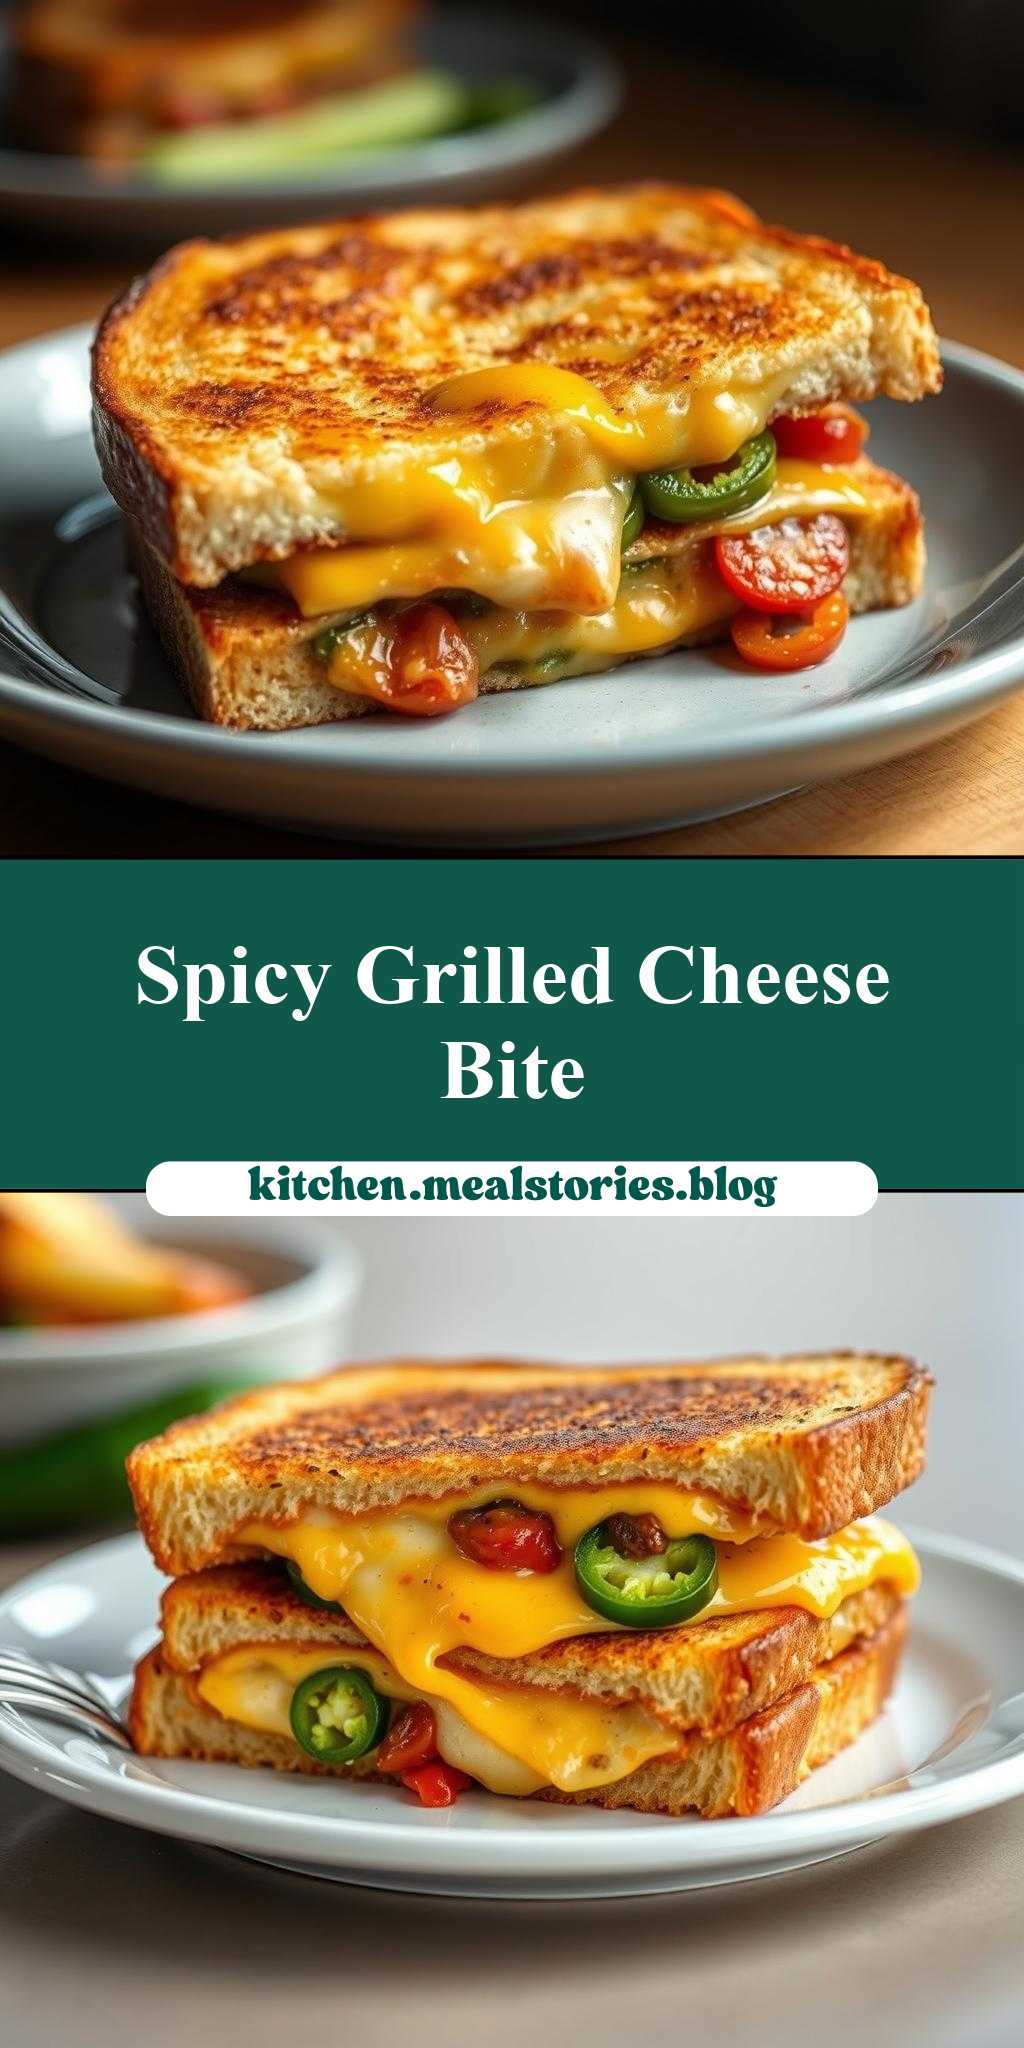
What happens when you combine a grilled cheese with a jalapeño popper? A game-changing sandwich that’s perfect for a quick weeknight dinner. With melted cheese, spicy jalapeños, and a crispy homemade bread, this easy recipe is about to become a family favorite. Save this idea for a flavorful twist on a classic comfort food.
Jalapeño Popper Grilled Cheese Sandwich
Introduction
The Jalapeño Popper Grilled Cheese Sandwich is a creative twist on two classic favorites: the grilled cheese sandwich and the jalapeño popper. This dish combines the gooey, cheesy goodness of a grilled cheese with the spicy, crunchy delight of a jalapeño popper, all in one convenient and delicious package. By using everyday ingredients and simple cooking techniques, you can create a truly impressive meal that is sure to please even the pickiest eaters. Whether you’re a fan of spicy food or just looking for a new way to liven up your lunch routine, this sandwich is sure to hit the spot.
Why This Works
- Flavor balance and ingredient accessibility: The combination of melted cheese, crispy bacon, and spicy jalapeños creates a perfect balance of flavors, while the use of common ingredients makes it easy to whip up at a moment’s notice.
- Ease of preparation: With a few simple steps, you can have this sandwich ready in no time, making it perfect for busy weeknights or weekend lunches.
- Impressive results with minimal effort: Despite its simplicity, the Jalapeño Popper Grilled Cheese Sandwich is sure to impress your family and friends with its creative flavor combination and satisfying crunch.
Key Ingredients
The key ingredients in this recipe include sliced jalapeños, cream cheese, shredded cheese, crispy bacon, and bread. You can use any type of bread you like, but a crusty bread or sourdough works particularly well. For the cheese, a combination of cheddar and Monterey Jack is recommended, but you can also use other types of cheese such as mozzarella or provolone. If you like a little extra heat, you can add some diced serrano peppers or red pepper flakes to the mix. Practical substitutions include using different types of cheese or bread, or adding other ingredients such as diced ham or chopped onions to the filling.
Instructions
- Step 1: Begin by preheating a grill or grill pan to medium-high heat. While the grill is heating up, slice the jalapeños in half and remove the seeds and membranes. In a bowl, mix together the cream cheese, shredded cheese, and diced bacon until well combined.
- Step 2: Butter one side of each slice of bread. Place one slice of bread, butter-side down, on the grill. Spread a layer of the cheese and bacon mixture on top of the bread, followed by a few slices of jalapeño. Place another slice of bread, butter-side up, on top of the filling.
- Step 3: Cook the sandwich for 2-3 minutes on the first side, or until the bread is golden brown and the cheese is melted. Carefully flip the sandwich over and cook for an additional 2-3 minutes, or until the other side is also golden brown.
- Step 4: Remove the sandwich from the grill and let it cool for a minute or two. Slice in half and serve immediately, garnished with additional jalapeño slices or a sprinkle of cheese if desired.
Handy Tips
- To avoid overpowering the other flavors, be sure to use only a few slices of jalapeño per sandwich. You can always add more heat later, but it’s harder to remove it once it’s added.
- If you’re not a fan of spicy food, you can substitute in some milder peppers such as Anaheim or Poblano.
- To add some extra crunch to the sandwich, try adding some chopped onions or bell peppers to the filling.
Heat Control
When cooking the sandwich, it’s essential to keep an eye on the heat to ensure that the bread doesn’t burn and the cheese is melted to perfection. Ideally, you want to cook the sandwich over medium-high heat, which should be around 375-400°F (190-200°C). If you’re using a grill pan, you can test the heat by flicking a few drops of water onto the pan – if they sizzle and evaporate quickly, the pan is ready to go.
Crunch Factor
The crunch factor is a crucial element of the Jalapeño Popper Grilled Cheese Sandwich, and it comes from the combination of crispy bacon, crunchy jalapeños, and toasted bread. To achieve the perfect crunch, be sure to cook the bacon until it’s crispy, and don’t overcook the sandwich – you want the bread to be toasted but still slightly soft in the center.
Pro Kitchen Tricks
- To add some extra flavor to the sandwich, try using a flavored cream cheese such as garlic or herb.
- If you’re having trouble getting the cheese to melt, try covering the sandwich with a lid or a piece of foil for a minute or two – this will help trap the heat and melt the cheese.
- To make the sandwich more substantial, try adding some sliced meats such as turkey or ham to the filling.
Storage Tips
- Leftover sandwiches can be stored in an airtight container in the fridge for up to 24 hours. To reheat, simply place the sandwich in a pan over medium heat and cook until the cheese is melted and the bread is toasted.
- If you want to freeze the sandwiches, it’s best to assemble them without the cheese and then freeze them on a baking sheet. Once frozen, you can transfer them to a freezer-safe bag or container and store them for up to 3 months.
- When reheating frozen sandwiches, be sure to cook them in a pan over medium heat, covered with a lid, until the cheese is melted and the bread is toasted.
Gift Packaging Ideas
If you want to give the Jalapeño Popper Grilled Cheese Sandwich as a gift, you can package it in a variety of creative ways. Try wrapping the sandwich in wax paper or parchment paper and tying it with a ribbon, or placing it in a gift basket filled with other gourmet goodies such as artisanal cheeses and crackers. You could also consider making a batch of the sandwiches and freezing them, then packaging them in a freezer-safe bag or container with a gift tag and instructions for reheating.
Flavor Variations
- Different spices: Try adding some diced onions or bell peppers to the filling for extra flavor, or using different types of cheese such as pepper jack or colby.
- Creative toppings: Consider adding some sliced meats such as turkey or ham, or using different types of peppers such as Anaheim or Poblano.
- Ingredient swaps: Experiment with using different types of bread, such as sourdough or ciabatta, or substituting in some vegan cheese for a dairy-free option.
Troubleshooting
- Texture problems: If the bread is too dense or the filling is too dry, try adjusting the amount of cream cheese or adding some extra moisture such as mayonnaise or sour cream.
- Ingredient replacements: If you don’t have any jalapeños on hand, you can substitute in some other type of pepper such as serrano or Anaheim.
- Over/undercooking signs: If the bread is too brown or the cheese is too melted, it may be a sign that the heat is too high – try reducing the heat and cooking the sandwich for a longer period of time.
FAQs
- Can I freeze it? Yes, you can freeze the Jalapeño Popper Grilled Cheese Sandwich for up to 3 months. Simply assemble the sandwiches without the cheese, place them on a baking sheet, and freeze until solid. Then, transfer them to a freezer-safe bag or container and store them in the freezer.
- Is it gluten-free? No, the Jalapeño Popper Grilled Cheese Sandwich is not gluten-free, as it contains bread and other gluten-containing ingredients. However, you can experiment with using gluten-free bread or substituting in some gluten-free ingredients to make a gluten-free version.
- Can I double the recipe? Yes, you can easily double or triple the recipe to make more sandwiches. Simply multiply the ingredients and cook the sandwiches in batches if necessary.
Conclusion
The Jalapeño Popper Grilled Cheese Sandwich is a creative and delicious twist on two classic favorites. With its perfect balance of flavors and textures, it’s sure to become a new favorite in your household. Whether you’re a fan of spicy food or just looking for a new way to liven up your lunch routine, this sandwich is sure to hit the spot. So go ahead, give it a try, and experiment with different ingredients and flavor combinations to make it your own. Happy cooking!